How Long Does Spray Paint Take to Dry? (On Wood, Metal, Plastic, Glass, Etc!)
Spray painting is a popular and efficient method to give a fresh look to various surfaces,…
Spray painting is a popular and efficient method to give a fresh look to various surfaces,…
You know that little metal ball that rattles around inside your spray paint can? Yeah, that…

Spray paint is a versatile and convenient option for many DIY enthusiasts and artists. With a…
![Can You Spray Paint in The Rain? [Explained!]](https://illjustfixitmyself.com/wp-content/uploads/2021/12/can-you-spray-paint-in-the-rain--768x432.jpg)
Can you spray paint in the rain? This is one of those questions that people will…
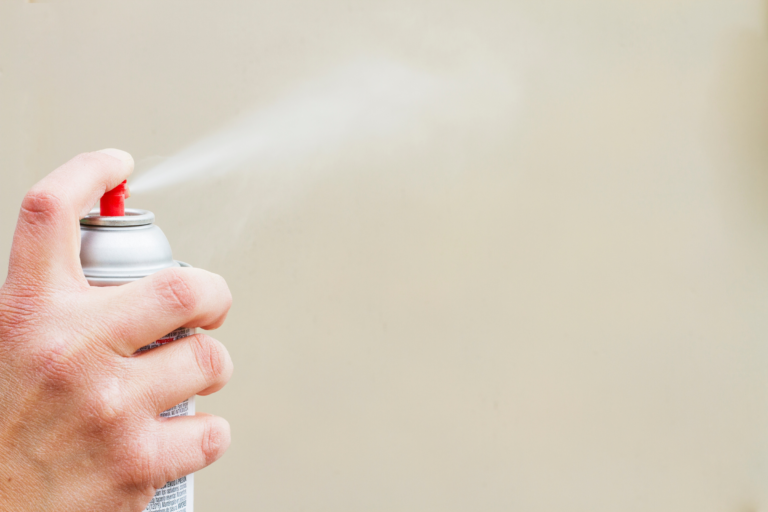
We’ve all been there – we are spray painting a project and starting to get impatient…
![Why Do Graffiti Artists Use Spray Paint? [History & Techniques]](https://illjustfixitmyself.com/wp-content/uploads/2023/06/Why-Do-Graffiti-Artists-Use-Spray-Paint-History-Techniques-768x512.png)
Hey there, fellow art enthusiasts! Let’s talk about graffiti art and the essential tool that makes…
Can spray paint freeze in the can? This is a question that many people have asked…
Spray paint is a popular and versatile DIY tool used for a variety of projects, from…

Spray paint can be a handy tool for various DIY projects, but it is not uncommon…
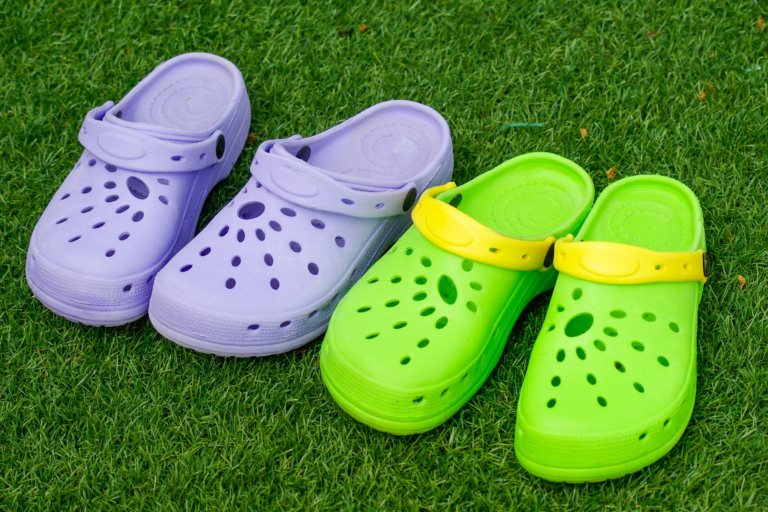
Crocs have gained popularity in recent years for their comfortable design and unique appearance. Their easily…
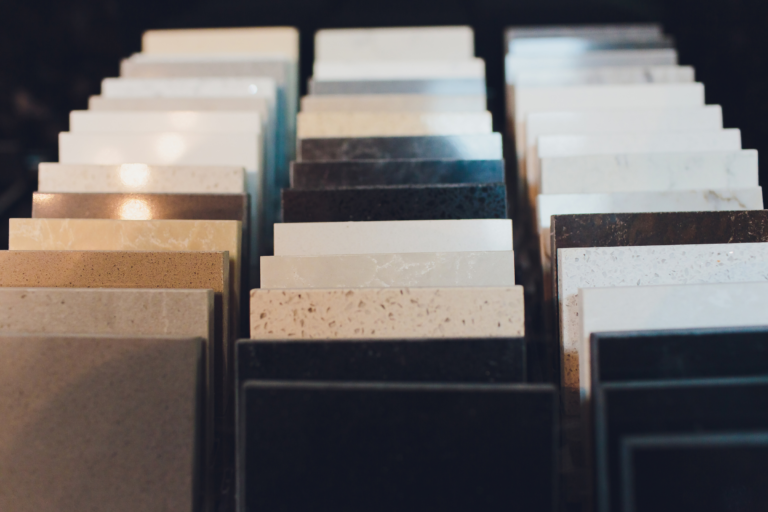
Whether you are looking to refinish a bathroom sink or paint some decorative porcelain tiles, you…

Spray painting your jeans can be a creative way to update and personalize your wardrobe. This…
Spray paint has become a popular choice for various applications, from street art to home improvement…
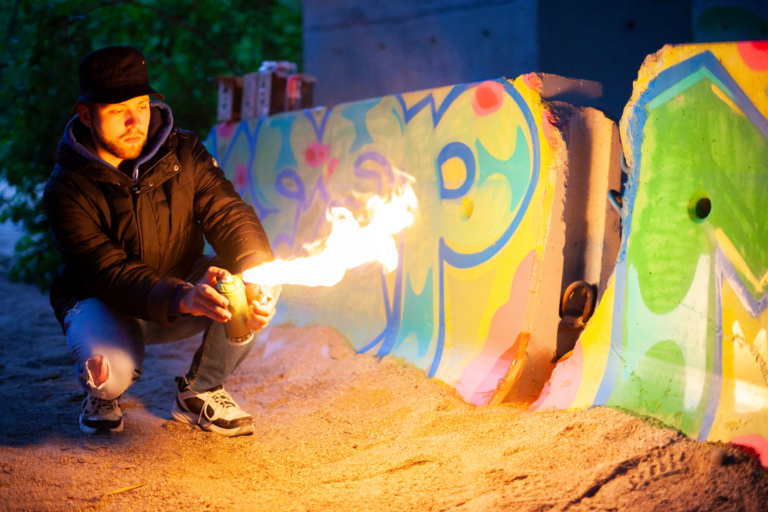
![Why Do Spray Paint Artists Use Fire? [3 Techniques and Effects]](https://illjustfixitmyself.com/wp-content/uploads/2023/05/Why-Do-Spray-Paint-Artists-Use-Fire-3-Techniques-and-Effects-768x512.png)
Did you know that spray paint artists sometimes use fire to create awesome art? Fire is…
Spray paint is a popular choice for DIY enthusiasts and professionals alike, as it provides a…
When it comes to decorating a baby’s room, safety is a top priority. Parents often wonder…
Glow-in-the-dark spray paints are available for many different types of surfaces, including metal, wood, and plastic….
There is no shortage of projects to complete around the house and many of those projects…

Spray paint is one of the most versatile products in your home improvement arsenal, and it’s…
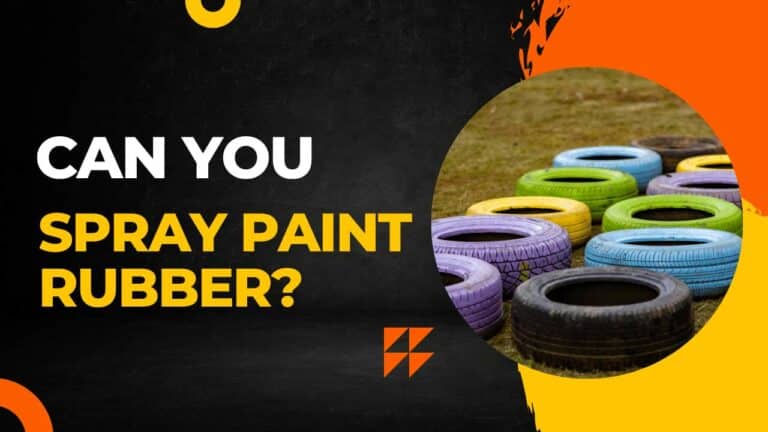
Rubber is a durable and versatile material that is used in a variety of applications. While…
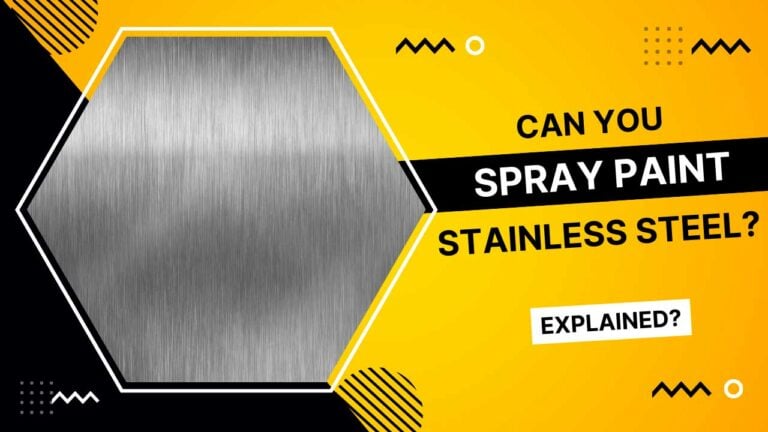
Stainless Steel is a very hard and durable metal that can be used for many different…
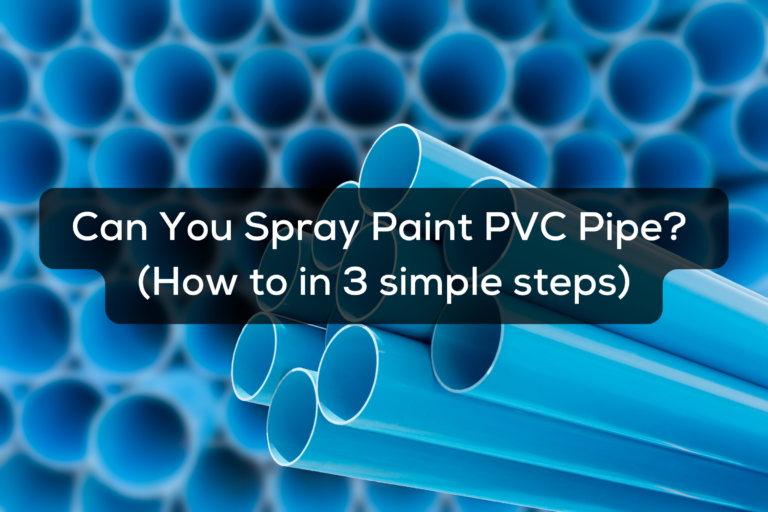
Spray Painting PVC Pipes is a great way to give your PVC pipe an instant makeover,…
Do you hate the spray paint smell? It’s not just annoying, it can also be dangerous….
Do you have some old spray paint cans that need disposing of? If so, you may…
Spray painting styrofoam can be a tricky task. In fact, I vividly remember the first time…

I love spray paint because it is so incredibly versatile and lets you knock out a…
![Can You Spray Paint Laminate Furniture? [With a Quick 7-Step How To]](https://illjustfixitmyself.com/wp-content/uploads/2022/04/can-you-spray-paint-laminate-furniture-768x432.jpg)
We all know spray paints are the best option when it comes to painting furniture, but…
Can you spray paint paper mache? Let’s find out how in 3 easy steps. You can…

Hey, DIY enthusiasts! Want to take your projects to the next level with a glossy, professional…
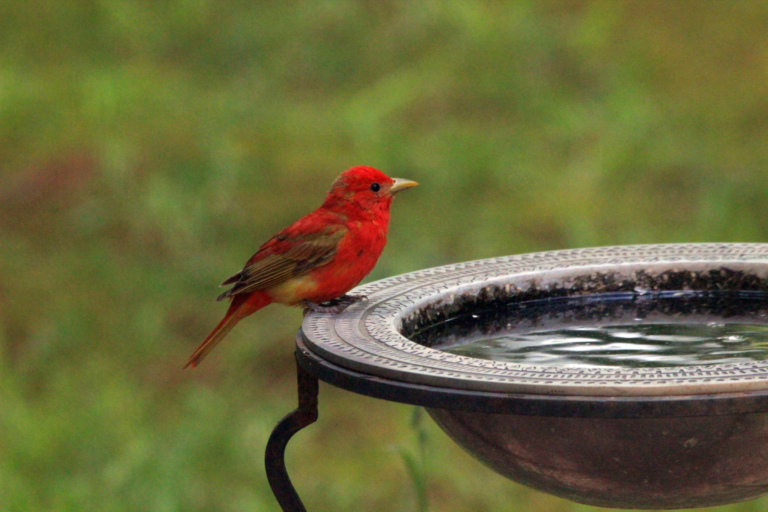
Bird baths are a fun way to both enhance the look of your outdoor living areas…
As you start to get into various home improvement projects, crafts, and other DIY-goodness, you’ll start…
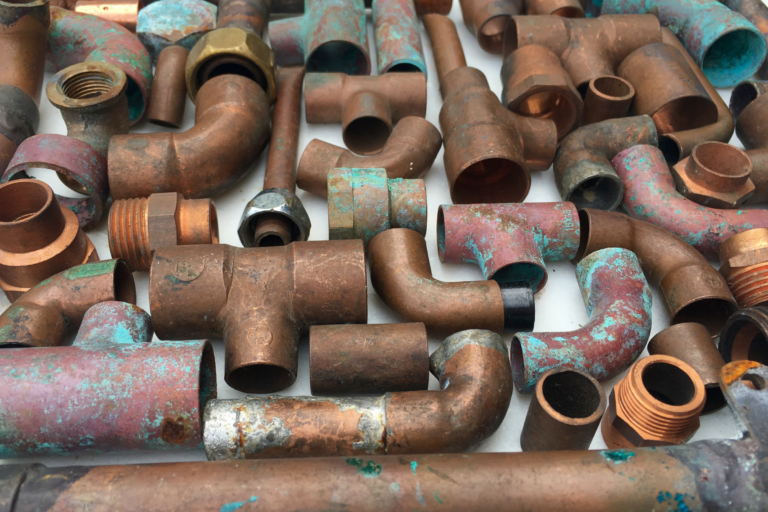
Copper pipes are commonly used for both practical applications such as plumbing as well as decorative…

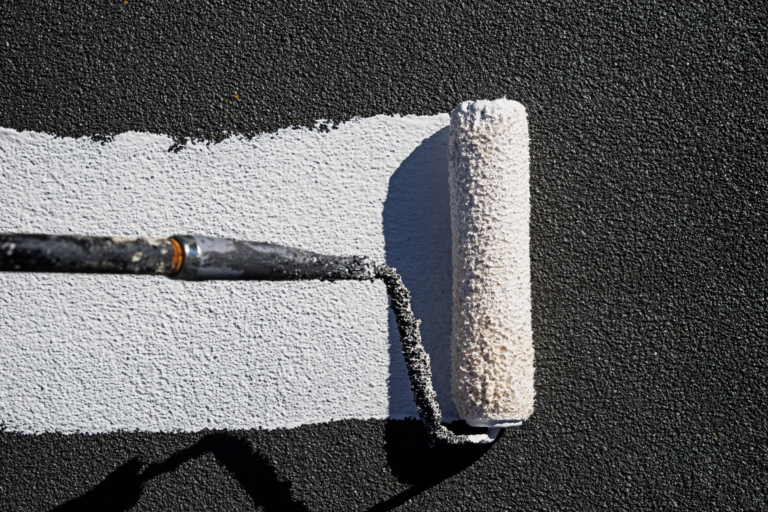
Everyone has seen textured paint at some point and thought to themselves that it was a…
![Can You Spray Paint Galvanized Metal? [Explained!]](https://illjustfixitmyself.com/wp-content/uploads/2021/12/can-you-spray-paint-galvanized-metal--768x432.jpg)
Galvanized metal is a type of steel that has been coated in zinc, which protects the…
Spray paint is a versatile and convenient tool used for a variety of purposes, from DIY…
![Top 10 Best Spray Paint for Metal [2022] Reviews](https://illjustfixitmyself.com/wp-content/uploads/2021/10/best-spray-paint-for-metal-768x432.jpg)
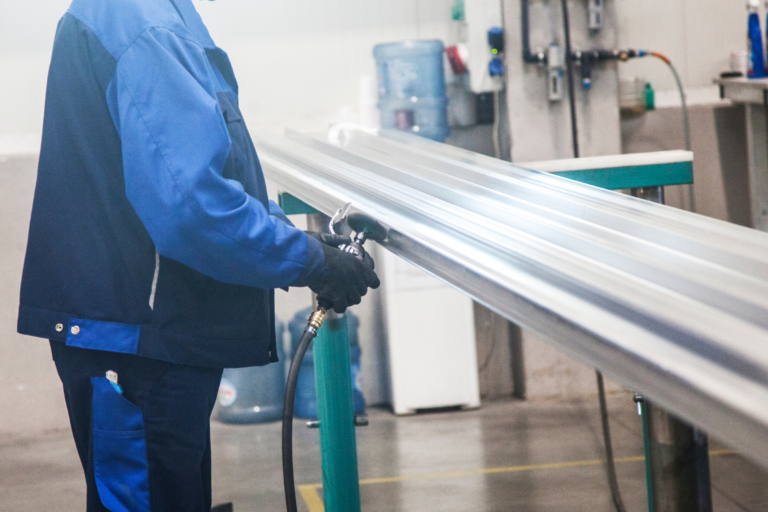
If you’re looking for a way to paint metal, then spray paint might be right up…
Everybody loves spray paint because of its easy-to-use and the beautiful finish it can create if…