Kohler San Souci Toilets: Solving Typical Flushing and Filling Issues
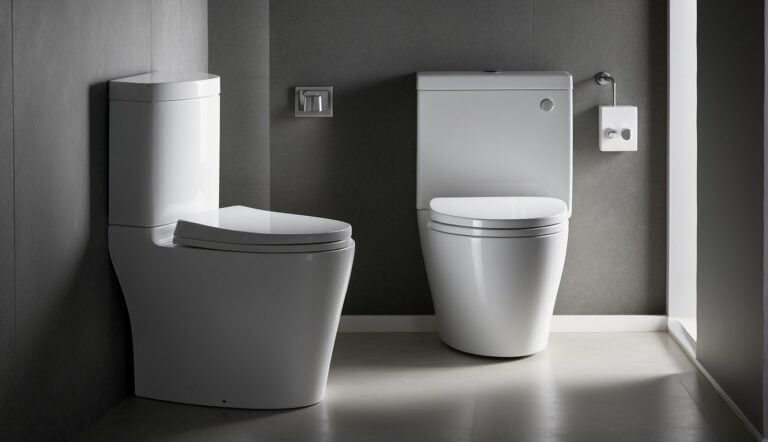
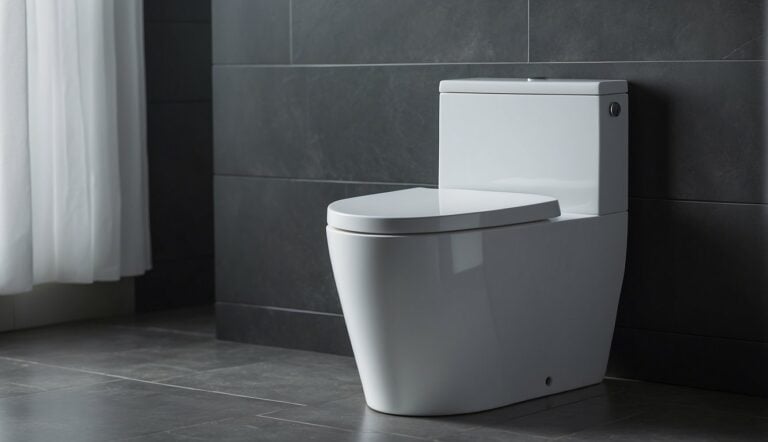
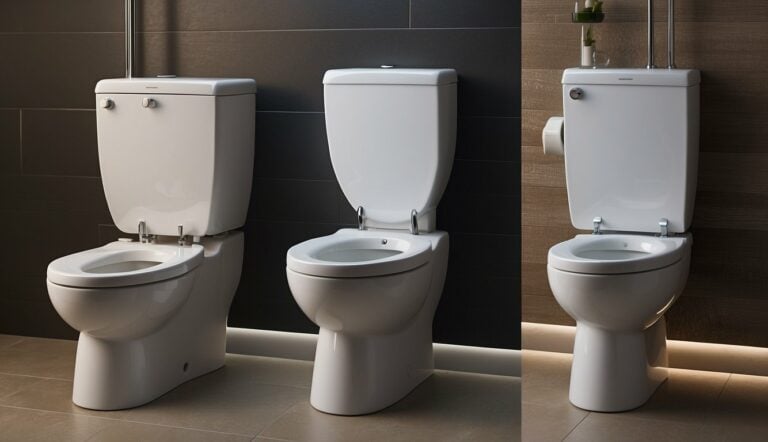
Kohler San Souci toilets are known for their sleek design and efficient performance, fitting well into…
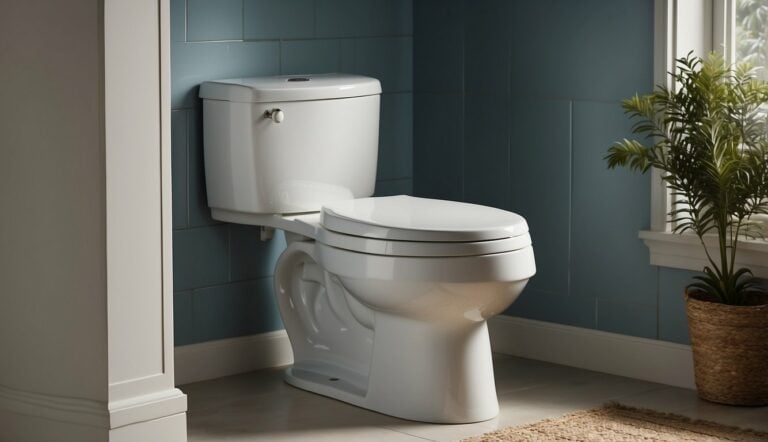
Kohler San Souci toilets are known for their sleek design and efficient performance, fitting well into…
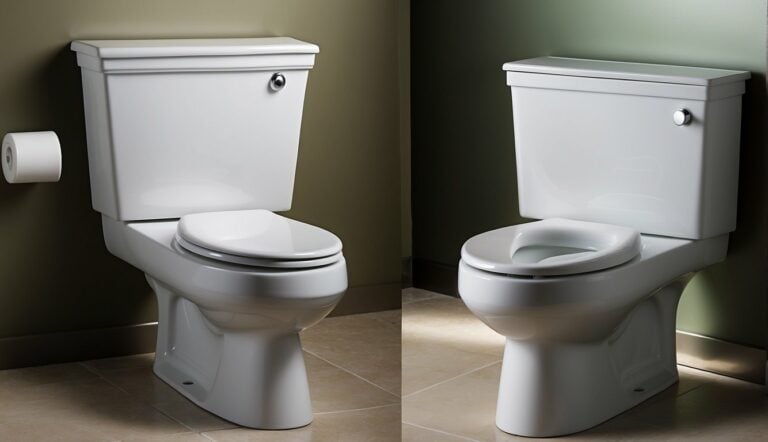
American Standard Champion toilets are known for their reliability and superior flushing power, but like any…
Kohler Highline toilets are respected for their durability and efficiency, yet like all household fixtures, they…
Delta Haywood toilets are known for their reliability and advanced features, but like any household fixture,…

When it comes to reliable bathroom fixtures, Kohler Wellworth toilets are a popular choice for homeowners…
Kohler Memoirs toilets merge traditional design with functional excellence, making them a favored choice for classic…
Kohler Cimarron toilets are known for their comfort, durability, and efficiency, making them a popular choice…
The Kohler Santa Rosa is a one-piece toilet that combines efficiency with sophistication, equipped with a…
Mansfield Barrett toilets are a well-known brand for homeowners seeking reliability in their bathroom fixtures. However,…
Mansfield Alto toilets are a popular choice for homeowners seeking reliable and efficient bathroom fixtures. However,…
Mansfield Denali toilets are a robust option for homeowners seeking reliability and performance in their bathroom…
Mansfield Brentwood toilets, crafted by Mansfield Plumbing, are known for their quality and durability. However, like…
As seasoned handymen, we’ve seen our share of toilet troubles, and Mansfield Vanquish toilets are no…
Mansfield Waverly toilets are renowned for reliability, but like any household fixture, they can encounter issues…
Kohler Tresham toilets are known for their classic lines and durability, making them a top choice…
Mansfield Summit toilets are known for their reliability and efficiency, but like any household fixture, they…
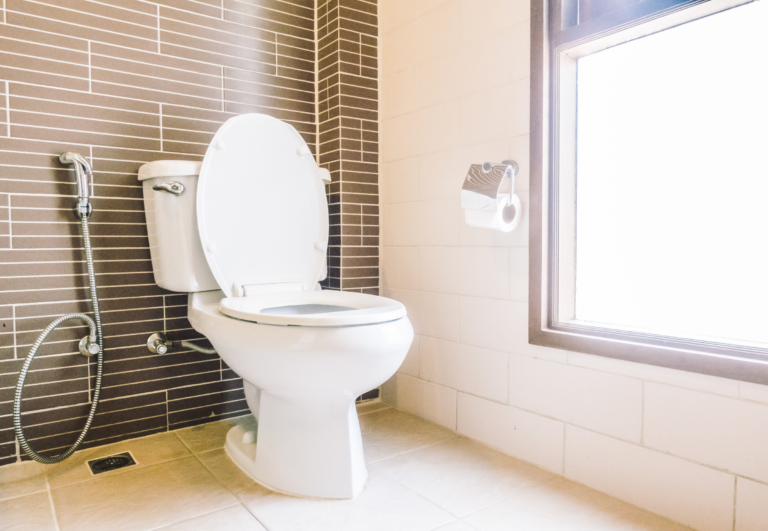
A running toilet can be more than a minor inconvenience; it’s a common household issue that…
Toilet flushing issues are a common frustration that can disrupt daily routines. In my experience as…
In my professional experience with bathroom fixtures, the choice between Toto and Kohler toilets often tops…
Selecting the right toilet height is key to comfort and accessibility in any bathroom. As someone…
Maximizing space without sacrificing functionality is critical in designing a small bathroom. Through my experience in…
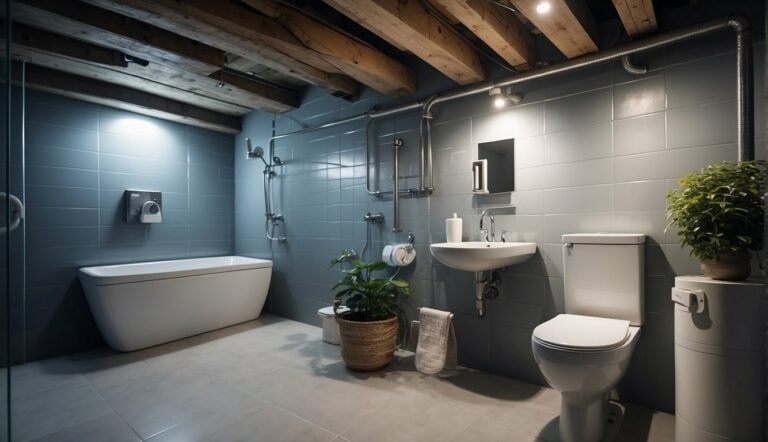
Choosing the right toilet for a basement bathroom requires considering several unique factors. In my professional…
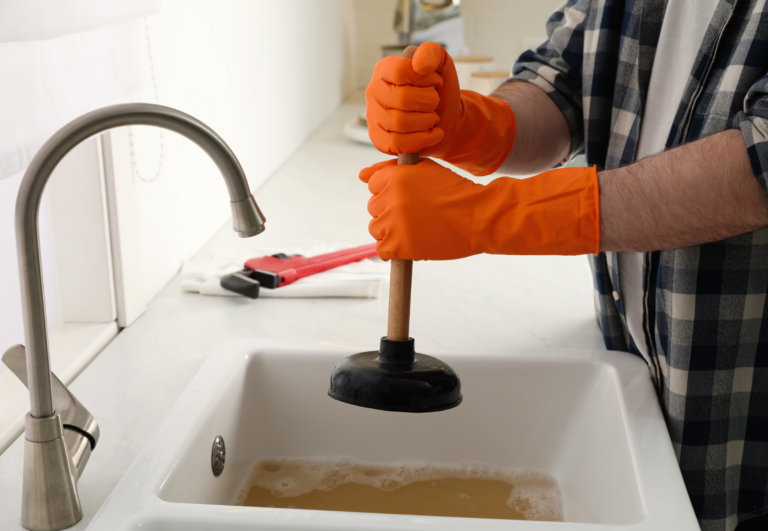
As someone well-versed in household plumbing solutions, I understand the frustration of dealing with stubborn clogs…
Selecting the right plunger for your toilet is crucial for maintaining proper plumbing and avoiding messes….
As an expert in water conservation, I’ve seen firsthand the impact that upgrading to high-efficiency toilets…
Dealing with a toilet overflowed with poop is something I’ve encountered more times than I’d like…
Toilets are indispensable in our day-to-day lives, yet they’re not without their troubles. In my years…
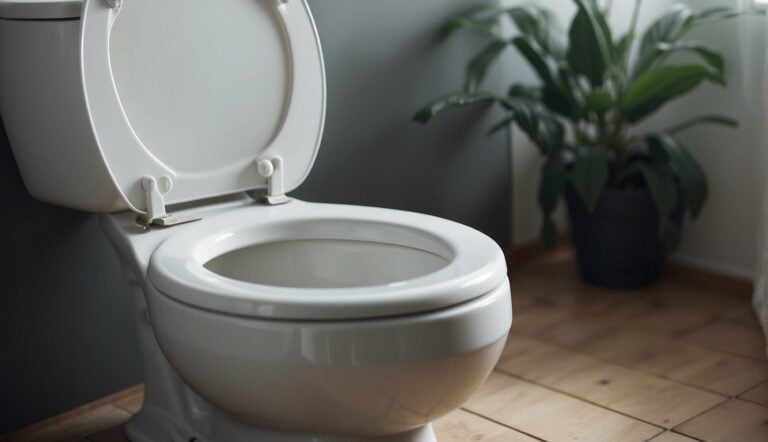
Choosing the right toilet seat size can be surprisingly complex, with various shapes and sizes available…
Choosing the right toilet seat is essential for comfort and bathroom design coherence. As a seasoned…
As someone well-versed in the realm of bathroom renovations and hygiene solutions, I’ve explored various options…
As a seasoned professional in the field of sustainable living and home efficiency, I’ve observed a…
Choosing between Toto and American Standard toilets is more than just a decision about a bathroom…
In my experience comparing toilet brands, particularly Glacier Bay and American Standard, one can recognize distinct…
When selecting a toilet, homeowners are often presented with a choice between skirted and non-skirted designs….

In my years of exploring environmentally conscious home practices, I’ve examined a multitude of ways to…
As someone who has navigated the complexities of modern bathroom design, I understand that choosing the…

A clogged toilet is a common household nuisance that can strike at any moment, often at…
Limescale in the toilet bowl isn’t just unsightly; it can also affect functionality and hygiene. As…
Having a running toilet is more than a mere annoyance; it can lead to a significant…
As a seasoned expert in the plumbing and bathroom design industry, I’ve witnessed firsthand the rise…
When considering a new toilet, the choice often comes down to brands that have established a…
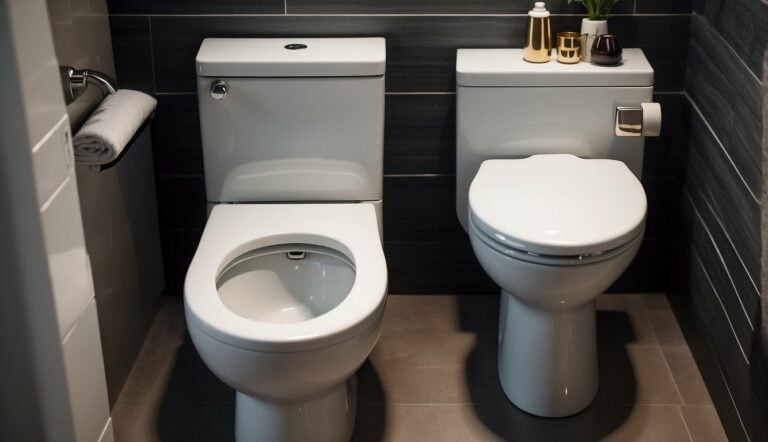
Choosing the right toilet for your home comes down to comparing two dominant flushing systems: pressure-assisted…
When selecting a new toilet, the choice between a push button and a handle flush system…
As someone well-versed in household cleaning, I can say choosing the right agent to maintain a…
In my years of experience in bathroom design, I have witnessed the increasing popularity of the…
When considering the purchase of a new toilet, two brands often come to mind: Gerber and…

When faced with a clogged toilet, the choice between Liquid-Plumr and Drano is a common dilemma…
In my years of experience in home renovation and plumbing, I’ve learned that recognizing when to…
When it comes to choosing the perfect toilet for your bathroom, the decision often boils down…
As a seasoned DIY expert, I’ve encountered numerous instances of toilet leaks. In my professional experience,…