Wax Vs Waxless Toilet Seals Compared (Which Is Better?)
Toilet seals create an airtight and watertight seal between the base of the toilet and the floor, preventing water from leaking out. Unfortunately, this seal will need to be replaced eventually. When that time comes, you’ll be faced with the great question of wax vs waxless toilet seals: which is better?
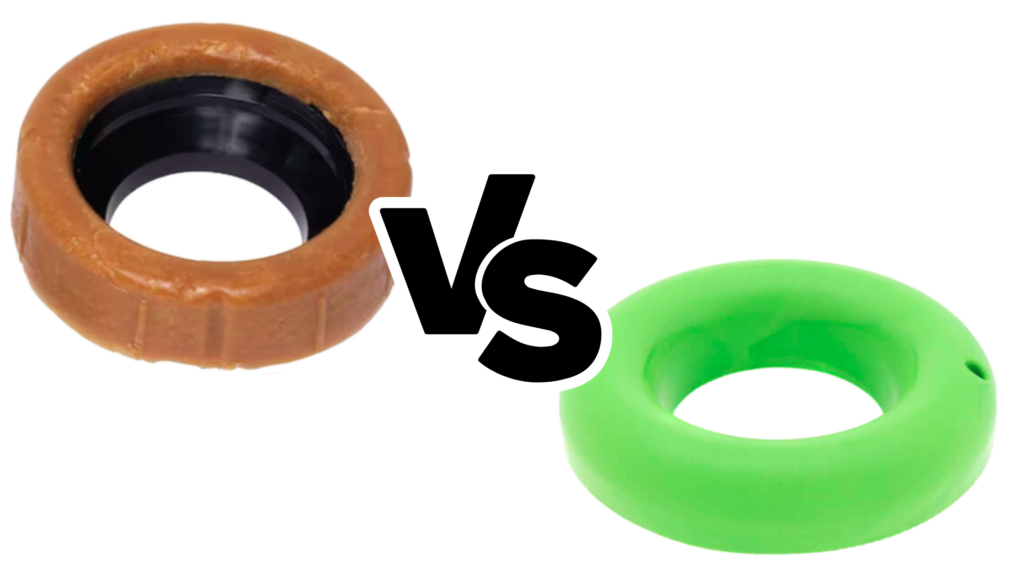
Both wax and waxless toilet seals will prevent air and water from leaking out between the base of the toilet and the flange, but waxless seals will perform the job without a lot of mess. A wax seal is the tried-and-true traditional choice, but a newer, more expensive waxless seal can withstand higher temperatures and will be reusable.
Keep reading to learn the ins and outs of wax vs waxless seals, the pros and cons of each, and how to fit a toilet seal.
Wax vs waxless toilet seal – what’s the difference?
Wax seals have existed for a long time, and had long been the only option for preventing leaks between the toilet and the floor. More recently, waxless toilet seals have been gaining popularity due to their fixing several of the prevailing issues with the traditional option.
Wax seals are less expensive and can last for decades under the right conditions. Waxless toilet seals offer the same general advantages as wax seals (strong adhesive, leak protection) but are also less messy, reusable, stackable, and offer heat resistance making them appropriate for heated floors.
| Aspect | Wax Seals | Waxless Toilet Seals |
|---|---|---|
| Cost | $3-5 | $10-16 |
| Durability | 30+ years | 10+ years |
| Material | Wax | Rubber, foam, or PVC |
| Mess-free | No | Yes |
| Reusable | No | Yes |
| Heat resistance | Limited | Yes (Suitable for heated bathroom floors) |
| Adhesive strength | Strong | Strong |
| Stackability | No | Yes |
| Leakage prevention | Yes | Yes |
The toilet seal that is right for your bathroom will vary based on the features you require, the condition of your toilet, and personal preference. If you’re in doubt, consult an experienced plumber for a recommendation.
How wax toilet seals work
Wax toilet seals were introduced in the 1950s and basically remained the uncontested way to prevent a toilet from leaking until the waxless (sometimes wax-free) toilet seal was introduced.
A wax toilet seal is a ring made of sticky wax placed between the bottom of the toilet bowl and the opening of the sewer pipe (also called the flange). The weight of the toilet compresses the wax to form an airtight and watertight seal to prevent water and gas leakage from the toilet.
Manufacturers use varying ingredients to make the wax, including beeswax, petroleum, or other ingredients.
Installing a new toilet or replacing the wax ring is not difficult, but getting the heavy toilet in the correct position can be daunting, especially if you haven’t done it before. Expect to ruin several rings before getting it right.
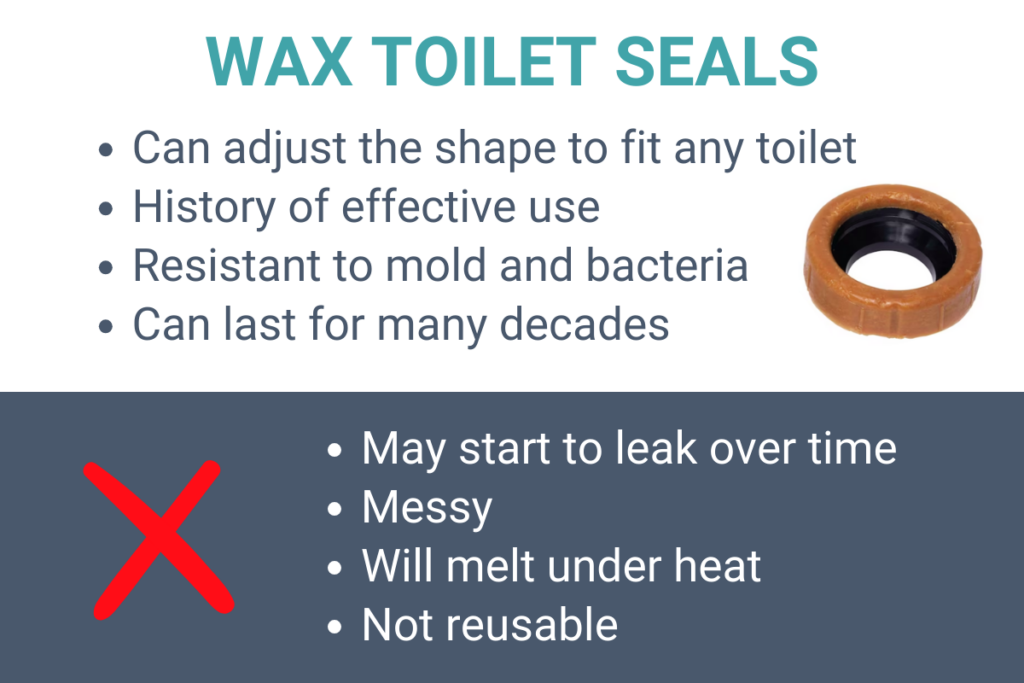
Pros
- History of effective use
- Can adjust the shape to fit any toilet
- Can last for many decades
- Better resistance to molds and bacteria
Cons
- May start to leak over time
- Messy
- Will melt under heat (not suitable for heated floors)
- Not reusable
How waxless toilet seals work
The modern alternative to traditional wax seals is the waxless toilet seal, which is typically made from rubber or foam.
Waxless toilet seals are easier to use than wax seals. Where wax seals require pressure to conform to the inner shape of the toilet, a wax-free seal will adapt to the spacing and will not need to be immediately replaced if you don’t get the placement correct on the first try.
Overall, waxless seals address all of the major problems with wax seals, although they do introduce a few new ones, including a more limited lifespan.
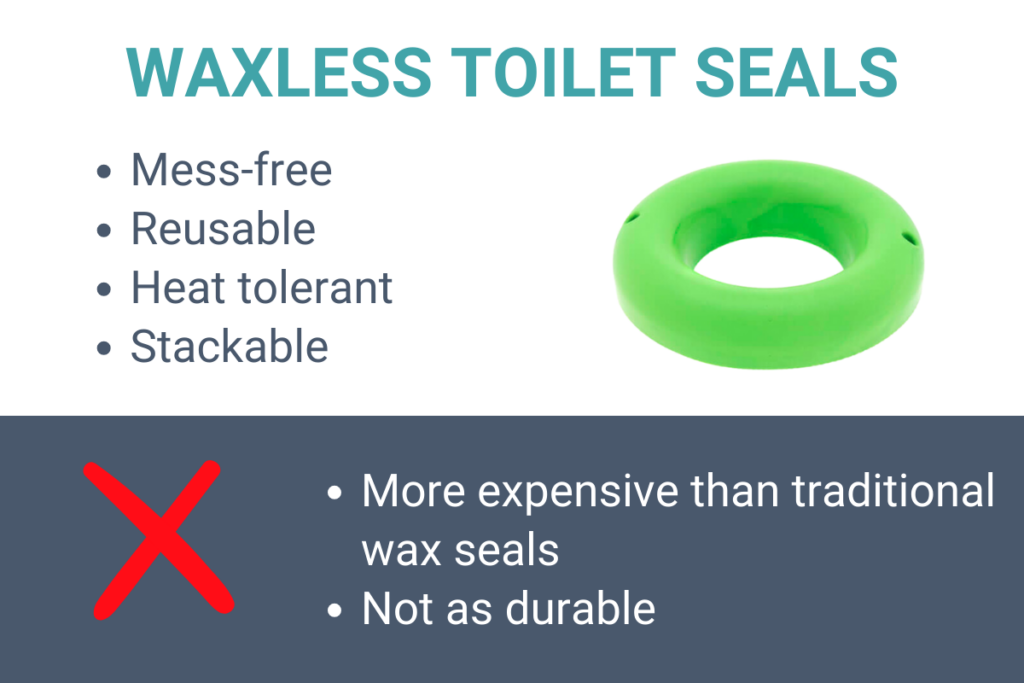
Pros
- Mess-free
- Reusable
- Heat tolerant
- Stackable
- Universal fit
- No leaks when plunging
- Repositionable
Cons
- More expensive than wax seals
- Not as durable
Types Of Waxless Toilet Seals
Waxless toilet seals are differentiated by the material used to make the ring. The right seal for you depends on your preferences, previous experience with other seals, or the flooring of your bathroom.
Common types of waxless toilet seals include:
1. Sponge Gaskets
As the name suggests, the ring of sponge toilet seals is made with a thick sponge. They are effective for toilets or urinals hanging on the wall. Plumbers mostly use them to replace felted wax seals.
Sponge seals are also used for standard toilets fixed on the floor, but not as often. Note that these rings come in different thicknesses and sizes; therefore, you must know the measurements of the base of your toilet to make the right purchase.
2. Foam Gaskets
Wax-free foam gaskets stand out as the best seals for toilets with deep flanges, from 3 to 8 inches above or under the floor. They are effective for sealing bathrooms in story buildings. Also, foam seals are recommended for toilets built on floors that are not constructed with concrete.
Foam gaskets are suitable for deep flanges because they can be stacked to provide a perfect seal. This feature is an advantage over wax seals which cannot be stacked.
What’s more, you will love the foam gasket seals because they still prevent water and air leakage from the flange even when the toilet is wobbly.
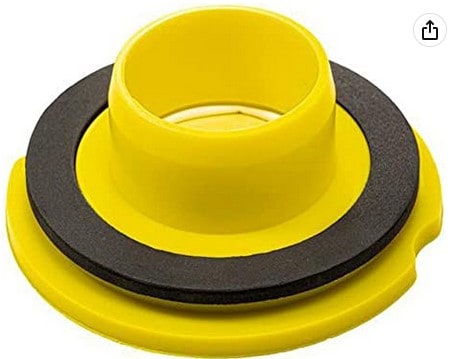
3. Rubber Bowl Gasket
The bowl gasket features a rubber seal designed to fit the bottom side of the toilet seat and a flange that fits in the drain pipe. It forms an air and water tight O-shaped ring between the toilet and the drain pipe on installation.
The unique feature of this bowl gasket is that it is reusable as long as it is in good shape. This means that you do not have to incur the cost of a new seal every time you want to work on the toilet or access the drain. What’s more, it can also be used in sealing long flanges.
Choosing the right toilet seal – wax vs waxless
When it comes time to replace your toilet seal, you’ll need to decide between a wax and a waxless toilet seal. You’ll also need to ensure you get the right size seal for your toilet.
To purchase the right toilet seal, measure the width of the bottom of your toilet and buy a seal of that width. For wax rings, you can only use one seal, but waxless seals can be stacked to accommodate any weight on the toilet.
You may want to consider a wax toilet seal if:
- you’re confident in your installation skills
- you want the seal to last as long as possible
On the other hand, you should go with a waxless toilet seal if:
- you’ve never installed a toilet seal before
- the floor around the toilet will be heated
- you’re planning on double-stacking the seals
If you’re unsure of which seal is right for your situation, you may want to consult a plumber for a recommendation.
5 signs it’s time to replace your toilet seal
Toilet seals can last for many years assuming they are installed correctly. However, the time will come when it needs to be replaced.
Signs that your toilet seal may need to be replaced include:
- Water pooling around the base of the toilet – Water collecting at the base of your toilet is an indication that the toilet seal may be broken or leaking. The water may also be coming from a leaking tank or pipe.
- Unpleasant bathroom odors – Besides preventing water leakages, toilet seals are supposed to avoid the leakage of sewage odors. Therefore, if your bathroom smells like a sewer or rotten eggs, it means that there is gas leaking out from the drain pipes.
- Toilet is wobbling – If your toilet is rocking from side to side, the flange is likely broken. To make your toilet firm again, the flange must be replaced and, therefore, the seal. Any time you move the toilet or the bowl, the integrity of the seal is compromised and must be replaced.
- New floor – If you are changing the bathroom’s flooring, it means that you will have to remove the toilet. Any time you move the toilet for whatever reason, the seal must be replaced.
- Leaking below the toilet – If you notice leakage on the ceiling beneath your toilet, it’s likely that the toilet is leaking. If the water is coming from the toilet, replace the seal as soon as possible to avoid more damage.
Also read: Can Hair Clog a Toilet?
How to replace a toilet seal in 7 steps
New toilet rings are available in most hardware stores, and it’s possible to replace a worn-out toilet seal yourself if you have at least average DIY skills.
In addition to the DIY skills, you’ll need the following tools:
- Bucket
- Putty knife
- Heavy cloth rag
- Gloves
- Wrench
- Hairdryer
- Wet/dry shop vacuum
After gathering all the equipment, follow these steps to replace the toilet seal:
- Turn off the water supply
- Drain the toilet
- Remove the toilet
- Remove the old seal
- Insert the new ring
- Close the toilet and sit on it
- Replace the bolts and turn the water back on
Did that go too fast? Never fear! Keep reading and I’ll explain each step in detail.
1. Turn off the water supply
The first step to replacing a toilet is turning off the water supply to the tank.
Locate the valve on the pipe bringing in water to the toilet tank, and turn it all the way off.
If you have not moved the valve since installing the toilet, do not be surprised if it is sticky.
2. Drain the toilet
Flushing the toilet is the easiest way to drain the tank, but it won’t get rid of all the water.
To dry the tank completely, use the wet/dry vacuum cleaner or a heavy cloth rag to wipe it dry.
Disconnect the pipe under the toilet tank to remove residue water. Catch the water with a bucket to avoid wetting the floor.
3. Remove the toilet
Carefully remove the caps covering the bolts to access the bolts.
Using the adjustable wrench remove the bolts and washers on the toilet’s base and store them safely in a container. Rock and twist the toilet gently to crumble the old wax ring. Once it’s all loose, take a proper lifting posture and remove the toilet from its position.
If it is too heavy for you, call for help or separate the tank and the bowl and move them separately.
4. Remove the old wax
To install a new seal, whether a wax or waxless ring, you must get rid of the old wax.
Put on your disposable gloves and use the putty knife to scratch away the wax from the flange and the bottom of the toilet.
If the wax is too sticky, use a hairdryer to melt it and use a cloth rag to wipe it away.
Check the flange for any damages or dents, and in case of anything unusual, call a plumber for assessment.
Top tip: Cover the opening of the flange with a cloth to prevent foul smells escaping from the drain as you prepare to replace the seal.
5. Place the new ring
Before replacing the seal, ensure that it is the right size for the flange. Refer to the installation guide from the manufacturer.
After you center the seal correctly, carefully and gently lower the toilet onto the flange.
The replacement is successful if the bolt holes on the toilet are directly aligned with the holes on the bathroom floor.
6. Close the toilet and sit on it
Once the toilet is in place, sit on it.
Your body weight will push the seal down and align the toilet correctly. By the end of this step, the toilet base should be lined up with the floor.
If this step doesn’t work, you’ll need to try again. Waxless seals are reusable; however, you’ll need a new seal if you’re using a wax toilet seal.
7. Replace the bolts and turn the water back on
Once the toilet is in place, it’s time to put everything back in place.
The last step to keep the toilet in place is replacing the bolts and the covers. After that, replace the water supply lines and open the valve. Before cleaning up the area, flush the toilet severally to ensure that there are no leaks.
Summary of wax vs waxless toilet seals
If you have been looking for a wax vs waxless toilet seal comparison, I hope you have the answers by now.
Both wax and waxless toilet seals prevent air and water from leaking between the base and flange. But waxless seals perform the job without a lot of mess and are much easier to install. Wax seals are less expensive, but you may go through several during a single installation.
The best seal for your toilet depends on preferences from previous experience, features of the seal, and the condition of the bathroom.
Are waxless toilet seals better than wax seals?
Wax-free toilet seals are not messy, and you have more than once chance to get it right when installing. However, they aren’t likely to last as long so you’ll be need to replace them more often.
In certain situations, a waxless ring is the obvious choice. For example, if you want a heated bathroom floor, you’ll need to use a wax-free seal as the heat would melt a wax seal.
Are waxless toilet rings good?
Waxless toilet seals are easy to install, non-messy, can be stacked, and are reusable. The stacking ensures that the toilet does not leak no matter how much weight is placed on the toilet. However, they are more expensive than wax seals and not as durable in the long run.
Why do toilet wax seals fail?
Wax toilet seal fails if they are not mounted correctly, if the toilet becomes loose, or if they are installed in heated floors.
For effectiveness, wax toilet seals should be firmly compressed to get the toilet base at the floor level during installation.
How Long Do Rubber Toilet Rings Last?
Rubber seals can last up to 30 years or simply as long as the toilet exists. They do not leak over time and do not require regular maintenance. Therefore, unless you want to renovate, change the toilet bowl or work on the flooring, you will never be required to repair waxless seals.
Let Us Know How We’re Doing!
Did this expertly prepared resource answer your question?
Do you have another question about home maintenance, home improvement projects, home appliance repair, or something else?
Get more information, send in questions and keep the discussion going by contacting the I’ll Just Fix It Myself company customer service team at at 1-800-928-1490 or Email us at [email protected]