5 Clever Storage Ideas for Organizing Your Crafting Supplies: Maximize Your Creative Space
Crafting is not just about creating art; it’s also about managing the multitude of supplies that come with the territory. Keeping our craft supplies organized can feel like a daunting task, especially when our collection grows faster than our available space. However, proper organization isn’t just about cleanliness; it’s about efficiency and reducing stress, enabling us to focus on the joy of crafting.
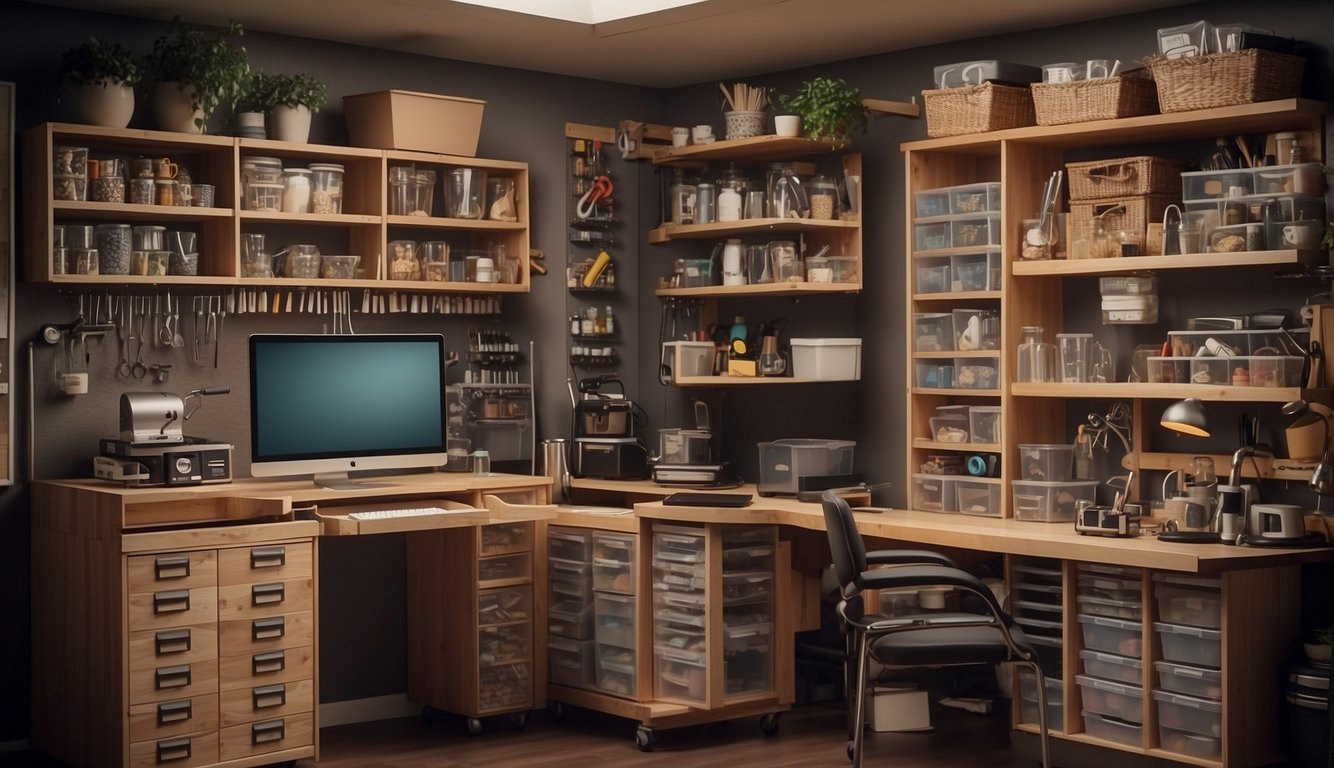
We understand the challenges crafters face when trying to find the perfect storage solutions. From overflowing bins of ribbons to scattered stacks of paper, disarray can stifle creativity. That’s why we’ve put together five clever storage ideas that will transform your crafting area from cluttered chaos into an organized oasis. These ideas not only maximize space but are also designed to keep supplies visible and accessible.
Our craft storage solutions are about enhancing functionality without sacrificing aesthetics. In the crafting world, the organization is as much a part of the creative process as the crafting itself. By implementing these organizational strategies, we can streamline our workflow and make the entire process of crafting as pleasurable and productive as possible.
Essential Craft Storage Furniture
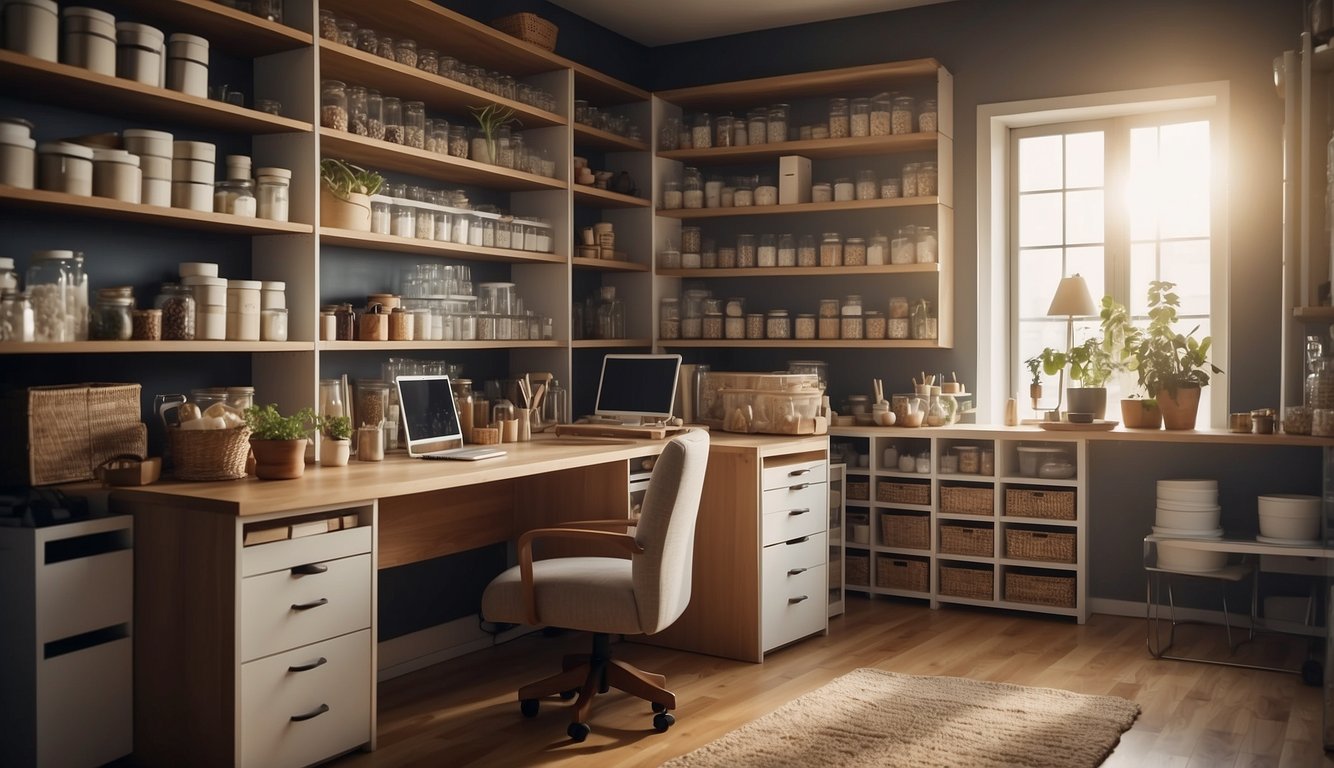
When organizing crafting supplies, the right furniture can streamline your workspace and enhance productivity. We’ll focus on the essential pieces that combine functionality with organization: craft cabinets, versatile shelves and drawers, and craft tables.
Selecting the Right Craft Cabinet
A craft cabinet is a cornerstone for organized craft storage. We recommend choosing a cabinet that balances compartment variety with size suitability for your space. Look for features like adjustable shelves, labeled drawers, and lockable sections to secure valuable items. An ideal craft cabinet not only houses different supplies neatly but also offers easy accessibility.
Tips for Implementation:
- Measure your space before shopping.
- Opt for a cabinet with transparent doors for easy viewing.
Utilizing Shelves and Drawers for Versatility
Versatility is key in crafting, and shelves and drawers offer just that. Use wall-mounted shelves to keep frequently used items within arm’s reach. Drawers with dividers can be excellent for categorizing and segregating small items like beads or buttons. We suggest labeling each drawer to save time and avoid confusion.
Tips for Implementation:
- Install adjustable shelving to accommodate various supply sizes.
- Use drawer organizers to maximize space and keep items from shifting.
The Role of a Craft Table in Organization
A craft table should be more than just a work surface. It should integrate storage solutions like under-table drawers or side shelves. A craft table with a built-in storage system helps maintain a clean workspace and keeps tools close at hand. Ensure the table is at a comfortable height to prevent strain during long crafting sessions.
Tips for Implementation:
- Choose a craft table with a scratch-resistant surface.
- If space allows, select a table with casters for easy mobility.
Creative Use of Wall and Door Space
To organize crafting supplies effectively, we must utilize every inch of available space. Wall and door spaces offer untapped potential for storage solutions that are both creative and convenient.
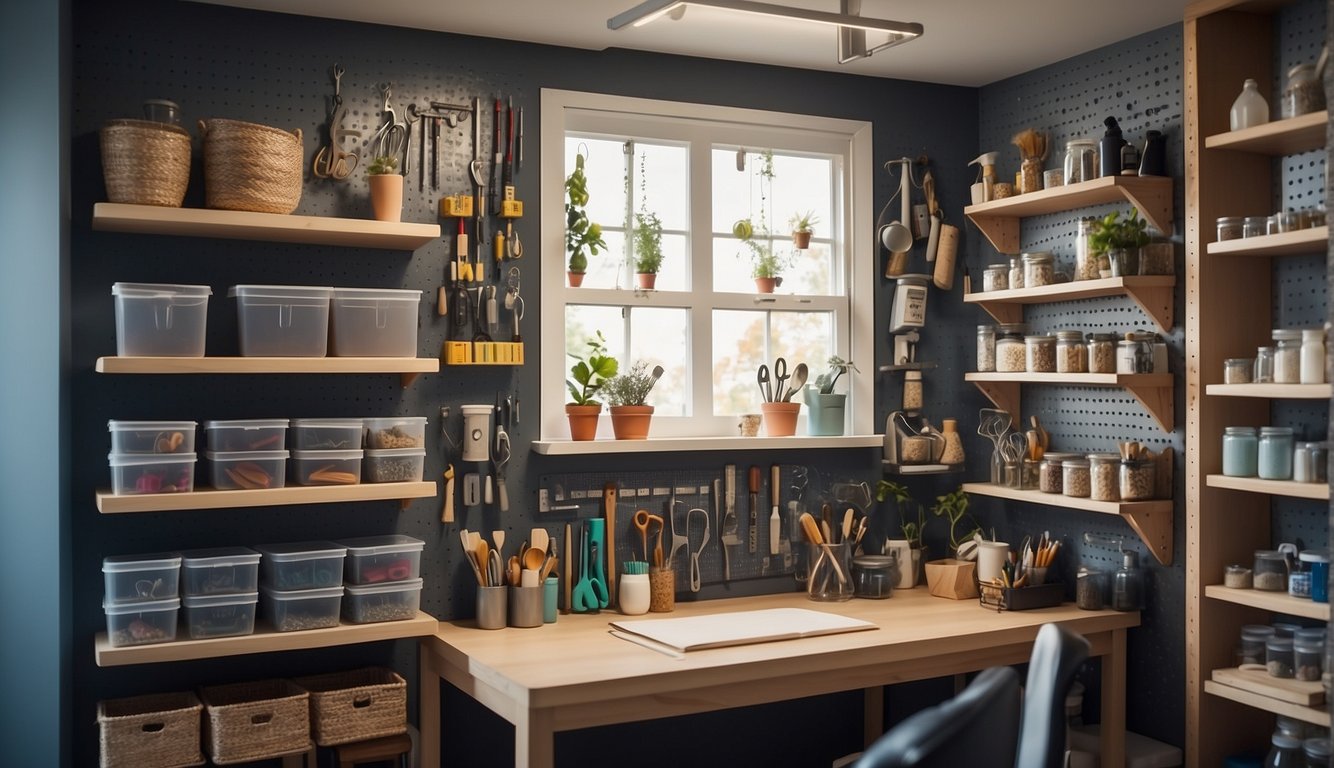
Maximizing Efficiency with Pegboards
Pegboards offer unparalleled versatility in organizing crafting tools and materials. By mounting a pegboard wall in your crafting area, we can customize the layout to fit our needs.
- Why it works: The customizability of pegboards allows us to arrange hooks and shelves to accommodate various crafting supplies, from yarn skeins to scissors, ensuring everything is within reach.
- How to implement: Install a pegboard panel on an empty wall space. Use an assortment of hooks and small shelves to create an adjustable organization system. Consider grouping similar items together for even greater efficiency.
Innovative Door Storage Solutions
Door space is often overlooked but it’s perfect for adding extra storage.
- Why it works: Utilizing the back of a door can save valuable floor space, allowing for a less cluttered work area.
- How to implement: Attach shallow wire racks or clear shoe organizers to the back of the door. These can hold an array of small to medium-sized crafting materials, increasing the storage capacity of the room without impeding door functionality.
Decorative and Functional Chalkboards
Integrating chalkboards into our crafting area isn’t just for aesthetic appeal; they’re functional.
- Why it works: Chalkboards can serve as a note-taking space for project ideas or supply lists, while also allowing you to label sections of storage directly on the wall.
- How to implement: Paint a section of the wall or a cabinet door with chalkboard paint. Use different colored chalks to organize lists or draw diagrams, helping us keep track of projects and inventory.
Small Item Organization Strategies
In crafting, staying organized is paramount for both productivity and creativity. Small items like beads, buttons, and pins can easily get lost or mixed up, so we’ll explore specific strategies tailored for these tiny elements. Let’s get our diminutive craft supplies in order!
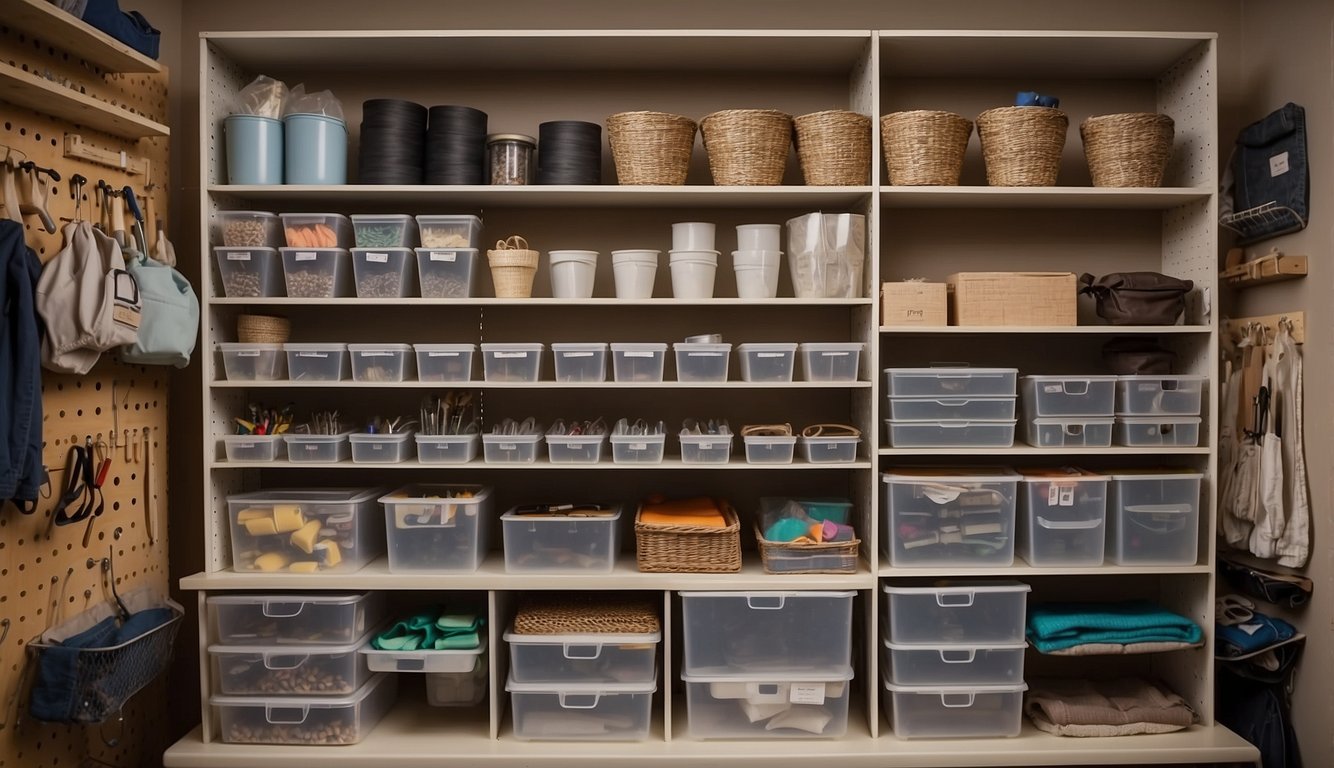
The Convenience of Storage Bins and Containers
Storage bins and containers offer versatile solutions for small crafting items. Their stackable nature makes them ideal for maximizing vertical space in our crafting area.
- Advantages: Clear storage bins allow us to see contents at a glance, saving time on searching for specific items.
- Practical Tips:
- Opt for bins with adjustable dividers to tailor the compartments to our needs.
- Ensure bins are made of durable material to withstand the weight of supplies.
Organizing with Jars, Vases, and Clear Containers
Jars, vases, and other clear containers are not just functional; they add an aesthetic appeal to our crafting space.
- Advantages: Reusing items such as glass jars or clear vases gives a second life to household objects and allows for an eco-friendly approach to organization.
- Practical Tips:
- Sort items by type or color in jars or vases for a visually appealing and organized display.
- Consider securely mounting jars underneath shelves to save workspace.
Labeling for Easy Identification
Labels play a crucial role in the organizational system. They save our future selves the hassle of guessing contents and help maintain our system long-term.
- Advantages: With clear and consistent labeling, finding and returning crafting supplies becomes a no-brainer, thus maintaining orderliness.
- Practical Tips:
- Use a label maker or printable labels for a neat look.
- Make sure labels are easy to read from a distance to quickly locate items.
Specialized Storage for Crafting Supplies
When it comes to organizing crafting supplies, having specialized storage solutions can make all the difference. These options allow for better accessibility and help maintain order in your creative workspace.
Tailored Solutions for Ribbons and Washi Tape
Wall-Mounted Rods: We can efficiently organize ribbons and washi tape using wall-mounted rods. This method keeps ribbons visible and tangle-free, making it simple to find the right pattern or color for any project.
- Installation tip: Place the rods at a convenient height near the crafting table for easy access while working.
Drawer Dividers: Drawer dividers create separate compartments for storing washi tape. This prevents them from rolling around and makes them easily stackable.
- Organizing tip: Sort tapes by color or pattern for quick selection during crafting.
Paint and Brush Specific Storage
Dedicated Paint Drawers: We recommend dedicated drawers with adjustable dividers for paint storage. This keeps paints upright, avoids spills, and segregates them by type or color.
- Space tip: Label each divider with the paint type, brand, or color spectrum for quick identification.
Brush Holders: Proper brush care involves keeping them organized and upright, prolonging their lifespan. Using jars or brush organizer stands with varying depth sections preserves the brush bristles and keeps them within reach.
- Maintenance tip: Store brushes with bristles upward to maintain their shape and function.
Yarn and Fabric Organizers
Yarn Storage Bins: Clear storage bins are ideal for yarn storage. They protect yarn from dust and critters while making it easy to see the colors and textures available.
- Accessibility tip: Use stackable bins to conserve space and maintain order in your crafting area.
Fabric Drawer Labels: For fabric organization, we use flat storage drawers with clear fronts or labels describing the contents. This maintains a tidy appearance and provides quick access to various fabric types without rummaging through piles.
- Sorting tip: Arrange fabrics by type, color, or project to streamline the selection process.
Innovative Craft Room Enhancements
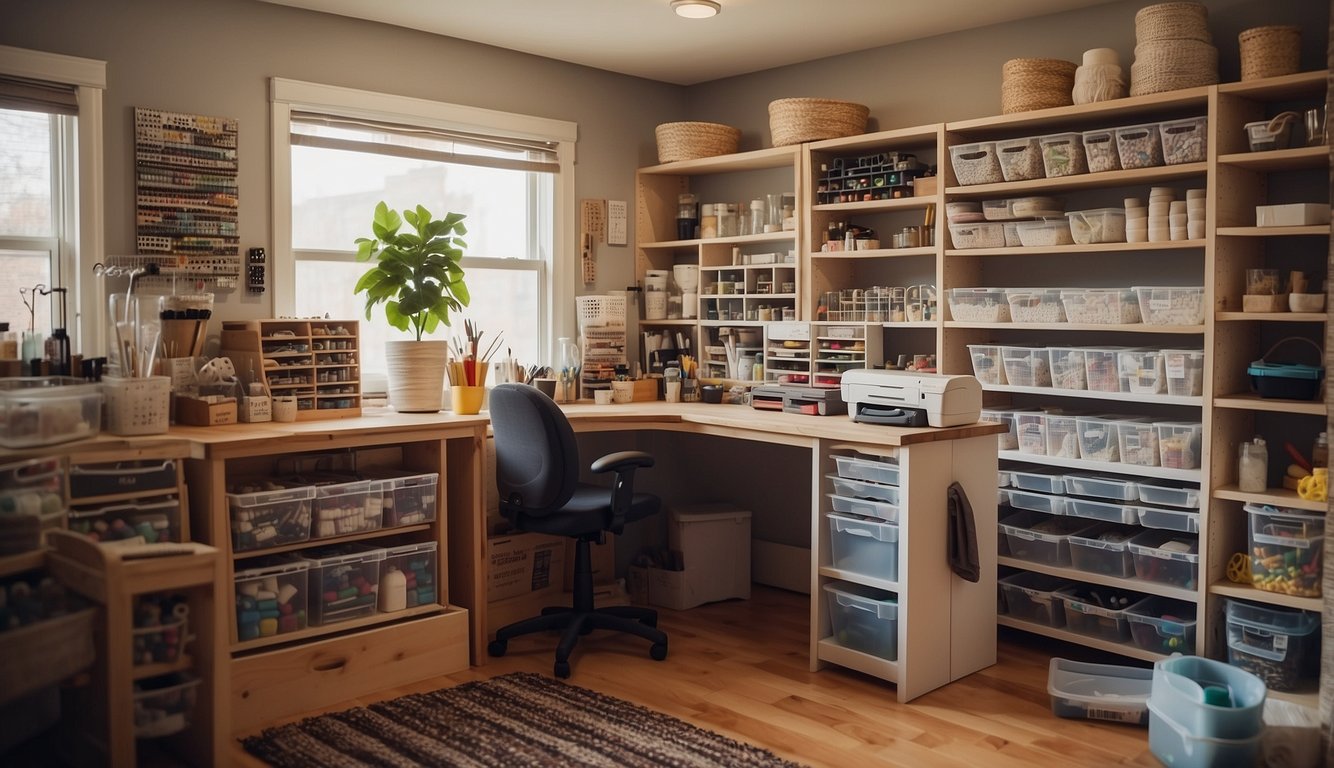
When organizing a crafting space, it’s essential to maximize storage efficiency and maintain easy access to supplies. We focus on solutions that transform clutter into a streamlined system, enhancing both creativity and productivity.
Incorporating Vertical Storage and Rolling Carts
Vertical storage is an indispensable tool to capitalize on vertical space and free up the work surface. Here are specific ways to implement it:
- Pegboard Systems: Attach a pegboard to the wall and use hooks to hang tools and supplies. This ensures everything has a place and is visibly accessible.
- Shelving Units: Install shelves above your work area to keep less frequently used items out of the way but within reach.
- Rolling Carts: These are versatile and mobile. Use them to store commonly used items so you can effortlessly move them wherever you are working.
Utilizing Stackable Bins and Dividers
Stackable bins and dividers can tame even the most unruly craft supplies. Here’s why they work and how to use them:
- Transparent Stackable Bins: Use clear stackable bins for easy identification of contents. Label each bin for further organization.
- Drawer Dividers: Inside drawers, use dividers or small containers to separate and categorize items, preventing them from shifting and mixing together.
Craft Closet Optimization Techniques
A craft closet can serve as a centralized storage area that’s both efficient and space-saving. Consider these optimization techniques:
- Custom Shelving: Tailor your craft closet with adjustable shelving to fit a variety of storage needs, from stacks of fabric to rows of paint.
- Door Organizers: Equip the closet door with organizers, perfect for storing small items like spools of thread or paintbrushes, to utilize every inch of space.
Multi-Functional Spaces and Storage
In our craft rooms, we aim to maximize every inch of space. These innovative storage solutions double as practical craft areas while seamlessly integrating into existing spaces in our homes.
Combining Guest Room with Craft Organization
Why It Works: Guests typically don’t stay long, leaving the guest room vacant for most of the time. By integrating craft storage into this space, we effectively utilize every corner.
Practical Tips:
- Utilize Murphy Beds: Install a Murphy bed which can be stowed away when not in use, freeing up space for a foldable DIY craft table.
- Convertible Furnishings: Opt for a daybed with built-in drawers or a desk that doubles as a bedside table, ensuring your crafting supplies are organized and out-of-sight when guests arrive.
DIY Solutions for Craft and Office Spaces
Why It Works: Many crafting enthusiasts find themselves sharing a space with a home office. DIY solutions help maintain distinction and order between the two functions.
Practical Tips:
- Customized Pegboards: Install a pegboard above your desk and tailor it with hooks and shelves to hold craft supplies, leaving your desk surface clear for office work.
- Desk Organization: Use small, clear containers or vintage tins for items like Mod Podge or paintbrushes, labeling everything to simplify switching between office tasks and creative projects.
Everyday Items as Effective Storage Solutions
Why It Works: Repurposing everyday items for storage brings a creative and cost-effective approach to organizing craft supplies.
Practical Tips:
- Paper Towel Holders for Ribbon: Place spools of ribbon or tape on a standing paper towel holder. This keeps them untangled, easily accessible, and provides a way to measure and cut the lengths you need.
- Mason Jars and Caddies: Store buttons, beads, or small embellishments in mason jars. Use a utensil caddy to group items by project type, which can be easily moved around your craft space.
Let Us Know How We’re Doing!
Did this expertly prepared resource answer your question?
Do you have another question about home maintenance, home improvement projects, home appliance repair, or something else?
Get more information, send in questions and keep the discussion going by contacting the I’ll Just Fix It Myself company customer service team at at 1-800-928-1490 or Email us at [email protected]