5 Must-Try Tips for Storing Holiday Lights WITHOUT Tangling!
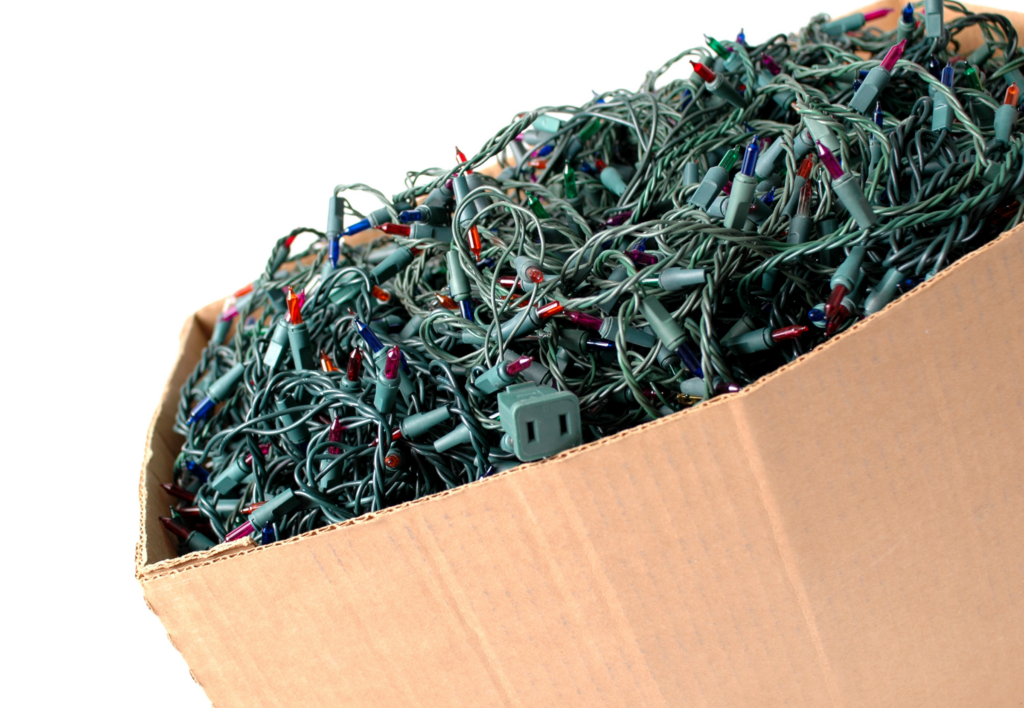
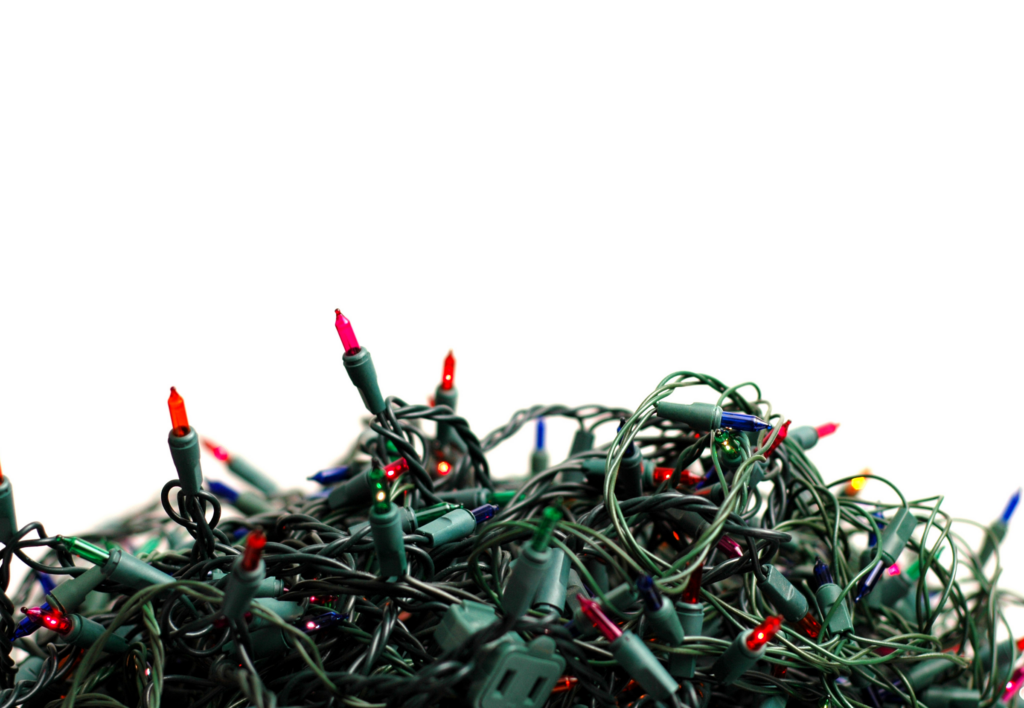
We’ve all been there — the holidays are over, and it’s time to take down the twinkling lights. As you remove them, they seem determined to twist into a knot that would make a sailor proud. But it doesn’t have to be this way.
Tangled holiday lights can turn even the most patient person into a Scrooge, but with the right storage techniques, you can preserve your holiday cheer (and sanity) for seasons to come.
In this post, we’ll share practical, quick, and sometimes even fun ideas to help you store your holiday lights. These methods don’t just work; they transform the dreaded chore into an easy task that you might actually look forward to.
So, let’s untangle the mystery and dive into the first two tips that will save you from the holiday light headache.
Tip 1: Cardboard Wrapping Method
The cardboard wrapping method is a classic for a reason — it’s simple, effective, and utilizes materials you likely have lying around the house.
Here’s why it works: Cardboard is sturdy and provides a flat surface that keeps your lights from twisting. Plus, it’s a great way to upcycle those gift boxes or shipping materials from your online shopping.
Implementing the Cardboard Wrapping Method:
- Find Your Cardboard: Look for a piece that’s large enough to accommodate the length of your light strand, but not so big that it’s cumbersome to store.
- Prepare Your Cardboard: Cut a notch on each side of the cardboard. These notches will secure the ends of the light string.
- Wrap Your Lights: Start by securing one end of the lights in a notch, then wrap the strand around the cardboard, ensuring that each layer doesn’t overlap or cross over the previous one.
- Secure the End: Once you’ve wrapped the entire strand, secure the other end into the opposite notch.
- Label It: Take a moment to label the cardboard with the location or specific tree these lights were used for, making next year’s decorating that much easier.
By using the cardboard wrapping method, you’re not just preventing tangles; you’re setting yourself up for a seamless decorating experience next holiday season.
Tip 2: Plastic Bag Individual Wraps
Our second tip takes a more individualized approach. By storing each strand of lights in its own plastic bag, you eliminate the possibility of different strands becoming entangled with each other. It’s like giving each set of lights its own little room in a holiday light hotel.
Why This Idea Works:
- Isolation: Each strand is isolated from the others, preventing a jumbled mess.
- Protection: The plastic bag offers a layer of dust and moisture protection, which is especially handy if you’re storing lights in a basement or attic.
- Easy Identification: You can easily see which lights are in each bag, making it simple to grab exactly what you need next year.
Quick Tips for the Plastic Bag Method:
- Gently Coil Each Strand: Take your time to neatly coil each strand of lights before placing it in the bag. This ensures they’ll come out just as neatly.
- Squeeze Out the Air: Before sealing the bag, press out as much air as possible to save space and prevent moisture buildup.
- Label Each Bag: Write a quick note on the bag with a permanent marker to identify where the lights were used or any special handling instructions.
Tip 3: Clothes Hanger Technique
Hangers aren’t just for wardrobes; they can be the perfect solution for hanging onto your holiday lights too. The clothes hanger technique leverages something we all have in our closets to keep lights neatly organized and ready for action.
Why the Clothes Hanger Technique Works:
- Accessibility: Hangers are designed to be hung, which means you can store your lights in a closet, on a rack, or any place where you can hang something.
- Space-Efficient: This method takes advantage of vertical space, which is often underutilized in storage areas.
- No Special Tools Needed: You don’t need to buy anything special; just repurpose what you already have at home.
Implementing the Clothes Hanger Technique:
- Select Your Hangers: Use sturdy hangers, preferably plastic or wood, as they can handle the weight of the lights better than wire hangers.
- Wrap Your Lights: Begin by securing the plug end around the neck of the hanger, then wrap the strand around the width of the hanger, keeping it taut to avoid loose loops that could tangle.
- Secure the Loose End: Once you reach the end of the strand, tuck the last bit into the wrapped lights or around the hanger’s hook to keep it in place.
- Hang Them Up: Place your hanger-wrapped lights in a storage closet or from a rod in your storage area. You can even categorize them by color or length for easier access.
This method not only keeps your lights tangle-free but also makes it incredibly easy to see what you have at a glance. It’s a practical, no-fuss way to keep your holiday lights in check.
Tip 4: Homemade Reels Using Wood
For the DIY enthusiasts, creating your own wooden reels for light storage can be a satisfying project. These homemade reels are durable, reusable, and tailor-made to fit your specific storage needs.
Why Homemade Reels Are Effective:
- Customization: You can build them to any size, accommodating even the longest strands of lights.
- Durability: Wood is strong and can handle the weight and pull of the lights as you wind them.
- Ease of Use: A reel makes it easy to wind and unwind lights without any tangling.
Building and Using Your Homemade Reels:
- Gather Materials: You’ll need a round piece of wood for the base, two side supports, and a dowel or a sturdy cylindrical piece for the handle.
- Construct Your Reel: Attach the side supports to the round base and then fix the handle in place, ensuring everything is secure.
- Wind Your Lights: Secure the end of your light strand to the reel and wind the lights around the base, keeping your turns even and snug.
- Store with Ease: Once wound, store your reels in a cool, dry place. If you’ve made multiple, you can stack them or place them side by side.
While this method requires a bit more upfront effort, the payoff is a robust and reliable storage system that can last for years, making it well worth the investment of time and materials.

Tip 5: Use a Christmas Light Storage Reel
For those who prefer a ready-made solution, a Christmas light storage reel is the way to go. These reels are specifically designed for holiday lights, making them an intuitive and user-friendly option.
Why Opt for a Christmas Light Storage Reel:
- Convenience: Pre-made reels are designed for easy winding and unwinding.
- Compact Storage: Many reels come with a storage bag or container, keeping your lights dust-free and compact for storage.
- Longevity: These reels are made with lights in mind, ensuring they’re built to last and protect your lights season after season.
Implementing the Storage Reel Method:
- Select Your Reel: Choose a reel that suits the length and quantity of your light strands. Some reels can accommodate several hundred feet of lights.
- Wind Your Lights: Clip the end of your light strand to the reel and turn the handle, guiding the lights smoothly onto the reel.
- Store Properly: Once wound, place your reel in its bag or box, and find a safe spot in your storage area. Keep them away from moisture and extreme temperatures for best results.
Investing in a Christmas light storage reel can save you time and frustration, making it a worthy addition to your holiday storage solutions.
Conclusion
The battle against tangled holiday lights is one we all face, but with these five tips, you’re now armed and ready to conquer the chaos.
Whether you choose the simplicity of the cardboard wrap, the individual care of plastic bags, the convenience of a clothes hanger, the satisfaction of a DIY wooden reel, or the ease of a pre-made storage reel, your holiday lights will remain untangled and ready to shine brightly for many seasons to come.
Remember, the key to success is in the preparation. Taking a little extra time now to store your lights properly will save you a lot of time and frustration next holiday season. So, say goodbye to the tangled messes of the past and hello to a future of hassle-free holidays!
Let Us Know How We’re Doing!
Did this expertly prepared resource answer your question?
Do you have another question about home maintenance, home improvement projects, home appliance repair, or something else?
Get more information, send in questions and keep the discussion going by contacting the I’ll Just Fix It Myself company customer service team at at 1-800-928-1490 or Email us at [email protected]