8 Common Toilet Problems and How to Fix Them Yourself! (Step-by-Step)
When your toilet malfunctions, it can throw off your whole routine. But not all issues require a plumber’s expertise. This guide offers quick fixes for 8 common toilet problems, giving you the means to tackle everything from relentless running water to clogs.
We’ll provide clear, concise instructions to address each issue, often with tools you already have at home.
Equip yourself with this knowledge and take the first step towards DIY toilet repair, saving time and money in the process.
1. Constantly Running Toilet
A toilet that runs non-stop isn’t just a nuisance; it can rack up a hefty water bill and waste precious resources. This common problem usually stems from issues with the toilet’s internal mechanisms: the flapper valve, the float, or the fill tube. Here’s how you can silence that endless flow of water.
Causes:
- A worn-out flapper valve is often the culprit. It’s the rubber seal that lifts when you flush and settles back down to stop water from entering the bowl. Over time, it can degrade or become warped, preventing a tight seal.
- An improperly adjusted float can cause the tank to overfill, leading to continuous running water. The float determines the water level and should shut off the valve when the tank is full.
- A misplaced fill tube can lead to a running toilet. This small tube should be perched above the water level, and if it’s under, it could be siphoning water continuously.
Step-by-Step Guide to Fixing a Running Toilet:
- Inspect the Flapper:
- Turn off the water to the toilet at the shut-off valve, typically located behind the toilet.
- Remove the toilet tank lid and flush to drain the water out of the tank.
- Check the flapper at the bottom of the tank. If it looks warped, cracked, or doesn’t seal properly, it needs to be replaced.
- Adjust the Float:
- For a ball float, bend the arm connected to the ball to adjust the water level. The ball should be high enough to shut off the water but not so high that it causes overflow into the overflow tube.
- For a cup float, there will usually be a clip that you can pinch to slide the float up or down on the rod.
- Reposition the Fill Tube:
- Make sure the fill tube is sitting above the water line and draining into the overflow tube. It should not be under water.
- If it is too long, trim it down with a pair of scissors so that it sits just above the water level.
Troubleshooting Tips:
- Sometimes cleaning the flapper and the valve seat can make a better seal. You can use a sponge or cloth to gently clean these parts before deciding to replace them.
- Check for any small leaks by adding food coloring to the tank and waiting to see if it seeps into the bowl without flushing. If it does, your flapper is likely at fault.
Safety Note:
- When working inside the tank, be cautious with any tools or parts to prevent cracking the tank or damaging the components.
With these steps, you should be able to resolve the issue of a constantly running toilet, restoring peace to your bathroom and savings to your water bill.
2. Weak Flush
A weak or sluggish flush often leaves homeowners frustrated. The good news is that this is typically an issue you can fix without professional help. It usually points to a clog or a problem with the water flow into the bowl. Let’s flush out this problem with a few simple solutions.
Causes:
- Clogged holes underneath the toilet bowl rim can reduce the water flow needed for a strong flush.
- A low water level in the tank doesn’t provide enough force for a proper flush.
- Mineral deposits building up in the tank or bowl can impede water flow.
Step-by-Step Guide to Enhancing Flush Power:
- Clean the Rim Feed Holes:
- Turn off the water and flush the toilet to empty the tank.
- Use a small mirror to inspect the rim feed holes under the rim of the toilet bowl.
- Clear any blockages with a piece of wire, a small brush, or a needle. Vinegar can help dissolve mineral deposits.
- Adjust Water Level:
- Check the water level in the tank. It should be about one inch below the top of the overflow tube.
- If it’s too low, adjust the float (as previously described in section 1) to allow more water to fill the tank.
- Remove Mineral Deposits:
- For mineral buildup in the tank, turn off the water supply and drain the tank.
- Apply a commercial lime remover or a DIY solution of white vinegar and let it sit to break down the deposits.
- For severe buildup, it might be necessary to remove the tank from the bowl to clean it thoroughly.
Troubleshooting Tips:
- If you have hard water, consider installing a water softener to prevent future buildup.
- For persistent issues with water flow, check if the shut-off valve is fully open, as a partially closed valve can restrict water entering the tank.
Safety Note:
- When using chemical cleaners, ensure good ventilation and wear gloves to protect your skin.
A little maintenance goes a long way. By addressing these simple causes, your toilet’s flush should return to its full, robust power, banishing the woe of a weak flush for good.
3. Toilet Won’t Flush
One of the more dire plumbing predicaments is when the toilet refuses to flush at all. Before you panic or assume the worst, there are a few things you can check that might be causing the issue. Often, the solution is simpler than you might think.
Causes:
- The lift chain or wire may have come loose or is too slack, preventing it from lifting the flapper.
- The toilet handle might be loose or broken.
- There could be a blockage in the toilet trap or drainpipe causing a back-up.
Step-by-Step Guide to Fixing a Non-Flushing Toilet:
- Inspect the Lift Chain or Wire:
- Remove the lid from the toilet tank and locate the chain or wire connected to the flapper.
- If it’s disconnected, reattach it to the arm that’s connected to the flush handle.
- Adjust the length if necessary so that there’s only a little slack when the flapper is closed.
- Tighten or Replace the Handle:
- If the handle is loose, tighten the nut inside the tank that holds it in place.
- If the handle is broken, it can be replaced with a new one from any hardware store. Just make sure it’s compatible with your toilet model.
- Clear Blockages:
- Use a plunger to try and dislodge any clogs in the toilet. Make sure to have a good seal between the plunger and the toilet bowl.
- For tougher clogs, a toilet auger can be inserted into the drain to break up the blockage.
Troubleshooting Tips:
- Sometimes the solution is as simple as making sure the water supply valve to the toilet is fully open.
- Double-check that there’s enough water in the tank; if not, it might be a sign of an issue with the fill valve or a leak in the tank.
Safety Note:
- When using a toilet auger, be gentle to avoid scratching the porcelain of the toilet bowl.
By systematically checking these components, you should be able to diagnose and fix the issue preventing your toilet from flushing, without having to make that emergency call to the plumber.
4. Partial Flush
A toilet that only partially flushes can be just as frustrating as one that won’t flush at all. It’s usually an indication that the toilet’s flapper valve is closing too soon, cutting off the flush prematurely. Here’s how to diagnose and correct a partial flush.
Causes:
- The flapper valve might be closing too quickly because of the chain tension or waterlogged flapper.
- Insufficient water in the tank for a full flush cycle due to incorrect float height.
- Blockages in the trapway or vent pipe reducing the flush power.
Step-by-Step Guide to Fixing a Partial Flush:
- Adjust the Flapper Chain:
- Lift the tank lid and observe the chain length when the flapper is down. If there’s no slack, the chain may be too tight, causing the flapper to close prematurely.
- Adjust the chain length so that there’s about 1/2 inch of slack with the flapper closed. This allows the flapper to lift fully and stay open for a complete flush.
- Replace the Flapper:
- If adjusting the chain doesn’t solve the problem, check if the flapper is waterlogged or damaged.
- Shut off the water, flush the toilet to drain the tank, and unhook the old flapper.
- Install a new flapper, following the manufacturer’s instructions.
- Check the Water Level:
- Make sure the water level is set correctly (about one inch below the overflow tube).
- Adjust the float mechanism if the water level is too low, as this can also result in a partial flush.
Troubleshooting Tips:
- If the toilet still isn’t flushing correctly after these steps, you may need to check for blockages in the trapway or vent pipe, which can restrict the water flow and flushing action.
Safety Note:
- When replacing parts in your toilet, make sure to turn off the water supply to avoid a mess and waste.
Correcting the flushing mechanism inside your tank can often restore full flushing power, saving water and ensuring waste is effectively cleared with each flush.
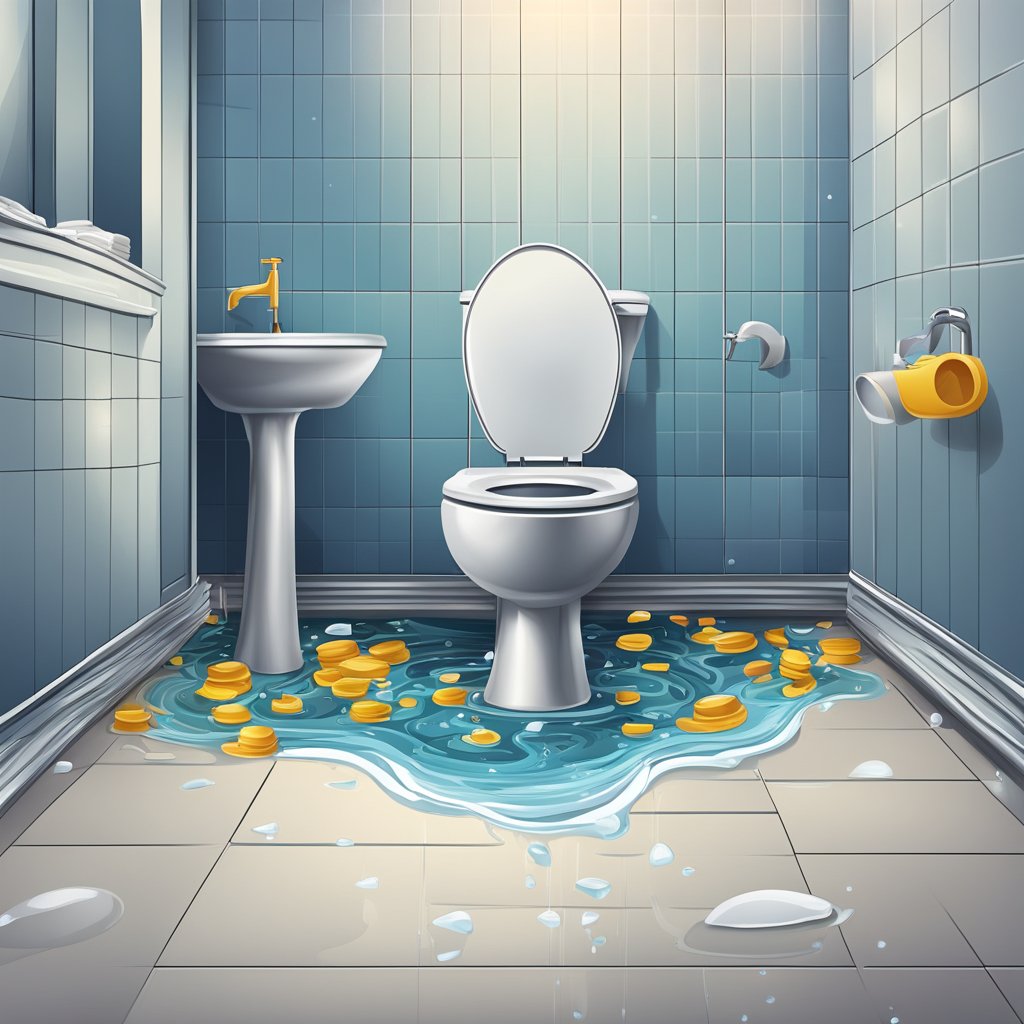
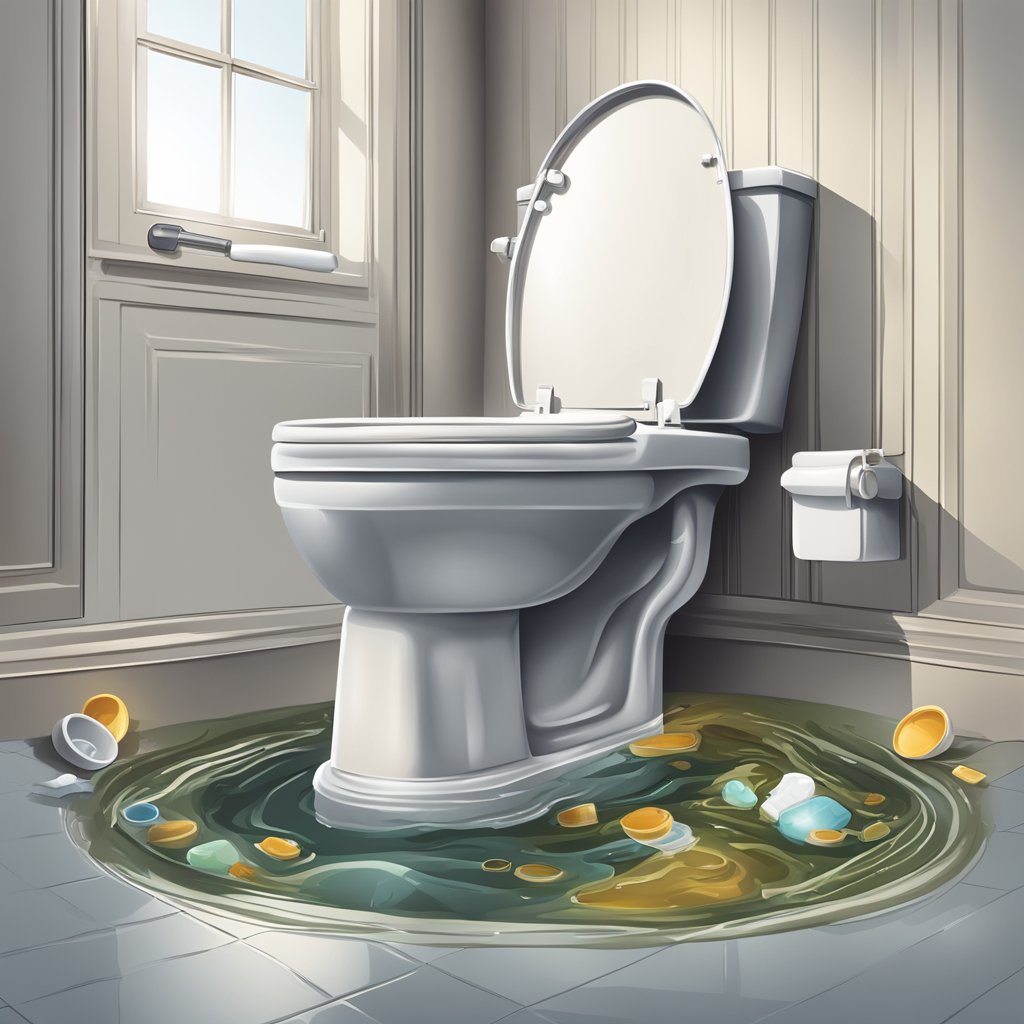
5. Toilet Overflows
An overflowing toilet is a situation that calls for immediate action. It’s not just an inconvenience; it can cause significant damage to your bathroom flooring and become a health hazard. Understanding the reasons behind an overflow can help you act swiftly and prevent future incidents.
Causes:
- A clog in the toilet itself or in the drain line is the most common cause of overflows.
- An improperly adjusted float causing the tank to fill too much can lead to overflows during flushing.
- A blockage in the sewer line can cause backups and overflows, especially if multiple fixtures are affected.
Step-by-Step Guide to Handling Toilet Overflows:
- Stop Water Flow:
- If the toilet begins to overflow, immediately lift the lid off the tank and push the flapper down to stop water from entering the bowl.
- Turn off the water at the toilet’s shut-off valve.
- Plunge to Remove Clogs:
- Once you’ve stopped the immediate overflow, use a plunger to attempt to dislodge the clog. Make sure you have a good seal and use a forceful up-and-down motion.
- If the water level goes down after plunging, try a test flush with the tank’s shut-off valve still closed to see if the clog is cleared.
- Inspect the Float Mechanism:
- If overflows occur without clogging, inspect the float mechanism. It may be allowing the tank to fill too high, causing water to spill into the overflow tube.
- Adjust the float to ensure the water stops filling at the correct level.
Troubleshooting Tips:
- If a plunger doesn’t work, a toilet auger can be used to reach deeper clogs that are beyond the immediate reach of a plunger.
- For recurring issues, especially if other drains are affected, consider the possibility of a sewer line blockage, which would require professional attention.
Safety Note:
- In case of major overflows, protect yourself from potential contaminants with gloves and avoid contact with any spilled water. Clean and disinfect the area thoroughly after an overflow incident.
An overflowing toilet doesn’t have to be a disaster. With quick thinking and proper tools, you can manage the overflow and address the underlying cause to prevent a recurrence.
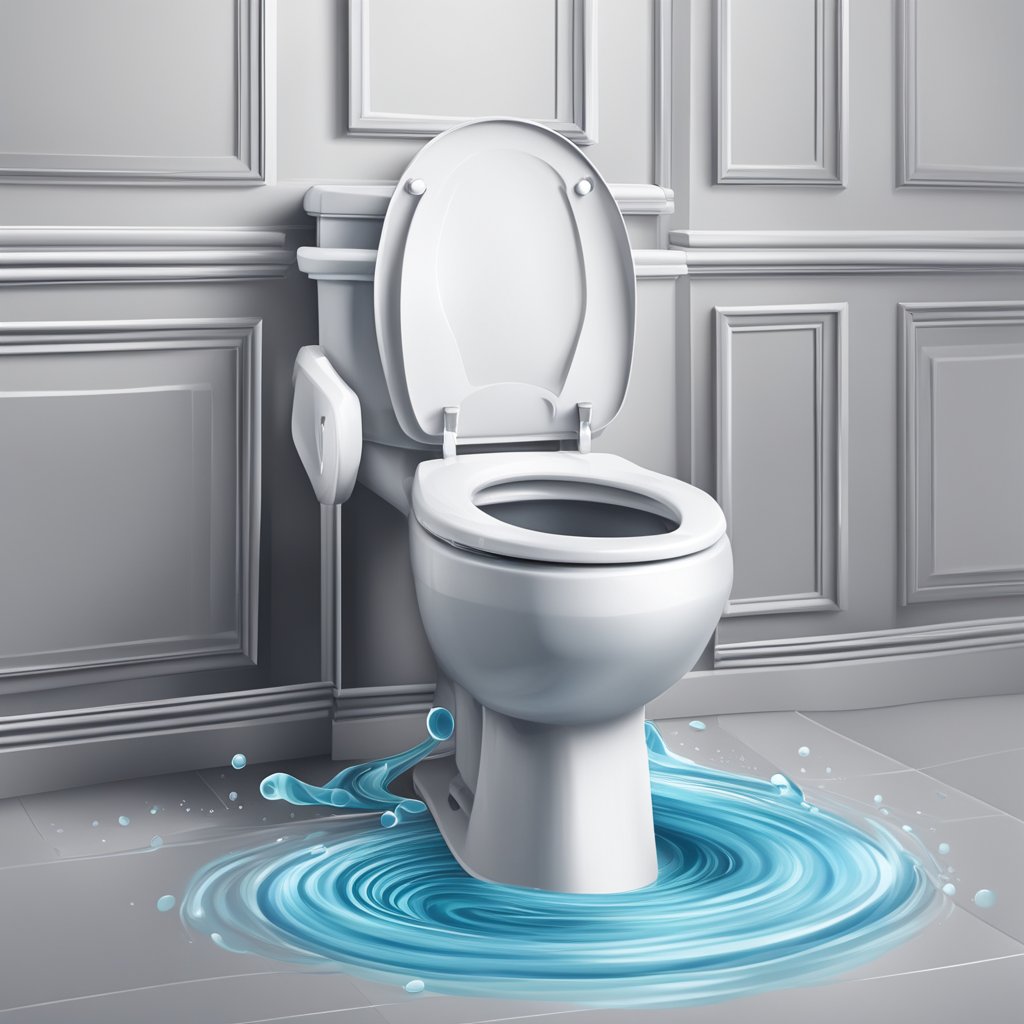
6. Leaky Seals
Standard toilets usually have at least five seals with the potential to spring a leak. If you notice water around the base of your toilet or on the floor, one of these seals may be failing. Identifying and fixing a leaky seal promptly can prevent damage to your bathroom floor and subflooring.
Causes:
- The wax seal under the toilet base can deteriorate over time, leading to leaks when the toilet is flushed.
- The seals between the tank and bowl can wear out, especially if the tank wobbles.
- Loose or damaged bolts or gaskets can cause leaks at various connection points on the toilet.
Step-by-Step Guide to Fixing Leaky Seals:
- Identify the Source of the Leak:
- Dry the area around the toilet, flush, and look for where the water appears. This will help you determine which seal is leaking.
- If water is seeping from the base, it’s likely the wax seal. If it’s between the tank and bowl, it’s one of the seals there.
- Replace the Wax Seal:
- Turn off the water supply and drain the toilet.
- Disconnect the water supply line, remove the mounting bolts, and carefully lift the toilet off the floor.
- Scrape off the old wax seal and replace it with a new one.
- Realign and place the toilet back down, pressing firmly to set the seal. Replace and tighten the mounting bolts.
- Tighten Tank Bolts or Replace Tank-to-Bowl Gasket:
- If the leak is from the tank, first try gently tightening the bolts connecting the tank to the bowl.
- If that doesn’t stop the leak, or if the gasket is visibly damaged, turn off the water, drain the tank, and remove it.
- Replace the old gasket with a new one, ensuring it’s properly seated before reattaching the tank.
Troubleshooting Tips:
- Be careful not to overtighten bolts, as this can crack porcelain toilets.
- Always shut off the water supply before attempting any repairs to prevent further leakage.
Safety Note:
- Heavy lifting is required when removing the toilet. Ensure you use proper lifting techniques or have assistance to prevent injury.
Fixing leaky seals can be a messy job, but it’s crucial for maintaining the integrity of your bathroom’s plumbing and flooring.
7. Toilet Tank Won’t Fill
If your toilet tank isn’t filling up after a flush, it can be a real inconvenience. There are several reasons why this might happen, but thankfully, most can be fixed without calling a professional.
Causes:
- The water supply valve may be turned off or not fully open.
- The fill valve could be clogged or malfunctioning.
- The float mechanism is incorrectly adjusted or stuck, preventing water from entering the tank.
Step-by-Step Guide to Fixing a Toilet Tank That Won’t Fill:
- Check the Water Supply Valve:
- Ensure that the valve, usually located behind the toilet, is fully open. If it was accidentally turned off or isn’t fully open, the tank won’t fill.
- Inspect the Fill Valve:
- Open the toilet tank. If there’s little to no water, inspect the fill valve, which may be clogged with debris.
- Turn off the water supply, remove the fill valve cap, and clean the valve of any sediment or deposits.
- If the fill valve is damaged or worn, consider replacing it entirely.
- Adjust or Unblock the Float:
- The float controls the water level in the tank. If it’s set too low or is stuck, it can prevent the tank from filling properly.
- Adjust the float higher to allow more water into the tank.
- If the float is stuck, gently remove any obstructions, or it may need to be replaced if damaged.
Troubleshooting Tips:
- If the tank is filling slowly, check for any leaks in the toilet that could be diverting water flow.
- Ensure that the refill tube is properly attached to the overflow pipe and not kinked or blocked.
Safety Note:
- Be careful when removing parts from the toilet tank. Use appropriate tools and follow the manufacturer’s instructions to prevent damage to the components.
By following these steps, you should be able to resolve the issue of a toilet tank that won’t fill and restore full functionality to your toilet.
8. Toilet Making Noise When Not in Use
Noises coming from a toilet when it’s not being used can be unsettling and may indicate a problem with your plumbing. Identifying and resolving these noises can prevent potential water damage and save on water costs.
Causes:
- A worn-out flapper can cause the toilet to run intermittently, leading to strange noises.
- Water pressure issues in the plumbing can cause humming or vibrating sounds.
- A fill valve that’s on the brink of failure may make noise as it struggles to maintain the water level in the tank.
Step-by-Step Guide to Quieting a Noisy Toilet:
- Inspect the Flapper:
- Check the flapper for signs of wear or decay. Replace it if it’s not forming a tight seal.
- If the flapper is in good condition, check the chain tension. If it’s too tight, it may prevent the flapper from sealing properly.
- Check Water Pressure:
- A humming noise when the toilet isn’t being used can be a sign of high water pressure. You may need a plumber to measure your water pressure and adjust it if necessary.
- Replace the Fill Valve:
- Listen for where the noise is coming from. If it’s from the fill valve and adjusting it doesn’t help, it may need to be replaced.
- Turn off the water supply and drain the tank. Follow the manufacturer’s instructions to install a new fill valve.
Troubleshooting Tips:
- Ensure the water supply line is not loose or vibrating against the back of the toilet, as this can cause noise.
- Sometimes, sediment in the line can cause noise. Flush the line by turning the water supply off and on rapidly a few times to clear any debris.
Safety Note:
- When working inside the toilet tank, be careful not to damage any components. They can be delicate and may cause more issues if broken.
Addressing unexpected noises from your toilet promptly can save you from future headaches and potential water damage. Regular maintenance can prevent many of these issues from cropping up.
Conclusion: Empowering Your DIY Plumbing Skills
Tackling toilet troubles can often be straightforward, saving you the expense and hassle of calling a plumber. With this guide, you’re now equipped to handle some of the most common toilet issues that can arise. Remember, many toilet repairs are simple adjustments or replacements that can be done with a few tools and a bit of patience.
However, if you’ve gone through all the appropriate steps and your toilet issues persist, it might be time to call in a professional. There’s no shame in reaching out for help — some problems can be indicative of larger plumbing issues that require expert intervention.
Above all, regular maintenance and prompt attention to small problems can keep your toilet functioning smoothly for years to come. So the next time your toilet acts up, take a deep breath, grab your tools, and remember: You’ve got this!
When to Call a Professional:
- If you experience leaks that you can’t locate or fix.
- When the toilet remains clogged after using a plunger and auger.
- If there are persistent noises after troubleshooting all the common causes.
- Whenever you’re uncomfortable performing a repair or if the repair involves complex plumbing.
We hope this guide has been helpful. Happy plumbing, and remember — a well-maintained toilet is a happy toilet!
Let Us Know How We’re Doing!
Did this expertly prepared resource answer your question?
Do you have another question about home maintenance, home improvement projects, home appliance repair, or something else?
Get more information, send in questions and keep the discussion going by contacting the I’ll Just Fix It Myself company customer service team at at 1-800-928-1490 or Email us at [email protected]