Delta Haywood Toilets: Troubleshooting Guide for Flushing, Filling Issues, and More
Delta Haywood toilets are known for their reliability and advanced features, but like any household fixture, they can encounter issues related to flushing, filling, and overall operation. As experts in home improvement, we understand the inconvenience that comes with a malfunctioning toilet. Whether you’re facing a weak flush or a fill valve that won’t stop running, the solutions are often straightforward and require minimal tools.
Tackling common problems begins with identifying the symptoms. A continuously running toilet, for example, may indicate a leak or a sensor issue in models with FlushIQ technology. A simple observation can lead to a quick fix, like adjusting the water level or cleaning a clogged inlet hole. With the right approach, you can diagnose and resolve the majority of these problems, ensuring your Delta Haywood toilet operates efficiently once again.
the Basics of Your Delta Haywood Toilet
Before we dive into troubleshooting, let’s get familiar with the key components of your Delta Haywood toilet. This knowledge will help us better understand how the toilet functions and resolve common issues effectively.
Toilet Components
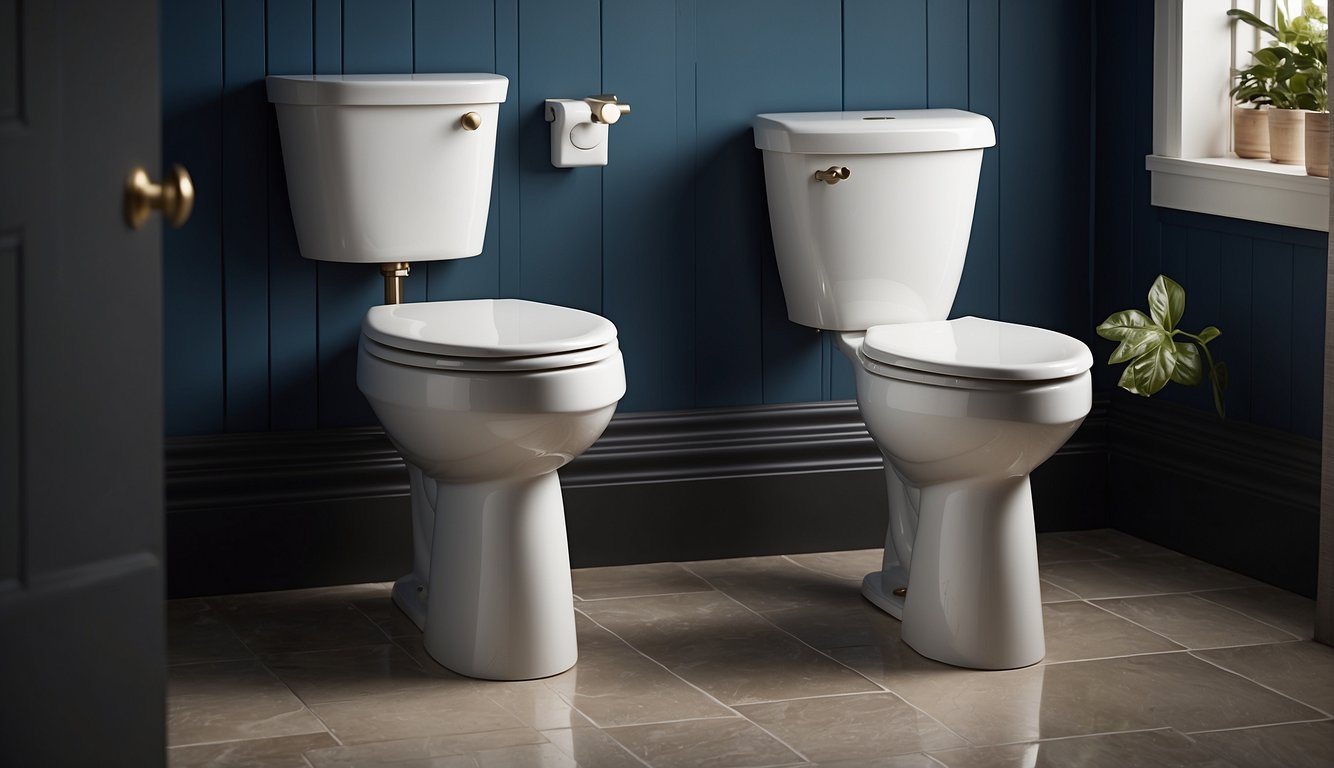
The Delta Haywood toilet is a two-piece design, consisting of a separate tank and bowl which makes it easier to handle during installation. The tank is where water is held and includes the flapper, a critical rubber component that seals water in the tank, preventing it from entering the bowl until you flush. The bowl itself is the part of the toilet we are all familiar with; it’s mounted to the floor and carries waste away when flushed.
Key Components:
- Tank
- Bowl
- Flapper
Water Supply and Shut-Off Valve
Every toilet, including the Delta Haywood, is equipped with a water supply line that feeds fresh water into the toilet tank.
This water is essential for the flushing process. An important aspect of this system is the shut-off valve, usually located near the floor at the base of the toilet. This valve controls the flow of water to the toilet and can be turned off to stop the supply during repairs or when a leak occurs.
Quick Guide:
- Shut-Off Valve: To cease water flow, turn this valve clockwise.
- Water Supply Line: Check for any kinks or leaks if the tank isn’t filling properly.
Flushing Mechanism Explained
When you press the handle to flush a Delta Haywood toilet, it lifts the flapper at the base of the tank, which allows water to rush from the tank into the bowl, carrying waste through the drain. It’s a straightforward mechanism where proper flapper and handle function are crucial to successful flushing. If either component is compromised, it could lead to flushing issues.
Flushing Steps:
- Press Handle
- Lift Flapper
- Water transfers from Tank to Bowl
- Waste flushes away
Understanding these components and their basic functions will set the foundation for effectively troubleshooting most issues with your Delta Haywood toilet.
Troubleshooting Flushing Issues With Delta Haywood Toilets
When addressing flushing issues with Delta Haywood toilets, it’s essential to assess the condition of various components such as the flapper, chain, and overflow tube, and to make precise adjustments.
Adjusting the Flush Mechanics
Adjusting the water level: Ensure the water in the tank reaches the correct mark on the overflow tube. If the water level is too low, adjust the float by tweaking the screw on top of the fill valve or bending the float arm gently.
Aligning the flush arm: Confirm that the flush arm is properly connected to the handle. If the arm is misaligned, reposition it for proper operation. A correctly set flush arm ensures efficient flushing.
Dealing with a Weak or Incomplete Flush
Unclogging the rim jets: A weak flush may be due to clogs in the rim jets. Use a small piece of wire or a pin to clear any debris from these holes.
Clearing the siphon jet: Check the siphon jet at the bottom of the bowl; if it’s clogged, clear it carefully to improve flush power.
Resolving Flapper and Chain Problems
Inspecting the flapper: Verify that the flapper seals the drain hole correctly. If it’s worn or warped, replace it for a better seal and improved flush.
Adjusting the chain length: The chain attached to the flapper should have a slight slack to lift properly. If the chain is too loose or too tight, adjust it to achieve the correct tension.
Fixing Filling Problems With Delta Haywood Toilets
When Delta Haywood toilets experience filling problems, it usually involves the water level in the tank or issues with the fill valve. We’ll guide you through steps to ensure that the tank fills to the right level and how to address any fill valve malfunctions.
Addressing Water Level Concerns
Adjusting the water level in your toilet tank is essential for proper function. If the water level is too low, the toilet won’t flush correctly. On the other hand, if it’s too high, water could overflow into the toilet bowl or leak from the tank. Here’s how we can correct it:
- Identify the float: Locate the float inside the tank; it’s typically a ball or cylinder.
- Adjust the float:
- For a ball float, screw the float arm to raise or lower the water level.
- For a cylinder float, squeeze the clip on the float and slide it up or down the rod.
Water Level Adjustment Table
| If water level is… | Then adjust… | By doing this… |
|---|---|---|
| Too high | Ball float downward | Screw arm downward |
| Too low | Ball float upward | Screw arm upward |
| Too high | Cylinder float downward | Slide clip downward |
| Too low | Cylinder float upward | Slide clip upward |
After adjustments, flush your toilet to ensure the new water level is maintained.
Repairing or Replacing Fill Valve
The fill valve is what controls the water coming into your tank. If it’s faulty or clogged, your tank won’t fill properly. Here’s our process to fix this:
- Inspect the fill valve: Look for visible signs of wear, damage, or buildup of minerals and debris.
- Clean the fill valve:
- Turn off the water supply line.
- Flush the toilet to empty the tank.
- Remove debris or buildup from the fill valve inlet.
Fill Valve Checklist
| Task | Yes | No |
|---|---|---|
| Water supply line checked | [ ] | [ ] |
| Tank emptied | [ ] | [ ] |
| Fill valve inspected for damage | [ ] | [ ] |
| Fill valve cleaned of debris | [ ] | [ ] |
| Fill valve operation after cleaning | [ ] | [ ] |
If cleaning doesn’t solve the issue, the fill valve may need to be replaced:
- Remove the old fill valve: Disconnect the water supply line and unscrew the lock nut holding the valve.
- Install the new fill valve: Place the new valve and tighten the lock nut. Reconnect the water supply line.
- Test the fill valve: Turn on the water supply and observe if the tank fills correctly without leaks.
By following these steps, we should be able to resolve most filling problems in Delta Haywood toilets. If the toilet is still not functioning properly after these repairs, professional help may be necessary.
Clearing Clogs and Drain Problems With Delta Haywood Toilets
When your Delta Haywood toilet is facing clog issues, quick action can prevent overflow and further complications. We’ll discuss how to effectively use simple tools to clear clogs and when it’s time to seek professional help.
Using a Plunger or Toilet Snake
For minor blockages, a plunger is the first tool we reach for. Ensure a tight seal over the toilet’s drain and use a forceful up-and-down motion to dislodge the clog. If the plunger doesn’t do the trick, a toilet snake, also known as a closet auger, can navigate through the trap and dislodge obstructions deeper in the drain.
- Insert the end of the snake into the toilet bowl, aiming for the drain.
- Crank the handle to extend the coiled wire, breaking up or retrieving the blockage.
- Retract the snake, flush, and observe if the water drains swiftly.
When to Call a Professional Plumber
Sometimes clogs are stubborn or recurrent, indicating a more severe issue. If repeated plunging or snaking doesn’t clear the blockage, or if you notice water backing up in sinks or tubs when you flush, it’s time to call a professional plumber. A plumber will have specialized tools and techniques to resolve the issue, and can also check for systemic problems that might be causing frequent clogs.
Here’s when to dial up a pro:
- The toilet clog persists after several attempts with a plunger or snake.
- Water overflows from the toilet, potentially causing water damage.
- The clog affects other parts of your home’s drainage system.
Expect the cost of hiring a professional to be commensurate with the complexity of the job. While a simple clog might carry a basic service charge, more complex issues could incur additional costs.
Let Us Know How We’re Doing!
Did this expertly prepared resource answer your question?
Do you have another question about home maintenance, home improvement projects, home appliance repair, or something else?
Get more information, send in questions and keep the discussion going by contacting the I’ll Just Fix It Myself company customer service team at at 1-800-928-1490 or Email us at [email protected]