
Extend Your Microwave Lifespan With These Essential Preventative Maintenance Tips

Microwaves have become indispensable appliances in American households, seamlessly integrating convenience into our daily routines. On average, a microwave lasts between 7 to 10 years, depending on usage and maintenance. To ensure your microwave reaches its full lifespan, preventative maintenance is key. Simple routines such as regular cleaning and timely replacement of worn parts can make a significant difference.
We know from experience that many microwaves falter prematurely due to neglect. While microwaves are often a “use and forget” appliance, they require consistent oversight to maintain their optimal performance. Proper care involves keeping the interior clean, ensuring that the door seals are tight, and replacing basic parts like light bulbs and filters as necessary.
To get the most out of your microwave and potentially exceed the average decade of use, you’ll need to adopt a proactive approach. In our handyman practice, we’ve found that a few minutes spent on maintenance every month can prevent major issues down the line. Let’s take a look at some simple but effective ways to keep your microwave running efficiently for years to come.
Fundamentals of Microwave Maintenance
To ensure longevity and optimal performance, we’ll need to focus on understanding our microwave’s basic needs and establish a regular maintenance routine.
Your Microwave’s Basic Needs
Microwaves are a staple kitchen appliance and, like any other appliance, they require proper maintenance to function effectively. Manufacturers design them for durability, but there are basic needs we must meet to preserve their lifespan.
Firstly, adequate air circulation is crucial; always ensure your microwave is not enclosed in a tight space.
Secondly, clean it routinely to prevent buildup that can negatively affect its functionality.
Frequency of Maintenance Required
Regular maintenance is not complicated, but it’s essential for keeping your microwave in top form. On a daily basis, a simple wipe-down after use can prevent residue accumulation.
A more thorough cleaning, including the turntable and filters, should be carried out every few weeks. Remember, being proactive with these microwave maintenance tips can prevent costly repairs and extend the life of your kitchen appliance.
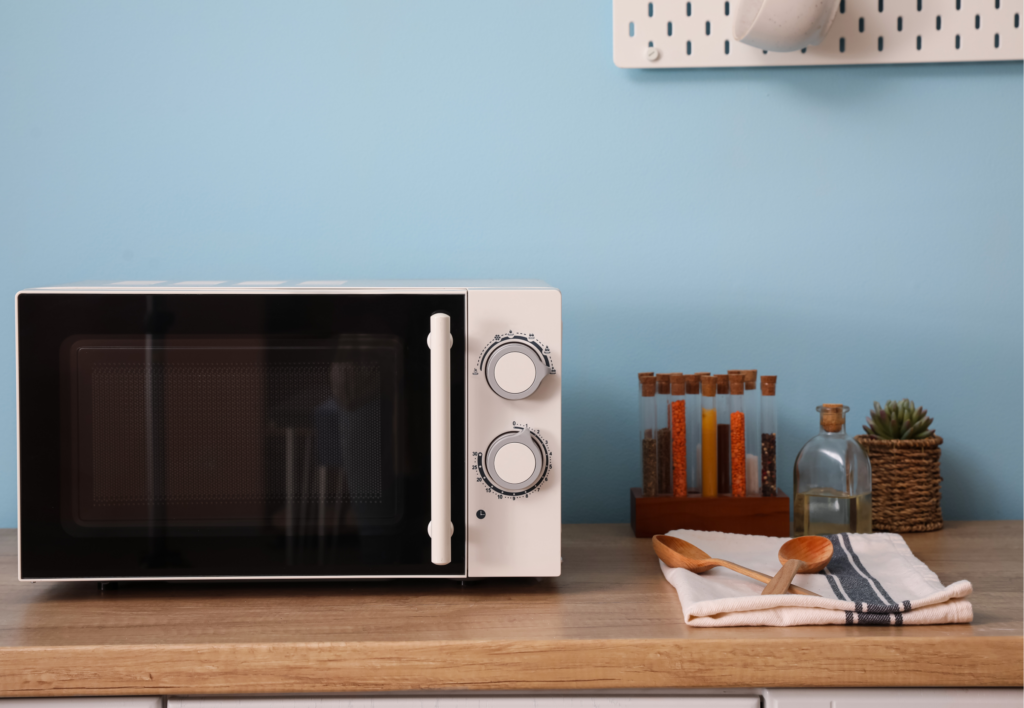
Steps to Clean and Maintain Your Microwave
Microwave maintenance is straightforward when we follow a regular cleaning routine. Keeping the interior pristine and the door latches functional ensures the longevity and efficiency of our appliance.
Regular Cleaning Routine
We can’t stress enough the importance of a regular cleaning routine. Frequent cleanup prevents the buildup of food particles and grease, which can lead to unpleasant odors and reduce our microwave’s efficiency.
- Weekly: Wipe down the interior walls and the door with a damp cloth.
- Monthly: Deep clean using microwave-safe containers filled with a water and lemon juice mixture. Run the microwave to steam-clean.
Cleaning the Interior
The interior of the microwave suffers most from everyday messes. Spills and splatters, if left unchecked, can cause hot spots and damage the unit.
- Walls and Turntable: Clean with a solution of warm water and dish soap after use.
- Stains: For stubborn stains, use a mixture of water, vinegar, and a drop of dish soap to loosen them before wiping clean.
- Condensation: After heavy use, leave the door open briefly to allow moisture to evaporate.
Inspecting and Cleaning the Door Latches
Door latches are crucial for microwave safety and function. If they’re compromised, our microwave won’t operate correctly.
- Inspection: Check the latches for debris and cleanliness.
- Cleaning: Use a soft, damp cloth to gently clean around the latches, being careful not to bend or damage them.
Proper maintenance of our microwave isn’t just about keeping it clean—it’s about ensuring it runs well and lasts longer. By incorporating these steps into our routine, we preserve the lifespan of one of our key kitchen appliances.
Prolonging Microwave Lifespan by Preventing Damage
To maximize the durability of your microwave, it’s essential to avoid certain actions that can culminate in damage over time. We’ll share firsthand knowledge of how to sidestep common pitfalls and educate you on maintaining a healthy, long-lasting appliance.
Avoiding Common Mistakes
- Keep It Clean: Promptly clean up spills to prevent odors and damage to the microwave’s interior. A simple mixture of water and mild detergent is often sufficient.
- Safe Practices: Do not use metal utensils or containers that can cause sparks—a common safety hazard. It’s also wise to avoid operating the microwave when it’s empty to prevent damage.
Handling and Preventing Overheating
- Proper Ventilation: Ensure the microwave has enough space around it for proper air flow, which is vital for preventing overheating.
- Surge Protector: Consider using a surge protector to shield your microwave from electrical spikes, which can contribute to premature overheating.
By executing these maintenance strategies diligently, we can help make certain that our microwaves serve us efficiently for as long as possible without the need for premature replacement.
Technical Care and Replacements for Your Microwave
To ensure your microwave functions effectively for years, it’s crucial to address any technical issues promptly and consider necessary component replacements. Neglecting unusual sounds or mechanical malfunctions can lead to larger problems or even pose safety risks.
Addressing Unusual Noises and Mechanical Issues
When your microwave starts making unusual noises, it’s often a sign of an underlying issue that requires attention. Here’s what to check:
- Drive Mechanism: If the turntable is creating grinding noises, inspect the drive bushing and ensure it’s seated properly and replace if worn out.
- Cooling Fan: A noisy cooling fan might need cleaning or replacement.
- Magnetron: Buzzing or loud humming can indicate magnetron issues, which might need professional assessment.
Always disconnect the microwave from power before attempting any repairs or check-ups.
When to Replace Components
Certain microwave components wear out over time and need replacement:
- Keypad: Non-responsive or malfunctioning keypads disrupt preprogrammed cooking times and should be replaced to restore functionality.
- Door Seal: Check for gaps, as they can lead to leakage of microwave energy. Replace if you find signs of wear and tear.
- Turntable Motor: If the turntable isn’t spinning correctly, reheating food evenly becomes difficult, indicating a need for a new motor.
- Interior Paint: Look for peeling paint or burn marks inside the cavity which can cause arcing, requiring a repaint with microwave-safe paint.
Keep replacement components in line with your microwave’s brand and model, and consider investing in professional repair services when in doubt to ensure safe and correct installation.
Optimizing Microwave Usage
When it comes to microwaves, using them efficiently not only saves energy but also extends their lifespan. We’ll share specific tips on how to achieve this by utilizing built-in settings designed for efficiency and selecting the right containers and accessories.
Utilizing Preprogrammed Settings for Efficiency
Most modern microwaves come equipped with preprogrammed settings that adjust the power level and cooking time to match the dish being prepared. By using these settings, we ensure that we’re not overworking the device, which can lead to unnecessary wear and tear.
For example, using a defrost setting optimizes the power usage to gently thaw food without cooking it, which can conserve energy and maintain the appliance’s performance.
- Efficiency Tip: Match the type of food to the appropriate preset to minimize energy use and prevent overcooking.
Choosing Containers and Accessories Carefully
The type of container we use in the microwave can significantly impact both the appliance’s efficiency and safety. Always choose microwave-safe containers, as they’re designed to allow water molecules in food to heat evenly while preventing damage to the microwave. Materials like aluminum foil should be avoided as they can cause sparks and even a fire hazard.
Continuous exposure to moisture and heat can also degrade the integrity of the appliance, so ensuring containers fit snugly and do not leak can prevent moisture build-up. After use, clean any residue with hot water, preferably in the dishwasher if the parts are dishwasher-safe, to maintain the appearance and functionality.
- Safety Tip: Check for a microwave-safe label and avoid using metal or aluminum foil to prevent fire risks.
- Maintenance Tip: Keep the microwave clean and dry to prevent damage from moisture build-up.
Let Us Know How We’re Doing!
Did this expertly prepared resource answer your question?
Do you have another question about home maintenance, home improvement projects, home appliance repair, or something else?
Get more information, send in questions and keep the discussion going by contacting the I’ll Just Fix It Myself company customer service team at at 1-800-928-1490 or Email us at [email protected]
