
The Fridge Water Line is Leaking? 3 Common Issues & QUICK Fixes!

When faced with a leaking fridge water line, knowing its causes can guide you in fixing it. The water line, usually at the refrigerator’s back, supplies water to the ice maker and dispenser.
A fridge water line will leak for three reasons – there is a loose or broken connect to the fridge or water supply, the water line tubing is broken or burst, or the water supply line is frozen.
Let’s dive into the walkthrough!
First, Identify the Source of the Fridge Water Line Leak
When it comes to water line leaks, there are really only two places it can be leaking from:
- Where the water line connects to the wall or the fridge
- The water line itself
3 Common Causes of Fridge Water Line Leak
Once you’ve found the source of the leak visually, it is time to figure out the cause.
Here, we’ll dive into the two reasons for your fridge’s water line to leak along with a quick solution.
Loose Fitting or Connection
Here’s an explanation of why a loose fitting could cause a water line leak on a fridge, accompanied by quick fixes:
- Incomplete Seal:
- Reason: Fittings are meant to form a tight seal. A loose fitting won’t seal properly, allowing water to escape.
- Quick Fix: Tighten the fitting until snug using the appropriate tool, such as a wrench. Ensure not to overtighten and damage the threads.
- Pressure Variation:
- Reason: Refrigerator water lines are under pressure. A loose fitting can’t handle the pressure, leading to leaks.
- Quick Fix: Ensure all fittings are secure and consider installing a pressure regulator if pressure spikes are frequent.
- Vibration:
- Reason: Regular refrigerator vibrations can make a not-so-tight fitting even looser over time.
- Quick Fix: Regularly check and ensure all fittings are tight. Consider adding some insulation or padding to minimize vibration effects.
- Water Hammer:
- Reason: Sudden water movement changes, like when a valve closes, can exert force on weak points like loose fittings.
- Quick Fix: Install water hammer arrestors in the water line to absorb the shock from sudden stops in water flow.
- Material Expansion and Contraction:
- Reason: Temperature fluctuations can cause fittings to expand or contract, leading to leaks if they are loose.
- Quick Fix: Ensure fittings are made of materials that can withstand temperature changes, and always ensure they’re tightened properly.
In essence, a fitting’s purpose is to create a barrier that keeps water flowing within the designated path. If it’s loose, it fails to serve its primary function, leading to leaks.
Broken or burst water line tubing
A fridge water line can become damaged or broken due to several factors:
- Wear and Tear: Over time, like all materials, the water line can naturally degrade. The constant flow of water, coupled with fluctuations in temperature and pressure, can weaken the tubing and make it susceptible to damage.
- High Water Pressure: Excessive pressure in the water line can strain the tubing, leading to potential cracks or breaks. If there’s no pressure regulator installed, or if it malfunctions, surges in water pressure can lead to damage.
- Physical Damage: Accidental knocks or bends during installation, repairs, or while moving the refrigerator can cause the tubing to kink, crack, or even break.
- Freezing: If the environment around the tubing becomes too cold, the water inside the line can freeze. Water expands when it freezes, and this expansion can cause the tubing to burst.
- Corrosion: Depending on the tubing material, exposure to certain chemicals or even prolonged contact with hard or acidic water can cause the line to corrode, making it brittle and prone to breakage.
- Poor Quality Materials: Using cheap or inappropriate materials for water line installations can lead to early failures. For example, plastic tubing might not have the same durability as copper under certain conditions.
- Improper Installation: Incorrect fittings or not following the recommended installation procedures can place undue stress on certain parts of the tubing, leading to damage over time.
- UV Exposure: Some tubing materials can degrade when exposed to direct sunlight over prolonged periods, weakening the tubing and making it susceptible to cracks or breaks.
- Vibrations: Continuous vibrations from the refrigerator or other nearby appliances can cause wear on the line, especially if it’s rubbing against other surfaces.
For any broken or burst tubing, a prompt response is crucial to minimize damage and complications. It’s often advisable to replace the damaged tubing and, if unsure about the repairs, to consult with a professional technician.
Frozen Water Supply Line
Here’s a breakdown of the typical causes and symptoms of a frozen water supply:
Causes:
- Low Ambient Temperatures: The most direct cause is the environment around the water line dropping below freezing. This can happen in unheated basements, garages, or during severe winter weather.
- Poor Insulation: Water lines that aren’t insulated or are poorly insulated are more susceptible to freezing when exposed to cold air.
- Drafts: Cold air drafts from gaps in walls, doors, or windows can cause localized freezing of exposed water lines.
- Proximity to Cold Surfaces: Water lines running along or against uninsulated external walls or unheated spaces can freeze more easily.
- Stagnant Water: Water that isn’t moving can freeze more quickly. If a section of your plumbing isn’t used regularly, it’s more at risk.
- Malfunctioning Thermostat: If thermostats in a space malfunction and don’t activate heating when needed, it can lead to cold temperatures that freeze pipes.
- Extended Power Outages: During winter, a prolonged power outage can cause indoor temperatures to drop, leading to frozen water lines if the outage lasts long enough.
Symptoms:
- No Water Flow: One of the most obvious symptoms is a lack of water when you turn on a faucet or appliance. If it’s frozen, water won’t flow through that section of the line.
- Frost on the Line: Visible frost on the exterior of a water line is a clear indication of freezing.
- Cold or Wet Areas: Cold spots or dampness on walls, floors, or ceilings can indicate a frozen or even burst pipe behind the surface.
- Strange Noises: When you turn on a tap or flush a toilet, you might hear unusual sounds like clanking, whistling, or bubbling if there’s a frozen section in the water line.
- Unpleasant Odors: If a pipe has burst and is leaking behind a wall, it can lead to mold growth which might produce a musty smell.
If you suspect a frozen water line, it’s crucial to act quickly to thaw it and check for potential damage. Rapid freezing and thawing can lead to burst pipes, which can cause significant water damage. It’s often advisable to consult with a professional if you’re unsure about how to proceed.
How To Replace the Water Line if it is Damaged or Broken
If your fridge water line is leaking, you may need to replace it.
Follow these steps to replace the water line:
- Unplug your refrigerator from the power source.
- Shut off the water supply valve connected to the fridge.
- Disconnect the water line from the refrigerator by unscrewing or releasing the fitting.
- Measure the length of the existing water line, and purchase a compatible plastic hose of the same length.
- Attach the new water line to the refrigerator by connecting it to the fitting and tightening it securely.
- Reconnect the other end of the water line to the water supply valve.
- Turn on the water supply valve, and check for any leaks. If no leaks are present, plug the refrigerator back into the power source.
How to Unplug and Move Your Fridge to Fix Water Line Leaks
Before you can address the leaking water line in your refrigerator, you need to unplug it and move it out of its current location.
Follow these steps to ensure safety and prevent damages.
- Turn off and unplug the refrigerator: Locate the power cord and unplug it from the electrical outlet. Turning off the refrigerator will also prevent unnecessary energy consumption during the repair process.
- Turn off the water supply: Locate the water supply valve for the refrigerator, typically found behind the fridge or under the sink. Turn it off to stop the flow of water to the fridge. This will help prevent further leakage during the repair process.
- Prepare the floor: Place a large towel, blanket, or a sheet of plywood on the floor to protect it from scratches and dents. This precaution is particularly important for hardwood or tile floors.
- Move the fridge: Gently slide the refrigerator onto the prepared floor protection. Have someone assist you if the fridge is too heavy to move alone. Slowly and carefully move the refrigerator away from the wall until you have enough space to access the leaking water line.
With your fridge safely unplugged and moved away from the wall, you can now address the leaking water line issue. Ensure you take the necessary precautions when working with water and electrical appliances, and consult a professional if needed.
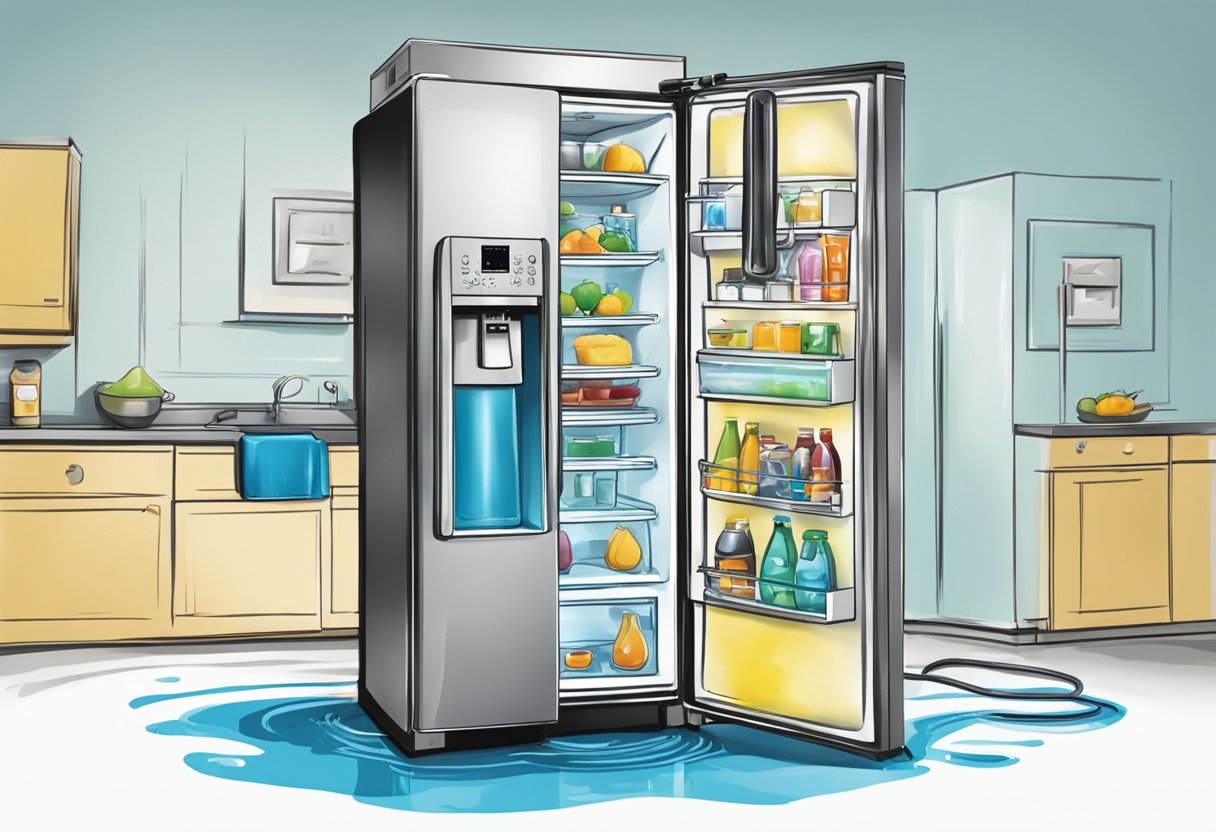
Potential Damage That Can Be Caused by a Leaking Fridge Water Line
A leaking fridge water line can cause various problems and damages to your kitchen. Understanding the potential issues will help you address the problem early on and avoid costly repairs.
Kitchen Floor
The flooring in your kitchen is susceptible to damage from a leaking fridge water line. Water can seep into the seams of laminate or hardwood floors, causing them to expand and buckle over time.
If your kitchen has tile flooring, water can create damp conditions that can lead to the tile adhesive becoming loose, resulting in wobbly or uneven tiles. The longer the leak persists, the more damage it can do to your flooring, so be sure to address the issue promptly.
Damage to Surrounding Appliances
A leaking fridge water line can also damage nearby appliances, such as dishwashers, ovens, and other kitchen electronics. Water can seep into the internal components of these devices, causing short circuits and other electrical issues.
To protect your appliances and maintain their functionality, it’s essential to repair any leaks in your fridge water line as soon as you notice them.
Other Common Sources for Leaking Water on a Fridge
- Excess condensation
- Coils and evaporator fans
- Door gaskets and seals
- Water dispensers and ice makers
Excess Condensation
Excess condensation in your freezer can lead to water leaks. One common cause of excess condensation is when warm air gets into the freezer, causing the temperature inside to rise. This allows moisture to build up and eventually drip down to the bottom or even leak out from the door seals.
To prevent this issue, make sure the door is closed tightly and the seals are in good condition. Additionally, avoid placing hot food items directly into the freezer, as this can introduce warm air and increase humidity levels.
Coils and Evaporator Fan
Another possible issue causing your fridge water line to leak may involve the coils and evaporator fan. If the coils become dirty or clogged with debris, they can reduce the efficiency of the cooling process and lead to an increase in condensation and water leakage.
To prevent this problem, be sure to regularly clean the coils and remove any buildup on the surface. You can use a soft brush or cloth to gently remove the dust and debris.
The evaporator fan also plays a crucial role in keeping condensation to a minimum. This fan helps circulate cold air throughout the freezer, ensuring even cooling.
If the fan isn’t functioning properly or becomes obstructed, there may be a buildup of condensation which can lead to water leakage. Inspecting the evaporator fan for obstructions and ensuring it’s working correctly can help prevent these issues.
Door Gaskets and Seals
Here is a guide to inspecting and addressing any issues with your refrigerator’s gasket and seals.
- Check the door gasket: The door gasket is the rubber seal that surrounds the fridge and freezer doors. It’s responsible for maintaining a tight seal to prevent air and water leaks. Inspect the gasket for any visible damage, like cracks or tears, which could cause water to leak from the fridge.
- Clean the gasket: Dirt and debris can accumulate on the gasket, affecting its ability to properly seal. Use a sponge or cloth with mild detergent to clean the gasket and remove any build-up.
- Inspect the freezer door: Ensure that the freezer door is closing properly. Any misalignment or issues with the magnetic seal found in the freezer chamber could lead to water leaks.
- Adjust the fridge level: If the fridge isn’t level, it may prevent the doors from sealing correctly. Use a level to check if the fridge is on an even surface, and adjust the fridge’s feet or place shims under the fridge to balance it.
- Inspect the water line connections: If the water line connections inside the fridge or freezer are not properly sealed, this may result in water leakage. Check for any loose or damaged connections, and tighten or replace them as necessary.
By carefully examining and addressing the gaskets and seals in your fridge, you can prevent water leaks and ensure your appliance operates efficiently.
Water Dispenser and Ice Maker
A leaking fridge water line can cause significant damage if left unattended. To inspect your water dispenser and ice maker, follow these steps:
- Examine the water dispenser and ice maker: Begin by examining the water dispenser and ice maker for any visible signs of leakage, damage, or wear. Pay special attention to the tubes connecting to both systems.
- Check the water filter: The water filter can become clogged or damaged over time, leading to leakage. Locate your fridge’s water filter and inspect it for any signs of damage or wear. Replace the filter if necessary.
- Inspect the inlet valve: The inlet valve is responsible for supplying water to the dispenser and ice maker. It is usually located near the back of the fridge where the water line connects. Disconnect power and water supply to the fridge before carefully checking the valve for any damage or leaks.
- Test the water dispenser and ice maker: After examining the key components, reconnect the water supply, and restore power to your fridge. Test the water dispenser and ice maker operation, closely watching for any leaks or malfunctions.
- Monitor: Keep a close eye on your water dispenser and ice maker for a few days after inspection. If any issues persist, consult a professional technician for further advice.
By routinely inspecting your water dispenser and ice maker, you can prevent potential water damage and ensure your refrigerator’s optimal performance. Keep these steps in mind as you maintain the health of your appliance.
When to Seek Professional Help for a Fridge Water Line Leak
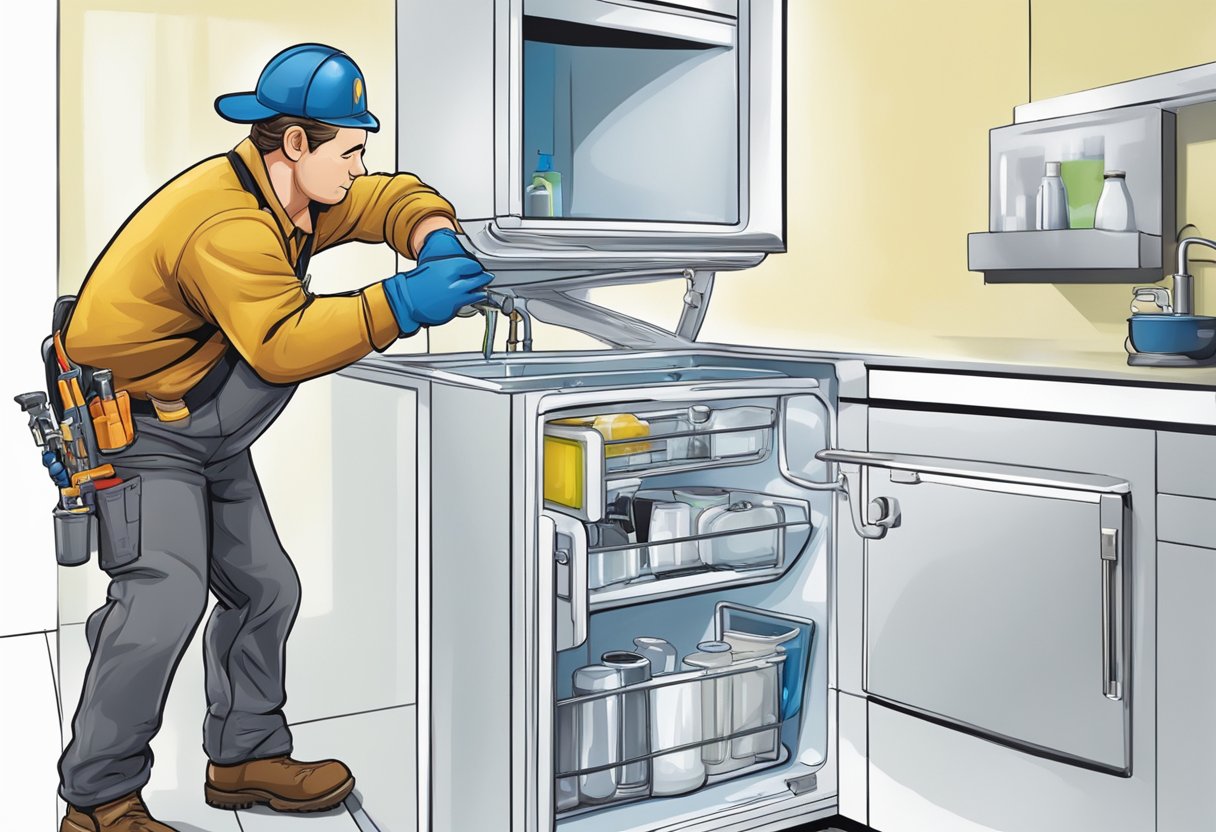
If your fridge water line leaks, professional assistance is key. Check your appliance’s warranty first; if still valid, the manufacturer or retailer may fix it.
Out of warranty? Seek a local technician experienced in appliance repairs. Collect quotes, review experience and feedback, then choose the right professional.
Prior to their visit, ensure easy access to the fridge and share all relevant details. For future prevention, consult them on regular maintenance and inspections.
| Step | Action |
|---|---|
| 1. | Verify refrigerator’s warranty status. |
| 2. | If under warranty, contact the manufacturer or retailer for repairs. |
| 3. | If out of warranty, search for a local technician specializing in refrigeration. |
| 4. | Gather recommendations, read online reviews, or consult the local chamber of commerce for reputable technicians. |
| 5. | Obtain quotes from several technicians, comparing cost, experience, and customer feedback. |
| 6. | Once chosen, schedule the repair and prepare your space for their visit. |
| 7. | Discuss with the technician about regular maintenance and inspections to prevent future issues. |
Let Us Know How We’re Doing!
Did this expertly prepared resource answer your question?
Do you have another question about home maintenance, home improvement projects, home appliance repair, or something else?
Get more information, send in questions and keep the discussion going by contacting the I’ll Just Fix It Myself company customer service team at at 1-800-928-1490 or Email us at [email protected]
