
Garbage Disposal Leaking from Bottom? Practical Solutions for 8 Common Leaks

When your garbage disposal starts leaking from the bottom, it can create a messy and potentially hazardous problem.
Leaks from the bottom of a garbage disposal (typically coming from the reset button or bottom of the casing) usually indicate a compromised inner seal and because these seals aren’t usually replaceable, you will likely have to replace the entire garbage disposal. However, water could be leaking from another place and running down the side to look like a leak at the bottom of your garbage disposal so it is important to fully identify the source of the leak.
Homeowners, in this article, we will discuss 8 common reasons for garbage disposal leaks from the bottom (or at least look like they are coming from the bottom) and provide detailed guidance on how to resolve them.
Safety note: NEVER put your hands in a garbage disposal when it has power running to it! When in doubt, call a professional plumber for problems related to your garbage disposal.
Common reasons for a garbage disposal to leak from the bottom (with solutions!)
Faulty Internal Seal
A faulty internal seal is a typical cause for a garbage disposal to leak. Over time, the rubber gasket that creates a watertight seal between the different components can deteriorate, leading to leaks.
What to look for: A steady drip or pool of water under the kitchen sink cabinet originating from the seam areas of the disposal unit. The area might appear corroded or show signs of mineral buildup.
Steps to fix:
- Unplug the garbage disposal unit to ensure safety.
- Remove the garbage disposal unit from its mounting bracket.
- Inspect the gaskets and seals for signs of wear, tear, or deterioration.
- If they appear worn out, purchase replacement gaskets specific to your disposal model.
- Replace the faulty gaskets and re-install the garbage disposal unit.
Broken Flywheel Seal
The flywheel seal prevents water from seeping into the motor area. If it is damaged or broken, water can enter the motor, causing leakage.
What to look for: Water accumulation or moisture around the bottom of the garbage disposal unit, particularly near the motor housing.
Steps to fix:
- Disconnect the garbage disposal from the power source.
- Detach the unit and inspect the flywheel seal.
- If the seal appears damaged, confirm if it’s replaceable. Some models might not allow for it.
- If not replaceable, purchase a new garbage disposal unit.
- Install the new unit or the replaced seal as per the manufacturer’s guidelines.
Cracks on Body
Cracks on the body of the garbage disposal is a common reason for a garbage disposal leaking. Inspect the disposal unit for any noticeable cracks or damages.
What to look for: Visible cracks, fractures, or gaps on the external surface of the garbage disposal unit’s body.
Steps to fix:
- Examine the entire surface of the garbage disposal unit for cracked areas.
- Mark any found cracks for reference.
- Determine the severity of the cracks. Minor cracks might be temporarily sealed, but major ones indicate the need for replacement.
- If opting for a temporary solution, use an epoxy-based sealant to seal the cracks.
- For a long-term solution, replace the entire garbage disposal unit.
Loose Sink Flange
The sink flange connects the disposal to the sink. If the plumber’s putty deteriorates or the bolts loosen, the flange can no longer form a watertight seal.
What to look for: Water leakage around the top of the garbage disposal unit where it connects to the sink. You might also notice a gap between the flange and the sink.
Steps to fix:
- Loosen the bolts holding the flange.
- Clean old plumber’s putty residue from around the sink opening.
- Reapply a generous amount of plumber’s putty around the sink opening.
- Place the flange back and retighten the bolts or tighten the screws on the clamp using a screwdriver, ensuring a snug fit.
- Wipe away any excess plumbers putty that squeezes out.
Leakage from Drain Pipe
Drain pipes connected to the garbage disposal unit can cause leakage if drain line connections are loose or airtight seals have been compromised. Inspect the drain lines and connections and tighten them if necessary.
What to look for: Moisture, drips, or pooling water around the area where the garbage disposal connects to the drain pipe.
Steps to fix:
- Inspect the connection point for any visible damage or misalignment.
- Tighten the connections if they appear loose.
- If the leak persists, remove the drain pipe and inspect for cracks or damage.
- Replace a damaged drain pipe or use Teflon tape on threads to ensure a better seal.
- Reconnect the drain pipe securely.
Dishwasher Hose Leak
A dishwasher hose leak may occur due to improper installation or loose connections between the dishwasher inlet drain and the garbage disposal unit. Check the connections and secure them if needed.
What to look for: Water or moisture where the dishwasher hose connects to the garbage disposal. The hose might appear swollen or damaged.
Steps to fix:
- Examine the connection point and the length of the hose.
- If connections are loose, tighten them securely.
- If the hose appears damaged, purchase a replacement hose.
- Install the new hose, ensuring all connections are snug and secure.
- Test by running the dishwasher to ensure no leaks.
Leak from Reset Button
If water is leaking from the reset button, immediately shut off the garbage disposal to prevent electrical hazards.
What to look for: Water or moisture specifically originating from around the reset button area.
Steps to fix:
- Immediately disconnect the power to the garbage disposal to prevent electrical hazards.
- Inspect the area around the reset button for any visible damage or wear.
- Given the potential danger, do not attempt a temporary repair.
- Replace the entire garbage disposal unit.
- Install the new unit as per the manufacturer’s instructions, ensuring all connections are secure.
Wear and Tear
Over time, the garbage disposal unit may experience wear and tear, leading to leaks. Regular maintenance can help extend the unit’s life.
What to look for: Multiple issues like intermittent leaks, odd noises, or reduced efficiency, signaling the unit’s age and general deterioration.
Steps to fix:
- Conduct a full inspection of the garbage disposal unit, checking for multiple signs of wear.
- Consider the age of the unit; if it’s beyond its expected lifespan, replacement is the best option.
- Regularly maintain by cleaning the disposal, ensuring all connections are tight, and checking for signs of wear periodically.
- If issues persist despite regular maintenance, prepare to replace the unit.
- Purchase and install a new garbage disposal unit suitable for your needs.
When is it time to replace a leaky garbage disposal?
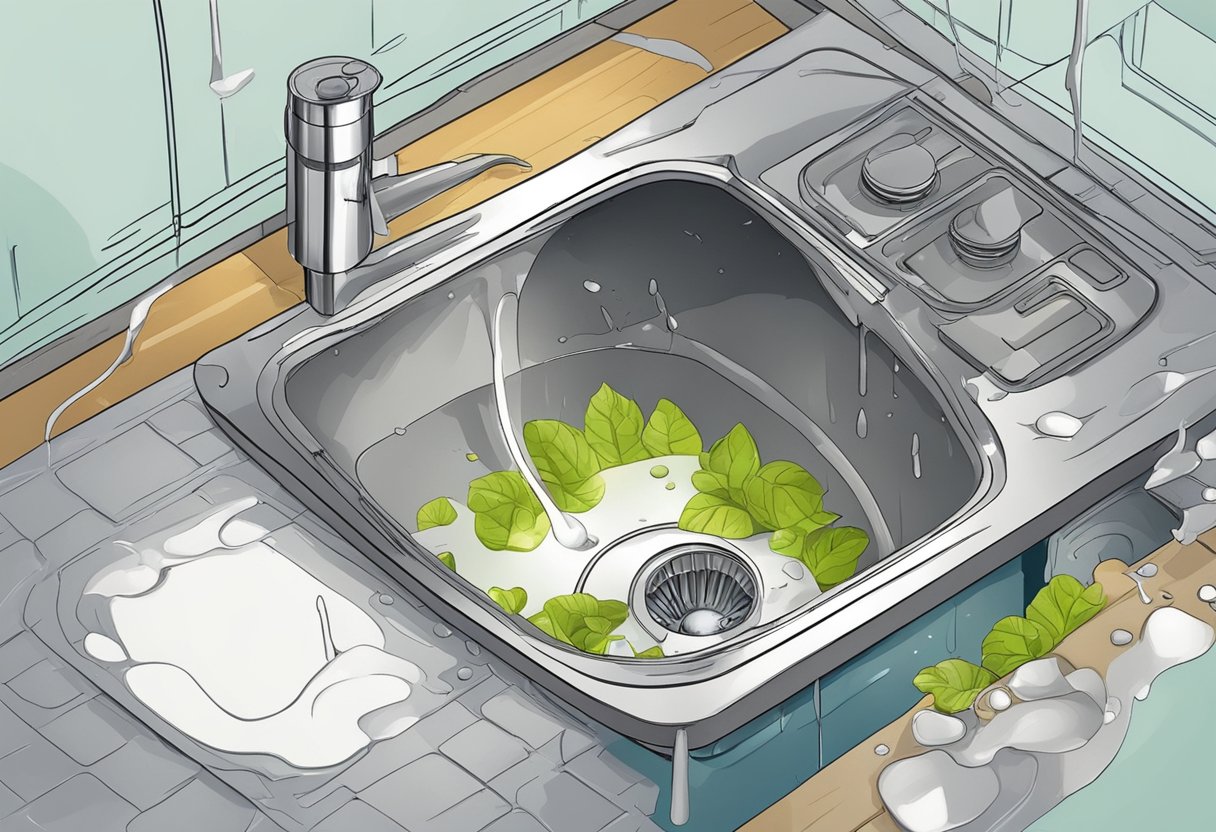
Sometimes, a garbage disposal leak can be fixed, but in other cases, it’s better to opt for a replacement. To determine if a replacement is necessary, consider the following factors:
- Frequency of clogs: If your garbage disposal frequently clogs, even when you’re using it appropriately (running water and cutting up items into small pieces), it might be time for a new disposal unit. Continuous clogs indicate that the unit might not function optimally.
- Age of the unit: Garbage disposals typically last around 10 years. If yours is approaching that age or has surpassed it, it might be more cost-effective to replace the unit, especially if you’re experiencing leakage issues.
- Type of garbage disposal: Garbage disposals come in two main types: continuous feed and batch feed. Continuous feed disposals are more prone to leaks due to their design, as they operate when the switch is on, whereas batch feed disposals operate only when the cover is in place, making them less prone to leakage. If you have a continuous feed disposal that’s leaking, consider replacing it with a batch feed model to minimize future leaks.
- Severity of the leak: If the leak in your garbage disposal is significant and not caused by a simple issue such as a loose connection, it might be more economical to replace the unit altogether.
When deciding whether to repair or replace your leaky garbage disposal, assess the factors listed above. In some cases, a repair might suffice, while in others, a replacement is the most practical solution.
Preventive maintenance and tips for garbage disposals
Proper Use of Garbage Disposal
To ensure the longevity of your garbage disposal and prevent future leaks, always use cold water when operating the disposal. Cold water helps to solidify fats and starches, making them easier to grind and prevents clogs that you’ll have to unclog later.
Break up large scraps before grinding to avoid overworking the motor and creating a clog. It is also essential to run the garbage disposal at least once a day to keep this small kitchen appliance in good working order.
Food Items to Avoid
Using your garbage disposal correctly means understanding which food items to avoid putting down the drain. Some common culprits include:
- Grease and fats
- Stringy or fibrous foods (e.g., celery, corn husks)
- Starchy foods (e.g., pasta, rice)
- Eggshells
- Coffee grounds
- Bones
- Fruit pits
Cleaning and Maintenance
To maintain and clean your garbage disposal, follow these steps:
- Turn off the disposal at the switch or breaker box for safety reasons.
- Use cut-up lemons and warm water to eliminate odors. Pour warm water while grinding lemon wedges to rinse away debris and leave a fresh scent.
- Occasionally examine the bottom of your sink for any leaks. Use food coloring in the sink water to easily spot potential leaks – the brighter the color, the better.
- Frequently check the mounting assembly and sink flange for potential leaks or loosening bolts. Tighten the bolts if necessary, or replace parts that are worn or damaged.
By following these preventive maintenance and tips for your garbage disposal, you can help maintain its efficiency and prolong its life, reducing the likelihood of leaks or breakdowns in the future. Remember, proper use, avoiding specific food items, and routine cleaning and maintenance are crucial for a healthy, functioning garbage disposal.
Let Us Know How We’re Doing!
Did this expertly prepared resource answer your question?
Do you have another question about home maintenance, home improvement projects, home appliance repair, or something else?
Get more information, send in questions and keep the discussion going by contacting the I’ll Just Fix It Myself company customer service team at at 1-800-928-1490 or Email us at [email protected]
