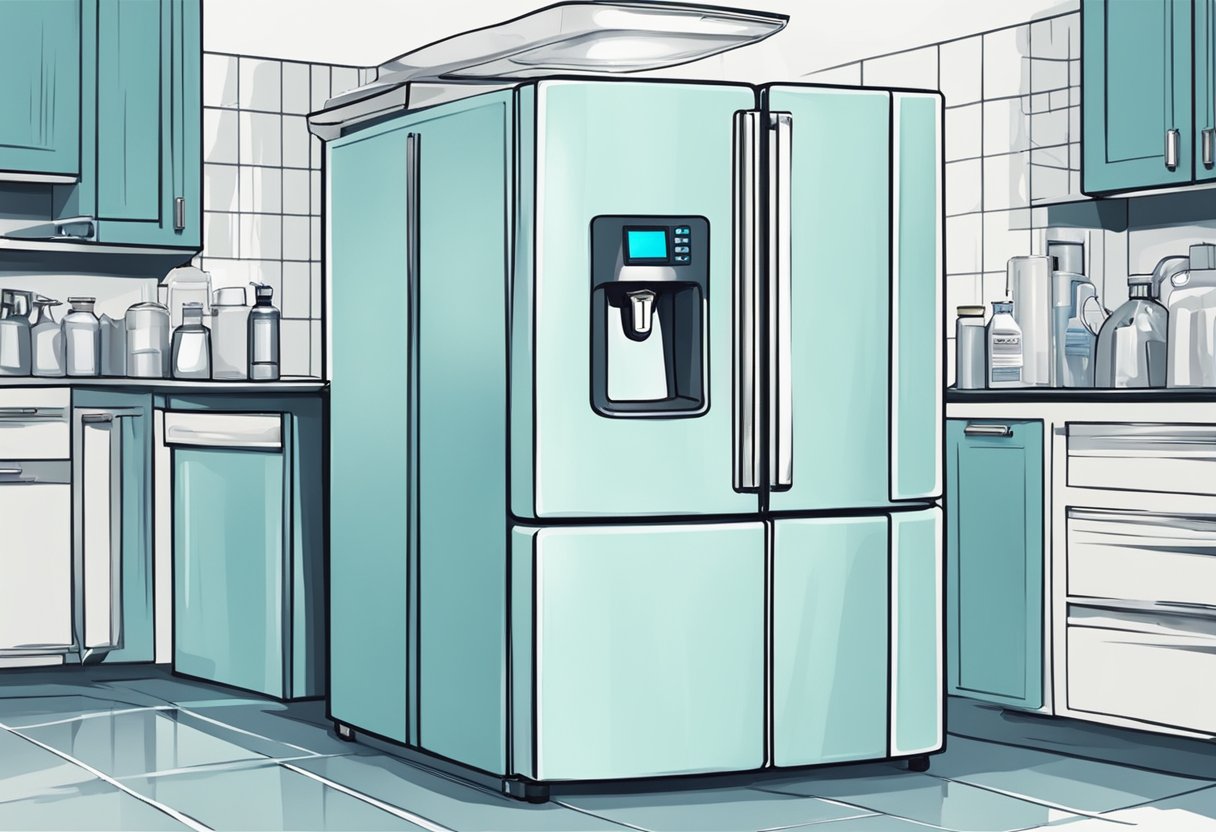
How to Clean a Fridge Water Dispenser: Prep, Cleaning, Sanitizing, & Maintenance
A fridge water dispenser provides a convenient way to access cold, filtered water without having to open the refrigerator door.
To ensure optimal functioning and maintain water quality, it is important to clean and maintain your fridge water dispenser regularly. In this post, we’ll explain step-by-step how to clean a fridge water dispenser including an overview of the components, preparation, cleaning, and troubleshooting problem areas.
Let’s go!
Parts You Need to Clean on a Fridge Water Dispenser
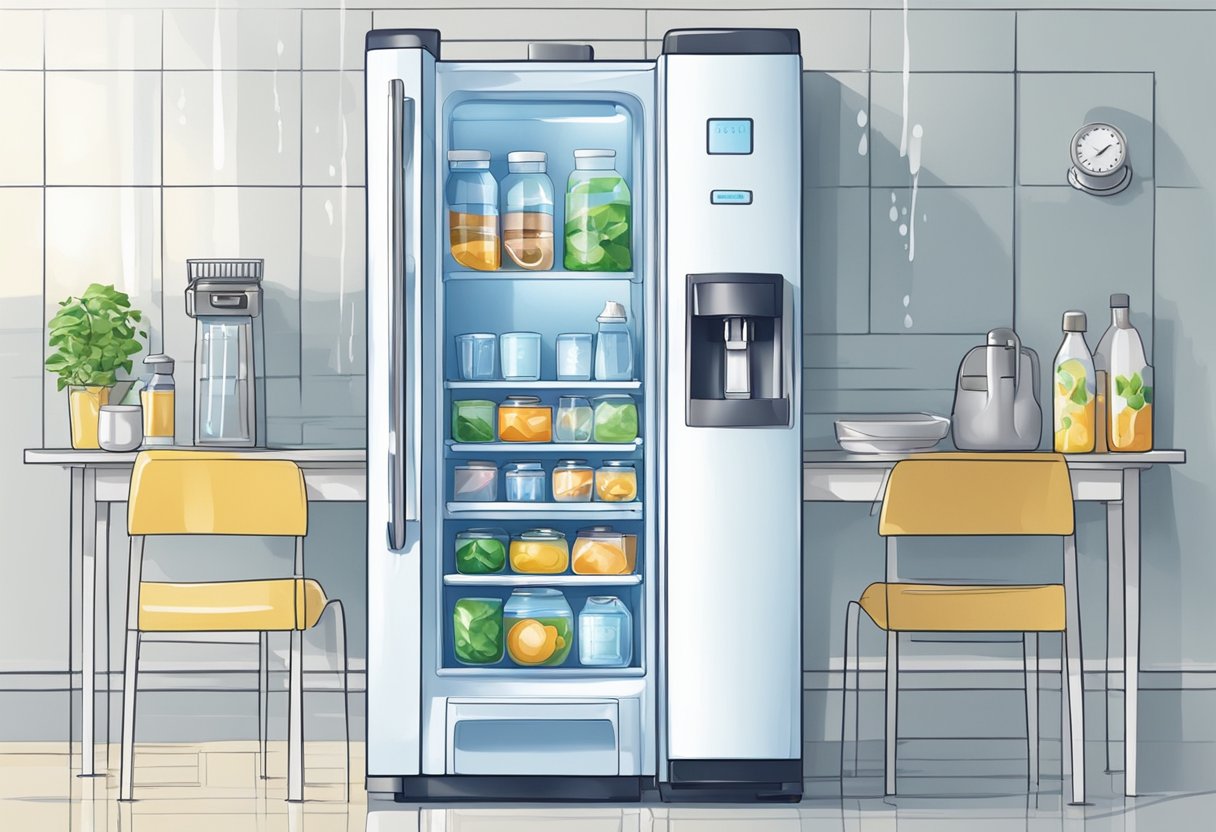
When cleaning your fridge’s water dispenser, it’s important to address key areas in order to maintain its functionality and hygiene.
Here’s a list of components and surfaces that you should focus on:
- Water dispenser: The dispenser itself is one of the primary areas for cleaning. Wipe down the exterior surfaces with a clean cloth and gentle cleaning solution. Make sure to clean the dispenser nozzle as well, as this is where the water comes out and can harbor bacteria or buildup.
- Fridge filter: If your fridge has a built-in water filter, make sure to replace it according to the manufacturer’s recommendations. This will ensure that your water supply is clean and free from contaminants.
- Grill and removable tray: Many water dispensers have a grill or removable tray to catch drips. Remove this component if possible and wash it thoroughly with warm, soapy water, ensuring that any blockages are cleared.
- Ice bin: If your fridge also includes an ice dispenser, be sure to empty and clean the ice bin. Melting ice and any debris can lead to mold growth or odors within the fridge.
- Exterior Surfaces: Some areas around the dispenser may be affected by spillages or drips. To avoid any possible contamination, clean the surrounding surfaces using a clean cloth or sponge and a suitable cleaning solution. This will help to minimize bacteria growth and prolong the life of your fridge’s water dispenser.
By addressing these areas, you will be able to ensure that your fridge water dispenser is clean and functioning properly.
What To Do BEFORE You Start Cleaning a Fridge Water Dispenser
Before you begin cleaning your fridge water dispenser, it is essential to gather the necessary supplies and prepare the area. Follow these steps to efficiently prepare your refrigerator for cleaning:
- Gather cleaning supplies: You will need a bucket, warm soapy water, a clean cloth or sponge, and a screwdriver. It might also be helpful to have a soft-bristle brush for those hard-to-reach areas.
- Turn off and disconnect the water supply: Locate the water supply valve behind your refrigerator and turn it off. This step is crucial for preventing water leakage during cleaning. After turning off the valve, unplug the fridge from its power source to ensure safety while working on the dispenser.
- Remove any accessories: Depending on the design of your fridge water dispenser, there might be a tray or a drip plate. Carefully remove any accessories using the screwdriver if needed, and set them aside for cleaning.
- Empty and clean the bucket: Ensure that the bucket is clean and free from any contaminants. This bucket will be used to collect water and cleaning solution during the cleaning process.
- Clear the area around the refrigerator: Ensure you have enough space to move around and access all parts of the dispenser. Clear any items near the fridge that may be in the way of your cleaning process.
By following these steps, you are ready to clean your fridge water dispenser effectively. Remember to follow the manufacturer’s guidelines on how to clean your specific model carefully.
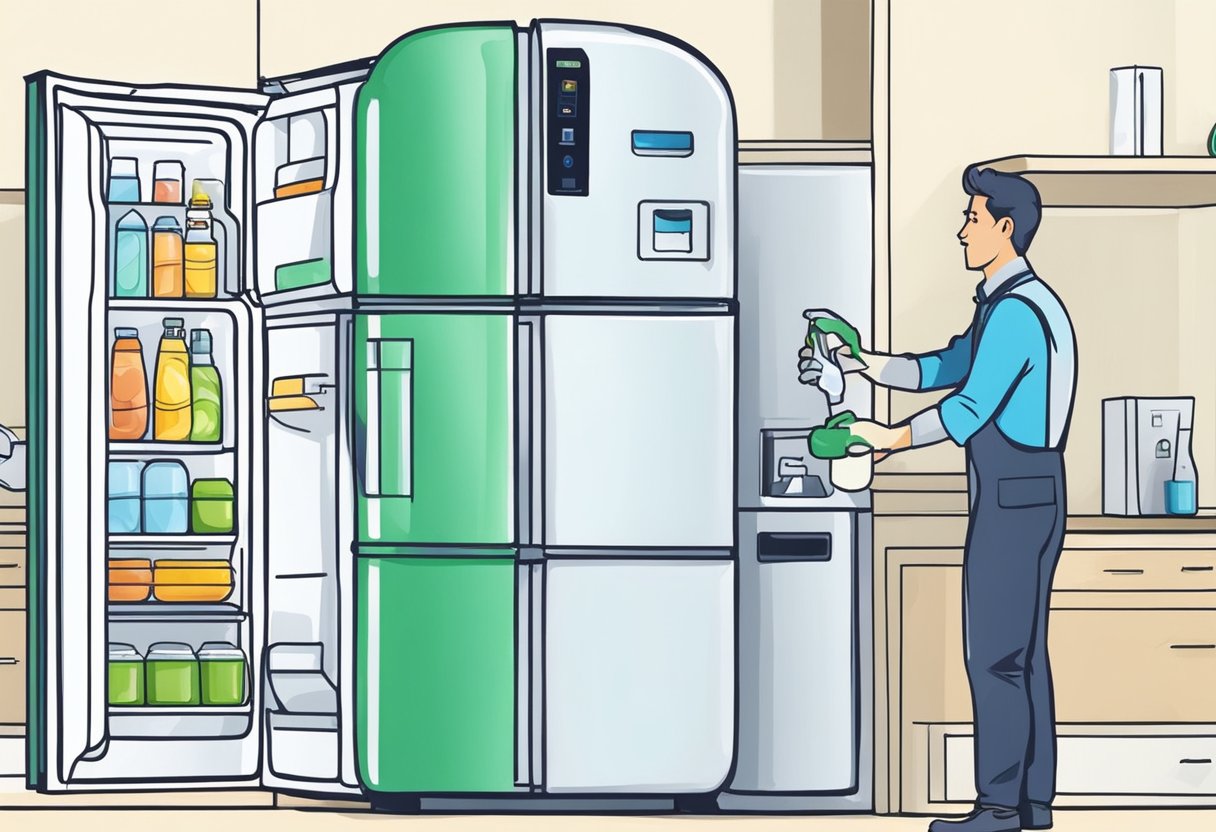
How To Clean a Fridge Water Dispenser Step-by-Step
To clean your fridge water dispenser effectively, it’s best to use a natural cleaner like white vinegar or distilled white vinegar. This kind of cleaning solution can help remove mineral deposits, bacteria, and hard water stains without damaging your dispenser or leaving any residue.
Begin by creating a vinegar and water solution. You can do this by combining equal parts white vinegar and warm water in a container or spray bottle. This solution will act as your main cleaning agent, making it safe and efficient to use on your fridge water dispenser.
Here’s a step-by-step guide on how to clean your fridge water dispenser using your vinegar and water solution:
- Turn off the fridge – Ensure you unplug your refrigerator before you start cleaning to avoid any accidents involving electricity and water.
- Remove the dispenser tray – Carefully take off any removable parts, such as the drip tray, for a thorough cleaning.
- Apply the cleaning solution – Spray or soak a clean cloth with the vinegar and warm water mixture, and generously wipe down the entire exterior of the dispenser area. Pay special attention to the nozzle, as it’s an area where bacteria can accumulate.
- Clean any removable parts separately – Soak all removable parts, including the drip tray, in a solution of warm water and vinegar for about 15-20 minutes. This will help remove any mineral deposits and stains.
- Use a small brush for hard-to-reach areas – Utilize a small cleaning brush, toothbrush, or pipe cleaner to reach and clean crevices and tight spaces in the dispenser area.
- Rinse with water – After completing the cleaning process, use a clean, damp cloth to wipe down the dispenser and remove any remaining vinegar residue.
- Dry the area – Thoroughly dry the dispenser area and any removed parts with a clean cloth or towel to prevent any leftover moisture that could encourage bacterial growth.
- Reassemble the dispenser – Once everything is clean and dry, reassemble the water dispenser and plug in your refrigerator.
By following these steps and using the suggested cleaning solution, you can effectively clean your fridge water dispenser without the need for harsh chemicals or special equipment.
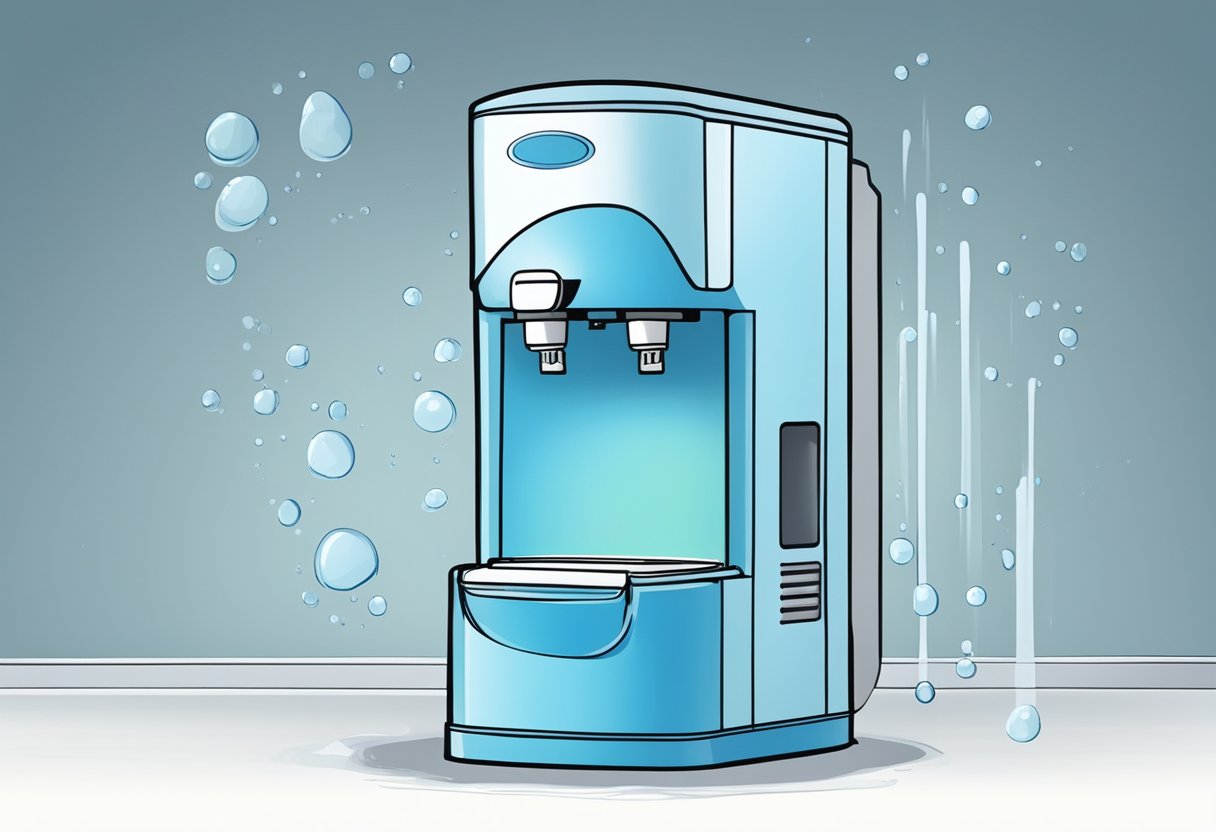
How To Deep Clean Small Areas of a Fridge Water Dispenser – Dispenser Nozzle & More
Cleaning your fridge water dispenser is essential for maintaining its hygiene and preventing the buildup of mold and bacteria. Follow these steps to effectively clean specific parts of your fridge water dispenser.
- Toothbrush: Use a clean toothbrush with soft bristles to clean hard-to-reach areas, including the nozzles and crevices of the water dispenser. Gently scrub the surfaces to remove dirt and mineral deposits.
- Clean Toothbrush: Ensure that the toothbrush you use is clean and dedicated solely to cleaning the dispenser. After using it, rinse it thoroughly and let it dry before storing it for future use.
- Soft Bristles: Opt for a toothbrush with soft bristles to avoid scratching or damaging the delicate parts of the water dispenser. Soft bristles are also more effective in reaching small spaces.
- Small Funnel: A small funnel can be useful for cleaning the water reservoir or the tubing of the water dispenser. Fill the funnel with warm, soapy water, and insert it into the appropriate openings to flush out any residue.
- Paper Towels: Use paper towels to wipe the exterior surfaces of the water dispenser. This includes the area around the buttons, the spigot, and any other external parts that may collect fingerprints or dirt over time.
- Clean Rag: A clean, damp rag can be used to remove any lingering soapy residue after cleaning. Gently wipe the surfaces of the water dispenser to ensure that it is thoroughly cleaned.
Remember to disconnect your fridge from power and shut off the water supply before carrying out any cleaning tasks on your water dispenser. Always follow the manufacturer’s guidelines and recommendations for cleaning and maintenance of your fridge water dispenser to ensure its optimal performance.
Dealing with Stubborn Residue on a Fridge Water Dispenser
Dealing with stubborn residue and mineral buildup on your fridge water dispenser can be annoying, but taking the following steps can help make the process easier.
First, unplug your refrigerator to ensure safety while you work on the dispenser. Next, mix a solution of equal parts water and white vinegar. Dampen a cloth or sponge with the solution and gently scrub the exterior of the dispenser to remove dirt and grime.
For the interior components, you can either use a small brush or pipe cleaner to clean the spout and any visible mineral buildup. If calcium and lime deposits are present, the vinegar solution will help dissolve them.
Components with hard-to-reach areas:
- Remove parts like drip trays, tubes, and levers for thorough cleaning.
- Soak these components in the vinegar solution for a few minutes, then gently scrub to remove any remaining dirt or residue.
- Rinse the removed components thoroughly with water, ensuring that no vinegar remains.
If the dispenser is still not functioning properly, the issue may be due to hard water causing mineral buildup. To prevent this, consider investing in a whole-home water filter to treat your water supply before it reaches the dispenser.
By following these steps, you can effectively remove stubborn residue and mineral deposits from your fridge water dispenser and keep it functioning smoothly.
How To Sanitize Your Refrigerator Water Dispenser After Cleaning
Maintaining the cleanliness of your fridge water dispenser is vital to prevent bacteria and mold growth, which can impact water quality and health.
You can use a mild bleach solution (one tablespoon of bleach per gallon of water) or distilled white vinegar as natural disinfectants. Ensure all surfaces, including hidden ones, are cleaned and rinsed to prevent mold growth. Using an antimicrobial filter in your system offers an added layer of protection.
Here’s a helpful table summarizing the information:
| Cleaning Focus | Procedure | Solution/Tools |
|---|---|---|
| Bacteria | Clean external and internal dispenser surfaces. | Mild bleach solution or distilled white vinegar water. |
| Mold Growth | Regularly clean all dispenser parts, especially hidden or hard-to-reach areas where mold can easily breed. | Thorough inspection and regular cleaning. |
| Added Protection | Consider enhancing your system for consistent cleanliness. | Antimicrobial filter. |
Flush Out Your Refrigerator Water Dispenser and Repeat Process Often
To ensure that your fridge water dispenser remains clean and free of contaminants, it’s important to regularly flush out the system and repeat the cleansing process.
Following these simple steps will help maintain the cleanliness of your fridge water dispenser:
- Turn off the water supply: Before beginning the cleaning process, make sure to close the valve controlling the water supply to the refrigerator.
- Dispense water: Press the water dispenser lever and let the water flow out for a few minutes to flush out any residues and contaminants from the water lines. Make sure to have a container ready to catch the water so it doesn’t spill.
- Clean the water dispenser nozzle: Mix a solution of white vinegar and warm water in a small bowl, then dip a clean cloth or sponge into the solution. Gently clean the dispenser nozzle, ensuring to remove any built-up grime and mineral deposits.
- Prepare a cleaning solution: In a large container, mix one part white vinegar with two parts warm water. This solution will help eliminate bacteria and mineral deposits within the water dispenser system.
- Fill the water dispenser reservoir with the cleaning solution: Pour the vinegar and water mixture into the fridge water dispenser reservoir until it’s full.
- Flush the system: Press the water dispenser lever and let the cleaning solution flow through the water lines and dispenser nozzle. Continue to dispense the solution until the reservoir is empty. Be sure to dump the dispenser water!
- Refill the reservoir with clean water: Fill the reservoir with fresh cold water, and flush the system again. Dispense all of the water from the reservoir to ensure that any remaining vinegar solution is removed from the system.
- Repeat the process if necessary: If you notice any lingering smells or residue, repeat the flushing process with the vinegar and water mixture, followed by a final rinse with clean water.
By regularly flushing out and cleaning your fridge water dispenser, you’ll ensure that you always have clean, fresh-tasting water at your fingertips.
Reconnecting and Checking Water Dispenser After Cleaning
After cleaning your fridge’s water dispenser, it’s essential to reconnect the water supply and test its functionality. Follow these steps for a smooth reconnection process and to ensure proper operation.
First, locate the water supply valve behind or near your refrigerator. Turn on the valve by rotating it counterclockwise until fully open. This action will restore the water supply to your fridge and its dispenser.
Next, press the lock button on your fridge’s water dispenser and slowly dispense water into a glass. Check for consistent flow and any noticeable changes in pressure. Low water pressure could indicate an issue with the water supply valve or a clogged water filter.
If the water dispenser is working correctly, then congratulations, your cleaning efforts were successful. However, if you experience any issues in water flow or pressure after reconnecting the water supply, try these troubleshooting tips:
- Double-check the water supply valve to ensure it is fully open.
- Inspect the water line connections for any potential leaks or incorrect fittings.
- Examine your fridge’s water filter and replace it if necessary.
By taking these steps, you can confidently restore your fridge’s water dispenser to its optimal performance, ensuring easy access to clean and refreshing water for you and your family.
Additional Tips and Suggestions
Maintaining a clean fridge water dispenser promotes better health and helps you stay hydrated by providing fresh and clean water. Here are some tips and suggestions to effectively clean and maintain your fridge water dispenser:
- Clean regularly: To prevent the buildup of mold, bacteria, and mineral deposits, clean your fridge water dispenser at least once a month. Regular cleaning will keep your water tasting fresh and ensure optimal performance.
- Use vinegar: A natural and efficient cleaning solution is a mixture of equal parts water and white vinegar. Fill a spray bottle with the solution and use it to clean the dispenser opening, tray, and any other accessible parts.
- Turn off the water supply: Before you start cleaning, remember to turn off the water supply to your refrigerator’s dispenser. This will minimize water spills and potential damage to your refrigerator’s components.
- Remove and soak parts: If possible, remove parts such as the drip tray and nozzle for thorough cleaning. Soak them in a mixture of warm water and white vinegar for about 30 minutes to an hour before scrubbing and rinsing.
- Use a soft brush or cloth: When cleaning the dispenser, use a soft brush or cloth to avoid damaging the dispenser opening or nozzle. Gentle brushing will help dislodge any mineral buildup or debris.
- Flush the water lines: After cleaning, run water through the dispenser for a minute or two to flush out any remaining vinegar or debris in the water lines.
- Check and replace the water filter: Inspect the water filter of your refrigerator according to the manufacturer’s guidelines, and replace it when necessary. A clean water filter will ensure the quality of the water being dispensed.
By following these tips and suggestions, you can maintain a clean and efficient fridge water dispenser that keeps your water fresh and safe to drink. Happy hydrating!
Let Us Know How We’re Doing!
Did this expertly prepared resource answer your question?
Do you have another question about home maintenance, home improvement projects, home appliance repair, or something else?
Get more information, send in questions and keep the discussion going by contacting the I’ll Just Fix It Myself company customer service team at at 1-800-928-1490 or Email us at [email protected]