
How to Create More Storage Space in Your Laundry Room Without Renovating: Clever Organizational Hacks

Managing the limited area of a laundry room can often feel like a puzzling endeavor, but with space becoming increasingly precious, finding efficient storage solutions is essential. We understand that not everyone has the option for extensive renovations; therefore, we focus on inventive and accessible ways to maximize the existing space without the need for drastic changes. Our storage ideas capitalize on underused areas and suggest multipurpose solutions that serve both functional and aesthetic purposes.
Creating more storage space in your laundry room requires a blend of creativity and strategy. By reimagining the potential of every nook and cranny, from the back of the door to the space between the washer and dryer, we can uncover a plethora of storage opportunities. Our approach includes using vertical space, incorporating multi-functional furniture, and deploying clever organizers to keep your laundry essentials within reach and your space clutter-free.
In recognizing the diversity of laundry spaces, we present a variety of flexible storage solutions that cater to different room layouts and sizes. Whether it’s a full-sized room or a small closet, our ideas are adaptable, ensuring you can keep your laundry supplies organized and accessible. Through these solutions, we aim to help streamline your laundry process, reduce visual clutter, and transform your laundry space into a more functional and inviting area.
Maximizing Vertical Space
When tackling the issue of limited space in the laundry room, going upward is a clever strategy. We can create ample space to store necessities by taking advantage of the vertical space that often goes unused.
Installing Shelving Units
Why It Works: Installing shelving units takes advantage of the unused vertical space, allowing us to store a variety of laundry essentials within reach yet out of the way. It turns empty wall space into practical storage territory.
How to Implement It:
- Measure the space between your appliances and the ceiling to accommodate shelves without interfering with functionality.
- Choose wall-mounted or free-standing shelves that fit the dimensions of your laundry room.
- Opt for adjustable units for flexibility to change the shelving height as needed for different storage items.
Utilizing Wall-Mounted Drying Racks
Why It Works: Wall-mounted drying racks serve a dual purpose. They provide space to hang clothes to dry without occupying the floor area and can be folded away when not in use, preserving the much-needed space.
How to Implement It:
- Identify a suitable area on the wall, ensuring there’s enough clearance for the rack to open and be accessible.
- Install the drying rack at an ergonomic height to make hanging laundry comfortable.
- Select a rack with a durable design to handle the weight of wet laundry.
Adding Upper Cabinets
Why It Works: Upper cabinets use the space above your head for storing less frequently used items, keeping your laundry room organized and clutter-free.
How to Implement It:
- Ensure the cabinets are mounted high enough to not impinge on the workspace, but still accessible with a step stool.
- Consider the cabinet depth—shallower units keep items visible and reachable, reducing the likelihood of things being forgotten.
- Use the cabinets to store bulkier, lightweight items like extra towels or seasonal linens.
Optimizing Layout and Functionality
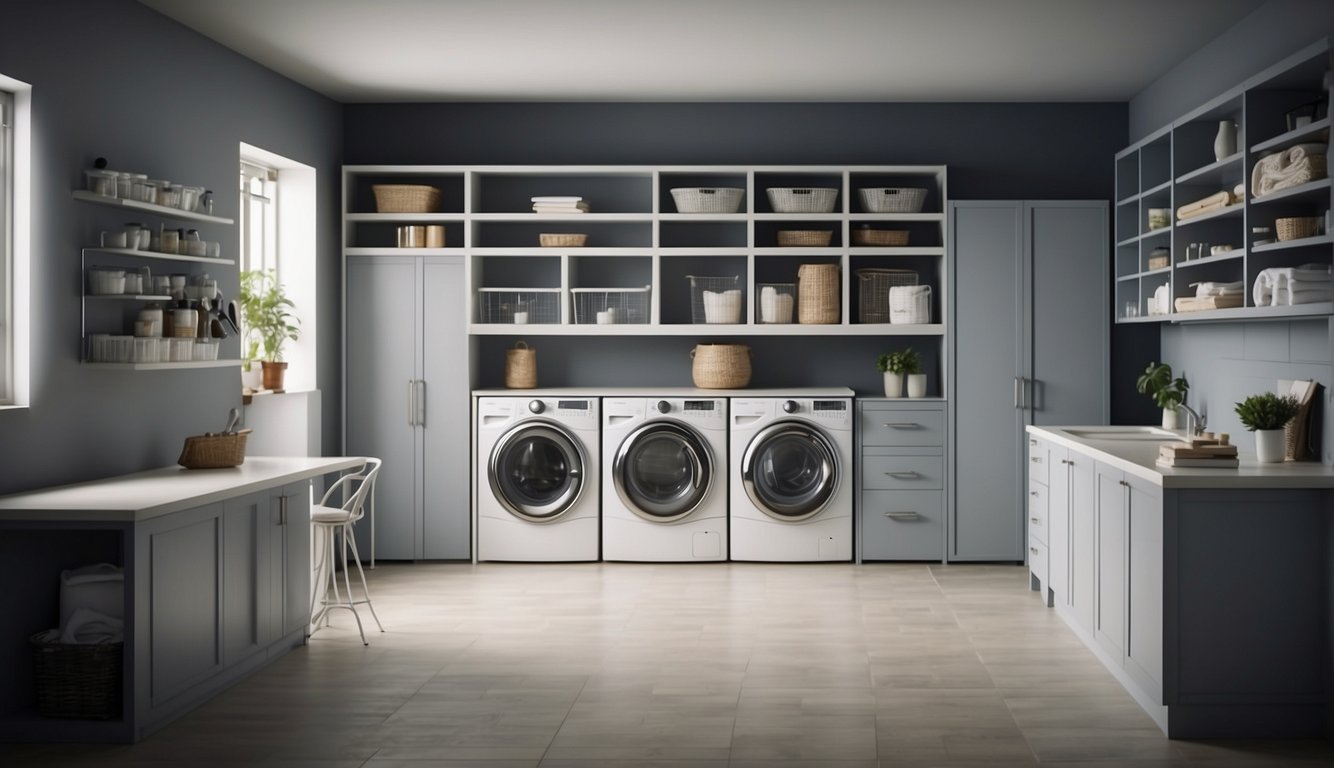
Maximizing storage space in your laundry room without undergoing renovations requires strategic thinking. We’ll focus on stackable washers and dryers for efficient use of vertical space, adding functionality around the sink, and creating an adaptable laundry station.
Selecting Stackable Washer and Dryer
Stackable washers and dryers are space savers that allow us to use the vertical space in the laundry room effectively.
- Why it works: These units take up half the floor space of side-by-side machines, freeing up room for other essentials or activities.
- How to implement:
- Choose a stackable washer and dryer with front-loading design to enable stacking.
- Ensure your space has the appropriate hookups and ventilation for a stacked layout.
- Opt for models that offer quiet operation to minimize noise disruption in multi-use areas.
Integrating a Functional Sink Area
Incorporating a utility sink into the laundry room enhances its functionality and adds valuable workspace for hand-washing or soaking garments.
- Why it works: A sink provides a designated spot for treating stains and handwashing, keeping the rest of the laundry room organized and accessible.
How to implement:
- Install a deep utility sink with a high faucet to accommodate large buckets and items.
- Consider adding a pull-out faucet for added versatility and ease of use.
Creating a Multi-Functional Laundry Station
Designing a multi-purpose station can transform the laundry room into a dynamic space for various household tasks.
- Why it works: A multi-functional station serves as a focal point in the laundry room for sorting, folding, and ironing, streamlining the laundry process.
How to implement:
- Set up a counter-height table or a fold-down wall-mounted surface that can be used as an ironing board or folding table.
- Include integrated storage solutions such as shelves or drawers beneath this area to store laundry essentials within reach.
Innovative Storage Solutions
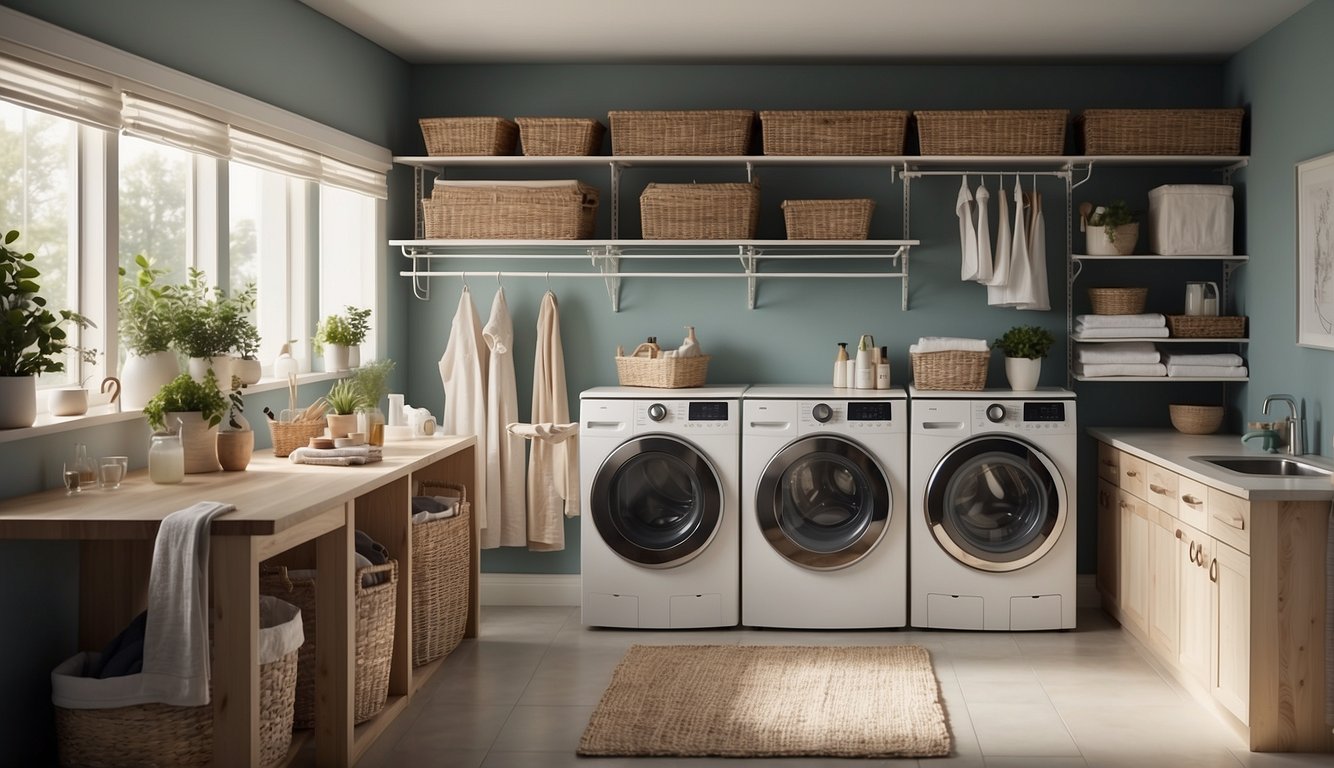
Maximizing laundry room storage can be simple with the right accessories and movable options. We’ll explore space-saving solutions that are both functional and stylish.
Using Space-Saving Accessories
- Install a Pull-Down Drying Rack: These racks are perfect for small spaces, as they can be tucked away when not in use. Not only do they save floor space, but they also provide ample room to dry delicate items without cluttering your laundry room.
- Add Built-In Storage Around Appliances: Utilize every inch by installing shelves or cabinets above and beside your washer and dryer. This transforms previously unusable spaces into practical storage areas for containers and laundry accessories.
- Use a Laundry Pedestal with Drawers: Elevate your washer and dryer with a laundry pedestal that includes built-in drawers. This not only raises the appliances to a more ergonomic height but also provides a discreet place to store laundry detergents and other essentials.
- Opt for Over-the-Door Organizers: Take advantage of vertical space by hanging organizers over the door to hold cleaning supplies and smaller items, keeping them accessible yet out of sight.
Incorporating Movable Storage Options
- Employ Wheeled Carts: A wheeled cart can serve as a mobile storage unit, housing wicker or decorative bins that sort laundry or store supplies. These carts can be moved around as needed and tucked away to save space.
- Choose Collapsible Items: Opt for foldable laundry baskets and clothes racks that can be collapsed and stored flat when not in use. This is especially useful in tight spaces where every square inch counts.
- Invest in Multi-Purpose Furniture: Seek out furniture pieces that serve dual functions, such as an ironing board that doubles as a shelving unit. This way, you get the utility without having to devote extra space to a single-function item.
By integrating these innovative storage solutions, we can streamline our laundry routine and keep our space uncluttered and efficient.
Design and Decor Enhancements
In transforming your laundry room, strategic design and decor can not only enhance the space’s visual appeal but also contribute to creating additional storage options without needing a full renovation.
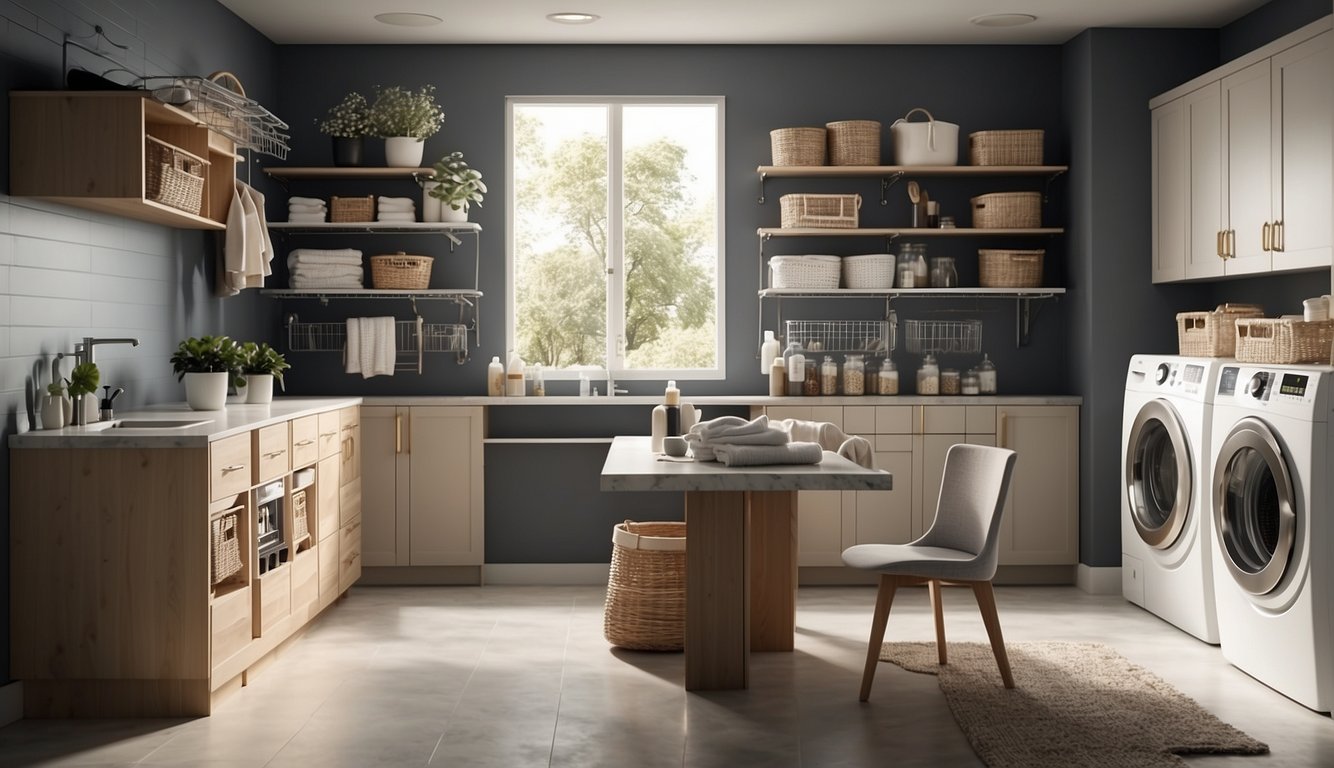
Choosing the Right Wallpaper and Flooring
- Selecting Wallpaper With Impact: When it comes to wallpaper, selecting a pattern that complements the size of the room is key. For smaller laundry rooms, a floral or patterned wallpaper can serve as a focal point and create the illusion of more space. It’s best to choose vinyl-based or moisture-resistant wallpaper to withstand the laundry room environment.
- Practical Tip: Apply the wallpaper on a single accent wall to maximize design impact without overwhelming the space. Consider it as a backdrop to open shelving, enhancing the look of displayed storage containers and laundry essentials.
- Flooring That Combines Style and Function: The right flooring can make a significant difference in a laundry room. Durable, water-resistant materials like tile or luxury vinyl are wise choices. For added comfort and aesthetic value, consider a rug that can also define the area and add a pop of color or texture.
- Practical Tip: Choose a rug that’s both functional and decorative—something easy to clean and resistant to moisture can also double as a comfortable standing spot during long laundry sessions.
Adding Functional Decor
Incorporating Countertop Space: If your laundry room has front-loading washers, installing a countertop across them can provide an instant work surface for folding clothes, and it conceals laundry bins or hampers underneath. Use materials that match your aesthetics, like quartz or butcher block, which also stand up to moisture and wear.
Practical Tip: Select a countertop with an overhang to easily tuck stools or baskets beneath, effectively using every inch of space for both storage and utility.
Framed Wall Art and Backsplash: Utilizing the vertical space in a laundry room can have a dual function – to decorate and to organize. Framed wall art can add personality to the room without sacrificing space. A stylish backsplash behind a sink not only protects the walls from water splashes but also serves as a decorative element.
Practical Tip: Install backsplash tiles that complement other design elements in the room, and hang framed art at eye level to draw attention and create a more welcoming environment.
Smart Organization and Labeling
Labels and efficient laundry systems are essential for making the most out of limited storage space in your laundry room. By properly organizing and clearly labeling your storage areas, we can streamline our laundry process, making it quicker and more efficient.
Implementing a Laundry System
1. Define Sorting Categories:
We must establish specific categories for sorting laundry to prevent a mix-up of items. A practical tip is to use labeled bins or baskets. For example:
- Whites
- Darks
- Colors
- Delicates
- Dry Cleaning
2. Utilize Vertical Space with Open Shelving:
Open shelves provide easy access to items we use frequently. Assign a shelf for each category of laundry essentials, label them, and maintain consistency in usage. These can include:
- Detergents and Cleaners
- Fabric Softeners
- Stain Removers
- Miscellaneous
3. Choose the Right Hanger Shelf for Hang-Dry Items:
A dedicated hanger shelf is ideal for items that require air-drying. Install a shelf with an integrated hanging rod above your front-loading machines, ensuring that the labels face outward for easy identification.
4. Streamline with Laundry Room Wall Cabinets:
Cabinets configured around your front-loading machines can be used to house less frequently used items. Assign and label each cabinet space for:
- Seasonal Clothing
- Extra Towels and Linens
- Cleaning Supplies
Remember to place labels at eye level for easy viewing. This avoids the need to open every cabinet to find what you’re looking for.
Enhanced Practicality with Accessories
We can significantly increase the functionality of our laundry room with the addition of well-chosen accessories. By focusing on organization and space optimization, we make routine laundry tasks more efficient and less cluttered.
Installing a Hanging Rod and Ironing Board Holder
Why It Works:
- Space-Efficient Storage: A hanging rod utilizes vertical space, which often goes unused.
- Easy Access: Keeps clothes wrinkle-free and within reach for immediate storage or ironing.
Practical Tips:
- Choose a retractable hanging rod for versatility; extend it for use, collapse it to save space.
- Install an ironing board holder on the wall or behind a door to keep your ironing board hidden and out of the way but still conveniently accessible.
Adding Hooks and Hanger Shelves
Why It Works:
- Organization: Wall hooks create designated spots for laundry room essentials.
- Streamlines Workflow: Hanger shelves keep supplies and tools in one area, reducing time spent searching.
Practical Tips:
- Install hooks sturdy enough for hanging heavier items like coats or large towels.
- Ensure hanger shelves are mounted at a functional height and include a mix of shelf space and hooks for maximum utility.
Let Us Know How We’re Doing!
Did this expertly prepared resource answer your question?
Do you have another question about home maintenance, home improvement projects, home appliance repair, or something else?
Get more information, send in questions and keep the discussion going by contacting the I’ll Just Fix It Myself company customer service team at at 1-800-928-1490 or Email us at [email protected]
