How to Run Gutters Underground: A Step-by-Step Guide
Running gutter drainage underground is a practical solution to divert rainwater away from your home’s foundation. Properly executed, this project can prevent water damage to your home’s basement, landscaping, and foundation. The process involves creating a trench for the gutters to lie in and securing them in a way that facilitates adequate water flow away from the house.
We’ll guide you through the essentials to achieve an efficient underground gutter drainage system. Starting with the basics, you’ll need to outline a pathway that slopes away from your home, ensuring that rainwater is carried to a suitable discharge point. Adequate slope and velocity are vital to prevent water from pooling, which can cause sediment buildup and blockages.
In the construction phase, you’ll dig a trench and lay down the necessary pipes, taking care to use durable materials to withstand the elements. Careful planning and a few essential materials can equip you with a robust drainage system. Remember, consistent maintenance is key to ensuring the longevity of your underground gutters, so inspect them regularly for optimal performance.
Assessing Your Gutter System
Before we begin, it’s crucial to evaluate the current state of your gutter system, focusing on downspout locations, gutter slope, and checking for any drainage issues. This will ensure that the underground gutter installation is effective and sustainable.
Evaluating Downspout Locations
Firstly, examine where your downspouts are positioned around your house. The right placement can affect water flow efficiency. Ensure downspouts are:
- Positioned: At the lowest point of the gutter system.
- Spaced: Ideally every 20-30 feet along the gutters to avoid overflow.
Determining Gutter Slope
The gutter slope, or pitch, is essential for proper water drainage. Here’s what to look for:
- Slope Measurement: A gentle slope of 1/4 inch for every 10 feet of guttering.
- Visual Inspection: Water should flow steadily toward downspouts without pooling.
Checking for Drainage Issues
Finally, assess your system for any existing drainage problems:
- Water Marks: May indicate overflows or leaks.
- Foundation Wetness: Could suggest inadequate drainage from the gutter system.
Remember, maintaining a functional gutter system protects the integrity of your roof and home foundation by directing water away efficiently.
Planning and Preparing for Installation of Underground Gutters

When we start the installation of underground gutters, careful planning and preparation ensure a solid groundwork for success. Here’s how to effectively lay the foundation for a seamless underground gutter system.
Outlining the Project Scope
We begin by assessing our property to determine the type and size of the gutter system needed. The landscape, the existing gutter setup, and the volume of rainwater to be managed are all crucial factors. We establish the starting point, the end point, and the path of the drainage — making sure it moves water away from the house and foundation.
Gathering Necessary Tools and Materials
| Tools | Materials |
|---|---|
| Shovel | PVC or corrugated drain pipe |
| Trenching spade | Gravel |
| Level | Geotextile fabric |
| Hacksaw | Pipe fittings |
Before digging, we gather all necessary tools and materials essential for excavating and installing the drainage system. Cost-effective and reliable tools facilitate a smooth installation process, while quality materials ensure the longevity of our drainage solution.
Marking Utility Lines
Before any excavation, it’s imperative to mark out utility lines. We contact local utility companies to have them mark the locations of underground lines on our property. This is vital to avoid costly and dangerous mistakes when digging.
Understanding Local Building Codes
We must be aware of and comply with local building codes and regulations. This might involve specific requirements regarding the depth and type of gutter systems allowed. We check with the local municipal offices to get this information, ensuring that our project meets all legal standards.
Installation Process for Underground Gutters

When installing underground gutter drains, it’s essential to ensure proper water flow away from the foundation, avoid pooling, and use durable materials like PVC for minimal maintenance.
Digging the Trench
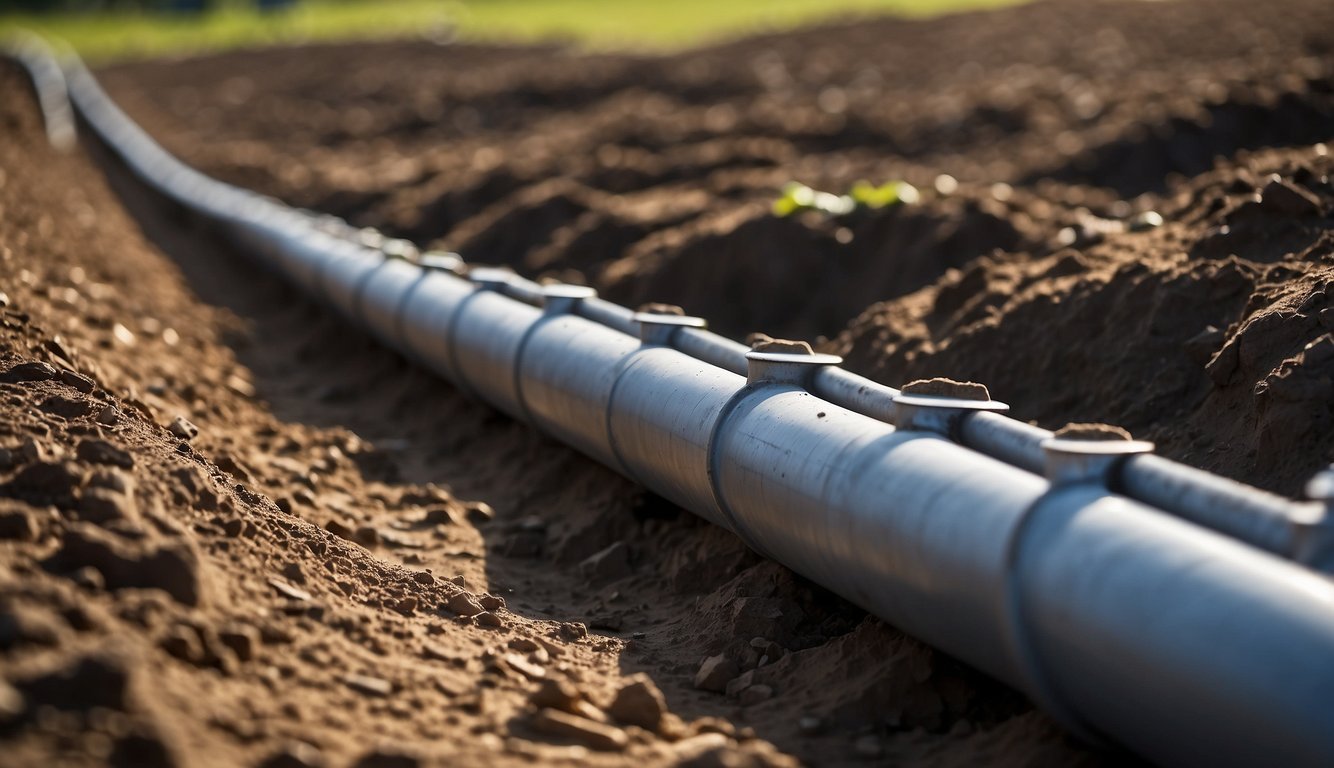
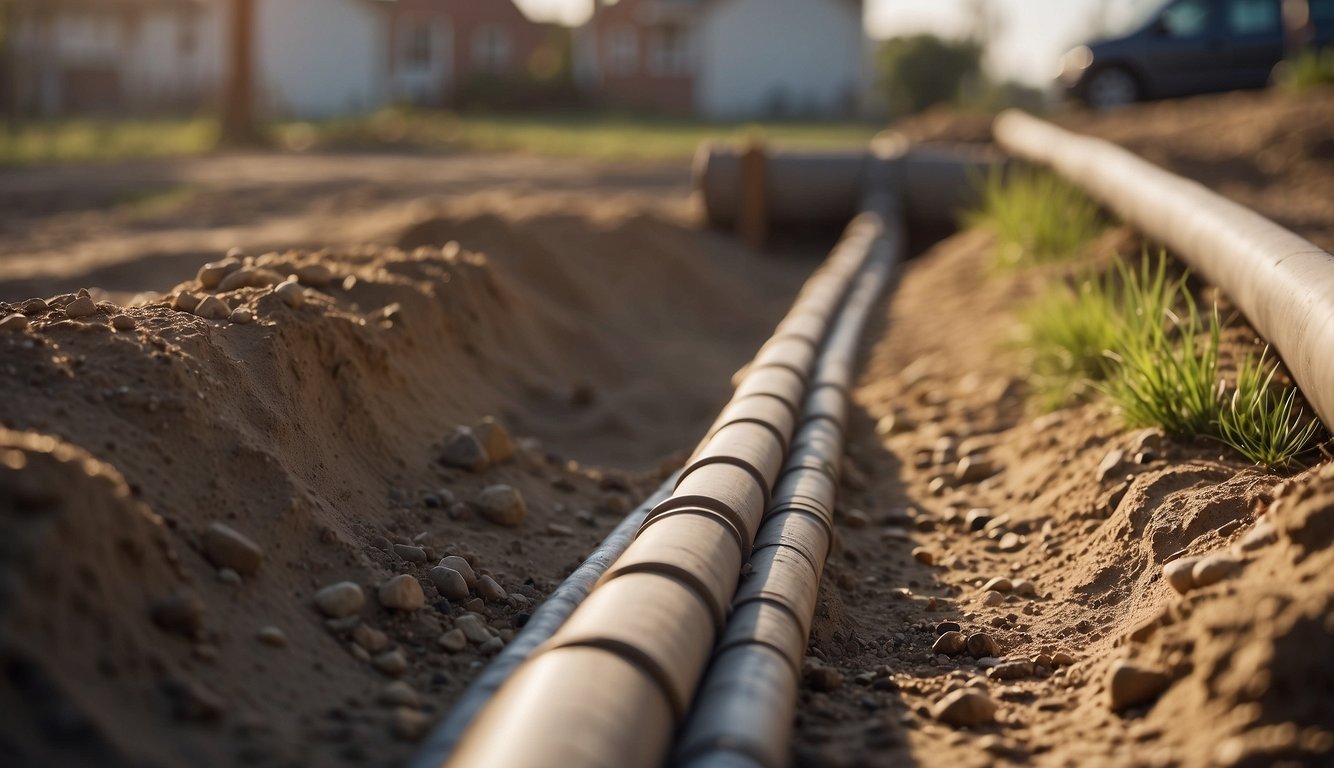
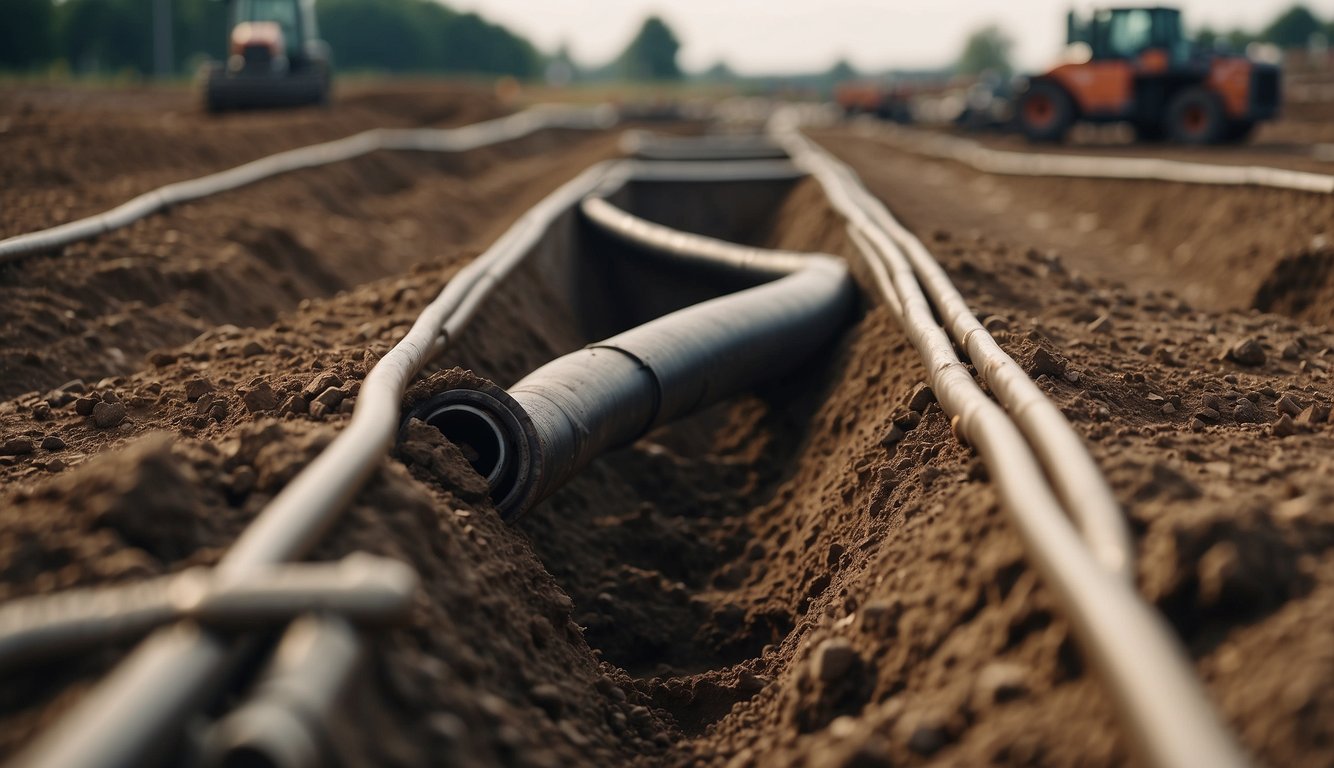
Firstly, we’ll need to dig a trench from the downspout to where the drain will release water. The trench should be at least 12 inches deep to accommodate the pipes and allow for proper drainage. Use a level to guarantee a slight slope towards the drain end, ensuring that water flows away from the house.
Installing Pipes and Catch Basins
We’ll then place PVC drainage pipes in the trench. It’s vital to install a catch basin at each low point to collect sediment and prevent clogging within our system. We fill the trench bottom with gravel and set the pipes over it. Ensure all joints are securely connected to prevent leaks.
Connecting to Downspouts
Downspout extensions are then connected securely to the PVC pipes. It’s important to ensure a tight fit to prevent leaks or disconnections during heavy rain. Use adapters if necessary to connect different pipe sizes or materials.
Securing and Testing the Drainage
After connecting all parts, cover the pipes with gravel, then landscape fabric to filter debris before backfilling the trench with soil. This fabric will help prevent clogs and maintain the long-term efficiency of our drainage. Test our system by pouring water into the catch basin to check for proper flow and function.
Dealing with Specific Challenges Related to Underground Gutters

Running gutters underground efficiently is all about anticipating and mitigating specific issues. We’ll address how to prevent clogs, tackle harsh weather conditions, and ensure the longevity of your drainage system.
Preventing Clogs and Erosion
To avoid clogged gutters, we ensure they are free from debris such as leaves by installing guards or filters. Using a catch basin or strainer at the mouth of the downspout keeps out larger particles. To prevent soil erosion around the drainage area, we incorporate a splash guard and maintain the sod.
- Downspout Filters: Install filters to block leaves and debris.
- Splash Guards: Place these at the outlet to protect the soil from eroding.
Addressing Freezing and Heavy Rains
In freezing climates, we take measures to prevent ice from blocking the flow in the gutters and pipes. We might use heat cables or insulate the pipes to maintain water movement. During heavy rains, it’s crucial that the system can handle increased flow; we ensure proper grading and might increase pipe diameter for improved capacity.
- Insulation: Wrap pipes to prevent freezing.
- Pipe Diameter: Select a size adequate for stormwater volume.
Ensuring Long-term Durability
Selecting corrosion-resistant materials like PVC prevents rust and increases lifespan. We also design our systems for easy access for maintenance, often including a clean-out point. To protect the foundation and basement from water damage, we install the drainage well away from the house and use french drains or connect to the storm sewer when appropriate.
- Materials: Choose PVC to avoid rust.
- Maintenance: Design with accessible clean-out points.
Maintenance and Upkeep
Maintaining our underground gutter system ensures it functions properly, preventing clogs and avoiding damage to our home. Let’s look at the key practices to keep the system in top shape.
Routine Cleaning: We should clean the gutters at least twice a year to remove leaves, twigs, and debris. This prevents clogs that can cause overflowing gutters and water damage. A sturdy ladder, gloves, and a garden hose are essential tools for this job.
Gutter Guards: Installing gutter guards can significantly reduce the amount of debris that enters the system. This means fewer clogs and less frequent cleaning.
Regular Inspections: We need to inspect our underground gutters for signs of damage, such as cracks or misalignment, which can lead to leaks or improper drainage.
Professional Maintenance: Sometimes, it’s best to call in a professional. They can handle tougher issues like deep clogs or repairs to catch basins and splash guards.
Clog Prevention: Keep an eye out for clogs, especially after storms. Quickly removing any visible twigs or debris can prevent backups.
| Task | Frequency | Note |
|---|---|---|
| Gutter Cleaning | Biannually | More often if surrounded by lots of trees |
| Professional Inspection | Annually | Essential for catching issues early |
| Gutter Guards Check | Annually | Ensure they are secure and clear of debris |
By following these measures, we’ll keep our underground gutter system working as it should, protecting our home from water-related issues.
Advantages of Underground Gutter Drainage

When we install underground gutter drainage, we’re enhancing our home’s functionality and aesthetics. The main perk is water management. By directing water flow away from the house, we protect the foundation and mitigate the risk of water damage to basements and crawlspaces. Our ability to control where the water goes can prevent persistent moisture that can lead to mold and mildew.
| Benefit | Description |
|---|---|
| Foundation Protection | Redirects water to safeguard the home’s structural integrity. |
| Curb Appeal | Maintains a tidier appearance by hiding drainage away from view. |
| Landscape Preservation | Prevents water from flooding gardens and eroding soil. |
French drains or dry wells are excellent underground gutter drainage solutions that collect water efficiently and blend seamlessly into the landscape. Compared to traditional above-ground gutters, these methods are less prone to clogs from leaves and debris. Also, they require less frequent maintenance which is a boon for any homeowner.
For areas with higher water volumes, incorporating a sump pump or a holding tank can manage excess water, especially during heavy rainfall. They ensure that water is kept at bay from critical areas like retaining walls, which if saturated, could fail.
By using sturdy materials for downspouts and drain pipes, we make sure that our underground system stands the test of time. Not only does this method handle water efficiently but also enhances the house’s overall curb appeal, as there are no visible pipes that disrupt the look of the home’s exterior.
Let Us Know How We’re Doing!
Did this expertly prepared resource answer your question?
Do you have another question about home maintenance, home improvement projects, home appliance repair, or something else?
Get more information, send in questions and keep the discussion going by contacting the I’ll Just Fix It Myself company customer service team at at 1-800-928-1490 or Email us at [email protected]
