Room Temperature Doesn’t Match Thermostat Setting? (11 Practical Solutions)
Imagine that you’ve set your thermostat to the desired temperature, but you notice that the room temperature doesn’t seem to match the thermostat setting.
This is a common issue faced by many homeowners and can be caused by various factors. In this article, we will explore some reasons behind this discrepancy and offer potential solutions to help ensure a comfortable indoor environment.
11 Reasons Why the Room Temperature Doesn’t Match the Thermostat Setting
Here is a handy table that includes all of the information we cover in this article. For more information about each issue, continue reading that section!
| Problem | Description | Solution |
|---|---|---|
| Inefficient or aging HVAC system | HVAC systems lose efficiency over time. | Schedule maintenance, replace worn-out parts, plan for system replacement. |
| Dirty or Clogged Filters | Dirt and debris accumulate, affecting temperature regulation. | Check and replace filters regularly, invest in high-quality filters. |
| Malfunctioning Components | Various components can fail due to age or wear. | Inspect the system, check thermostat calibration, consult a professional. |
| Issues with Thermostat | Miscalibration, low battery power, or wiring issues can affect readings. | Clean or recalibrate thermostat, replace batteries, check wiring, seek professional assistance. |
| Poor insulation | Inadequate insulation allows external factors to influence indoor temperatures. | Conduct visual inspection, inspect windows/doors, consider an energy audit. |
| Air Leaks in the House | Leaks cause outside conditions to influence indoor temperatures. | Check seals around doors/windows, examine ducts, check insulation, inspect outlets/switches. |
| HVAC System Size is Too Small | An undersized system struggles to maintain desired temperatures in larger spaces. | Calculate home’s square footage and determine the right HVAC size, consult a professional. |
| Air Stratification in Two-Story Houses | Different temperatures in multi-story houses due to warm air rising and inadequate circulation. | Ensure proper circulation, consider thermostat placement, address insulation, and window issues. |
| Room with High Sunlight Exposure | Direct sunlight can cause rooms to heat up significantly. | Address window size/type, improve insulation, adjust thermostat placement. |
| Other Appliances Creating Heat | Many appliances emit heat when operating, affecting room temperature. | Be aware of heat-emitting appliances and their impact, especially near the thermostat. |
| Dirty or Clogged Vents and Ductwork | Impedes airflow and affects room temperature. | Replace air filters, inspect and clean ducts, maintain thermostat, evaluate insulation. |
| Check Zone Settings | Incorrect HVAC zoning settings can cause temperature mismatches. | Calibrate multi-zone thermostat, program correctly, use smart features if available. |
| Windows and Doors Open | Drafts and external temperatures can influence indoor temperatures. | Ensure windows and doors are closed when trying to maintain a specific temperature. |
Inefficient or aging HVAC system
Over time, heating and cooling systems can lose their efficiency, resulting in longer times to achieve desired temperatures.
A dirty air filter can restrict airflow, reducing the system’s efficiency and the ability to maintain the desired temperature.
If parts of the HVAC system, like the compressor or blower motor, are not working correctly, they can’t effectively regulate the temperature.
Aging Equipment
As your HVAC system ages, it naturally becomes less efficient at maintaining the desired temperature. Over time, components such as fans and motors can wear down, and the insulation around ducts can degrade. This could cause the room temperature not to match the thermostat setting.
To address this issue, you can:
- Schedule regular maintenance and tune-ups for your HVAC system.
- Replace worn-out parts and seals to improve efficiency.
- Plan for the eventual replacement of an aging system with a more energy-efficient one.
Dirty or Clogged Filters
Dirt, dust, and debris can accumulate on your HVAC system’s filters, making it harder for the system to regulate the room temperature effectively. This, in turn, could result in the room temperature not matching the thermostat setting.
To resolve this, follow these steps:
- Check your filters for obvious dirt and debris buildup.
- Clean or replace your filters at least every 1 to 3 months, depending on system usage and specific filter types.
- Invest in high-quality filters that are more resistant to dust and debris accumulation.
Malfunctioning Components
Your HVAC system has numerous components that may malfunction or fail due to age or wear and tear, including sensors, wiring, power supply, batteries, and circuit breakers. Faulty components can lead to a room temperature that doesn’t match the thermostat setting.
To troubleshoot and fix this issue, you should:
- Inspect your HVAC system for any visible signs of damage or wear, such as frayed wires or corrosion.
- Test your thermostat’s calibration, batteries, and power source. Replace dead batteries or faulty power supplies as needed.
- Ensure that your HVAC system has proper insulation and that external factors, such as direct sunlight on the thermostat, are not affecting readings.
- Consult with a licensed HVAC professional to check for more complex problems and perform necessary repairs or replacements.
Issues with the Thermostat
The first thing to do is check to make sure your thermostat’s set temperature is correct. Once that’s done, continue on!
Calibration
One of the main reasons why your room temperature doesn’t match the thermostat setting can be due to calibration issues in the thermostat itself.
Over time, dirt, dust, and debris can affect the accuracy of the thermostat’s sensors, leading to incorrect temperature readings. To fix this issue, you can gently blow the dust out of the thermostats with a can of compressed air.
If you believe the calibration is still off, consider seeking professional assistance for recalibration.
Battery Level
Another common reason for the discrepancy between room temperature and the thermostat setting is a low or dead battery in your thermostat.
When the battery level is low, the thermostat may not be able to properly read or control the temperature. To address this, regularly check your thermostat’s battery level and replace them when necessary.
Steps to replace thermostat batteries:
- Turn off the thermostat
- Remove the cover or faceplate to access the battery compartment
- Take out the old batteries and insert the new ones, making sure the orientation is correct
- Replace the cover or faceplate and turn the thermostat back on
Faulty Wiring
Faulty or frayed wiring can also cause your room temperature to not match the thermostat setting. Over time, corrosion and damage to thermostat wiring can interfere with the thermostat’s ability to properly control your HVAC system.
It is crucial to inspect your thermostat’s wiring to ensure there are no broken, corroded, or loose connections. If you suspect an issue with the wiring, contacting a licensed professional for repair is the safest option.
Poor insulation in the house
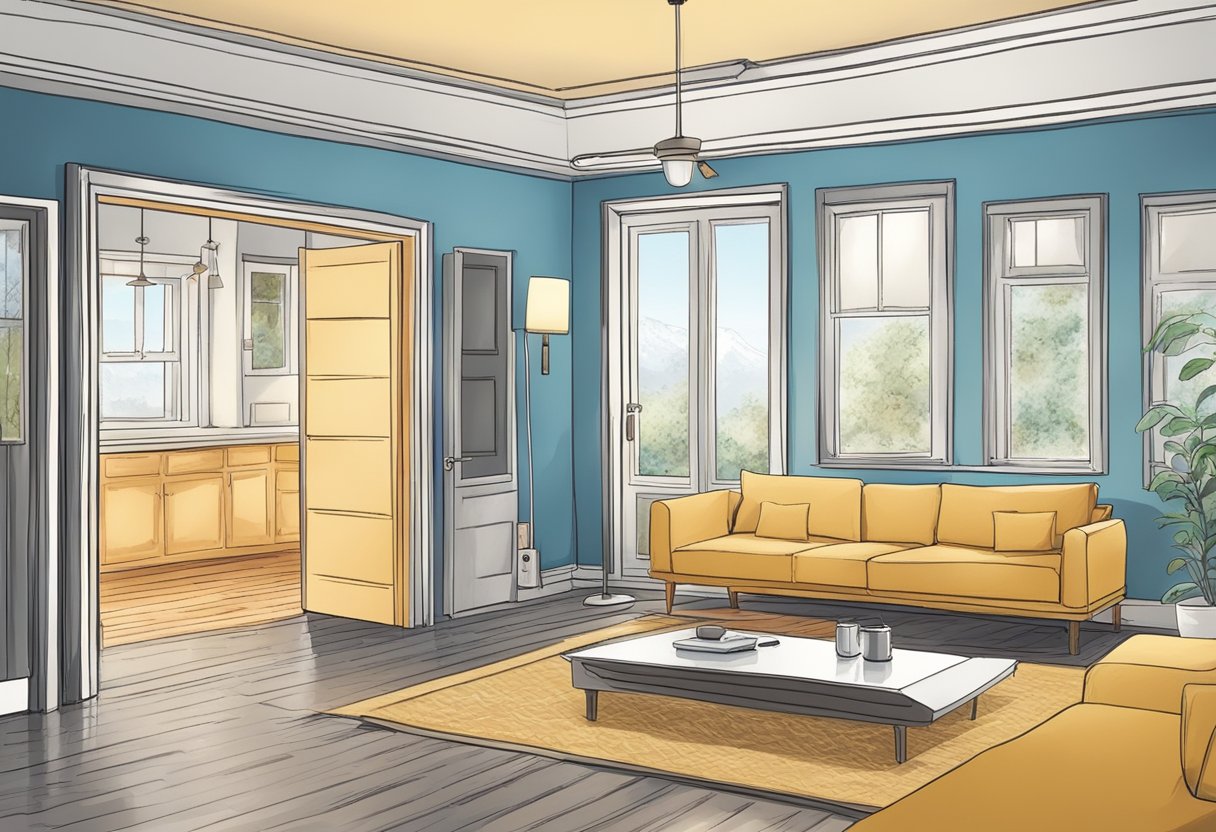
Poor insulation in your house can significantly contribute to the room temperature not matching the thermostat setting. Inadequate insulation allows external factors such as heat and cold to infiltrate your home, causing temperature inconsistencies.
To inspect and improve your home’s insulation, follow these steps:
- Visual Inspection:
- Start by checking the more accessible areas like your attic, basement, or crawl spaces. Look for any visible insulation.
- Note the type (e.g., fiberglass, foam board, spray foam) and its condition.
- Check Wall Insulation:
- Turn off electricity in your home for safety.
- Remove an electrical outlet cover on an exterior wall.
- Use a flashlight to peer into the gap around the outlet box. You might be able to see if there’s insulation in the wall and what type.
- Alternatively, you can make a small hole in a discreet area of the wall to check for insulation.
- Inspect Windows and Doors:
- Feel for drafts around window and door frames.
- Look for damaged sealing or gaps.
- Check Exterior:
- Walk around the home’s exterior. Look for any gaps or holes, especially where different building materials meet.
- Energy Audit:
- Consider hiring a professional to perform an energy audit. They’ll use specialized tools like infrared cameras to find areas of heat loss.
Air Leaks in the House
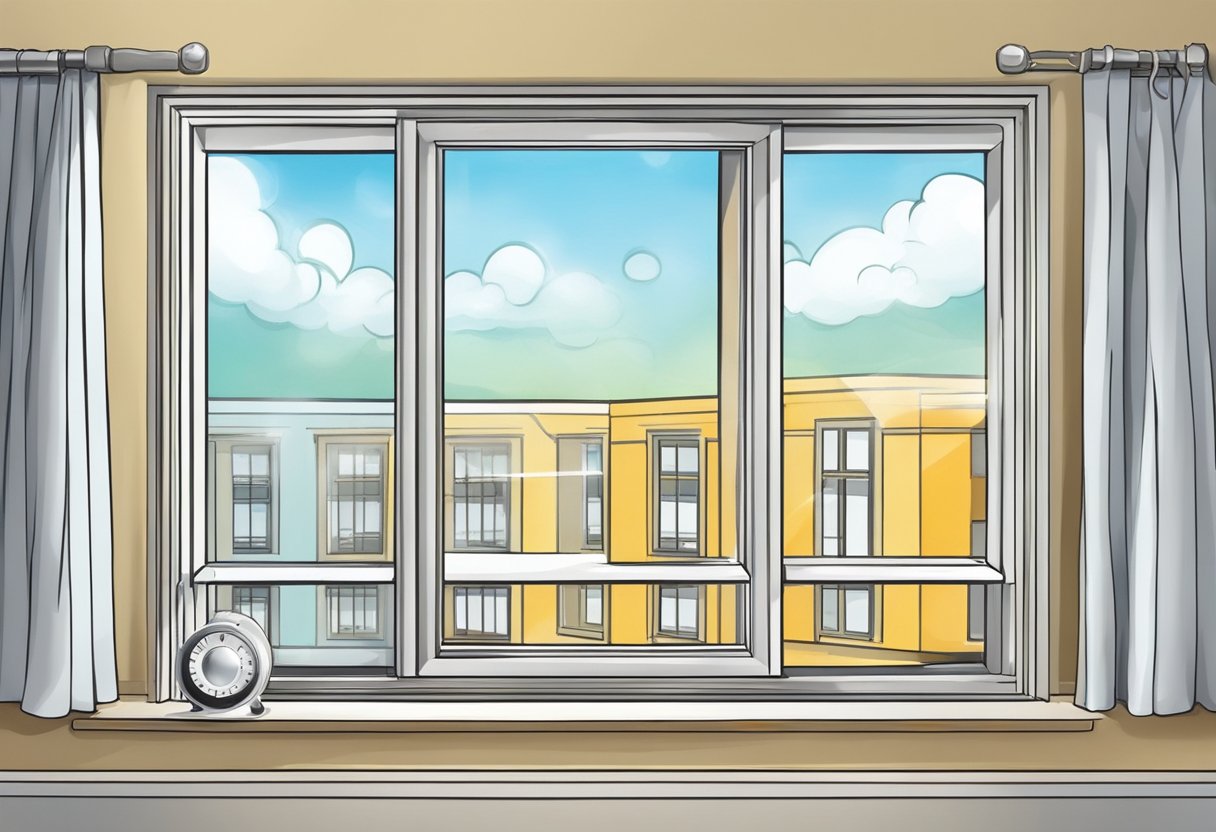
Air leaks in your house can significantly contribute to the mismatch between room temperature and thermostat setting. Leaks allow external factors like weather conditions to influence the indoor temperature, making your HVAC system work harder to maintain the desired temperature.
To identify and fix air leaks in your house, follow these simple steps:
- Inspect doors and windows: Check the seals around doors and windows for gaps, wear, and tear. Apply weatherstripping or caulk to fix any identified gaps.
- Examine ducts and vents: Inspect the ductwork for any loose connections or holes, and make sure vents are not blocked by dust, dirt, or debris. Have a professional HVAC technician repair any damaged ducts.
- Check insulation: Ensure your home’s insulation is adequate, especially in areas prone to heat loss, such as the attic or basement.
- Inspect electrical outlets and switches: Gaps around outlets and switches can also cause air leaks. Install foam gaskets behind the covers to minimize leakage.
- Monitor your thermostat’s calibration and power supply: Regularly check if your thermostat is calibrated correctly. Replace dead batteries and ensure its power source is consistent. This helps prevent the thermostat from malfunctioning and consequently, an uneven room temperature.
By addressing air leaks in your home, you can improve the efficiency of your HVAC system and achieve a more consistent temperature throughout your living space. Keep an eye on factors like dirt, dust, debris, corrosion, filters, calibration, batteries, wiring, age, and sensors to ensure your thermostat remains functional and accurate.
HVAC System Size is Too Small
When your HVAC system is too small for your home, it may struggle to reach the desired room temperature as indicated by the thermostat. This is because a smaller system may not have the capacity to heat or cool a larger space effectively.
Determining the right HVAC size is essential for efficiency and comfort. Here’s a concise guide to find the right size:
- Calculate Square Footage:
- Measure and sum the area of each room for total square footage.
- Determine Base BTU:
- Estimate 20-25 BTUs per square foot. Adjust based on location and home construction.
- Climate Consideration:
- Increase BTUs for hotter climates and decrease for cooler ones.
- Adjust for Ceiling Height:
- Add more BTUs for ceilings higher than 8 feet.
- Factor in Sunlight:
- Add 10% BTUs for sunny rooms, reduce 10% for shaded ones.
- Account for Occupants:
- Add 600 BTUs for each person beyond two occupants.
- Consider Heat-Generating Areas:
- Add around 4,000 BTUs for kitchens or computer rooms.
- Check Insulation:
- Adjust based on the insulation quality and window conditions.
- Professional Assessment:
- For precision, get a professional Manual J Load Calculation.
- Consult an HVAC Expert:
- Seek professional recommendations before purchasing.
Air Stratification in Two-Story Houses
Air stratification in two-story houses can cause temperatures to differ from the thermostat setting for the following reasons:
- Heat Rises: The fundamental principle behind air stratification is that warm air rises and cold air sinks. In a two-story home, this means the upper floor can become significantly warmer than the lower floor, especially during colder months.
- Inadequate Circulation: Without proper air circulation, such as from ceiling fans or air conditioning systems designed to manage multi-story homes, the warm air stays trapped upstairs, exacerbating the temperature difference.
- Thermostat Placement: If the thermostat is located on the first floor, it might not accurately gauge the temperature on the second floor, leading to discrepancies in heating or cooling.
- Insulation Issues: If the upper floor is not as well-insulated as the lower floor, it can be more susceptible to outside temperatures, causing it to be hotter in the summer and colder in the winter.
- HVAC System Design: If the HVAC system isn’t designed or balanced for a multi-story home, it might not distribute air effectively throughout the house. This can cause one floor to feel comfortable while the other is too hot or cold.
- Window Distribution: The upper floors of a house might have more, fewer, or differently oriented windows than the lower floors. This can affect how much sunlight they receive and influence their temperatures.
- Natural Convection: As warm air rises and cools, and then descends, it can create convection currents, further reinforcing stratification unless countered by proper ventilation or circulation.
Room has a lot of exposure to sunlight
Rooms with a lot of sunlight exposure can have temperatures that differ from the thermostat setting due to the following reasons:
- Solar Gain: Direct sunlight pouring into a room can significantly raise its temperature. This phenomenon, called solar gain, can make sunlit rooms much warmer than shaded ones.
- Window Size and Type: Large windows or those without energy-efficient coatings can allow more heat to enter. Double-glazed windows or those with UV coatings can help mitigate this effect.
- Inadequate Insulation: If the room isn’t well-insulated, it won’t retain or block temperatures effectively. This can lead to the room getting excessively warm during sunny days.
- Thermostat Placement: If the thermostat is placed in a shaded area, while another room gets a lot of sunlight, it might not register the increased temperature in the sunlit room.
- Natural Airflow: Sunlit rooms can create convection currents as the air heats up. This can cause the warm air to circulate and possibly raise the temperature in adjoining rooms.
- Absorption: Dark-colored walls, floors, and furniture can absorb more sunlight and heat up, further increasing the room’s temperature.
Other Appliances Creating Heat
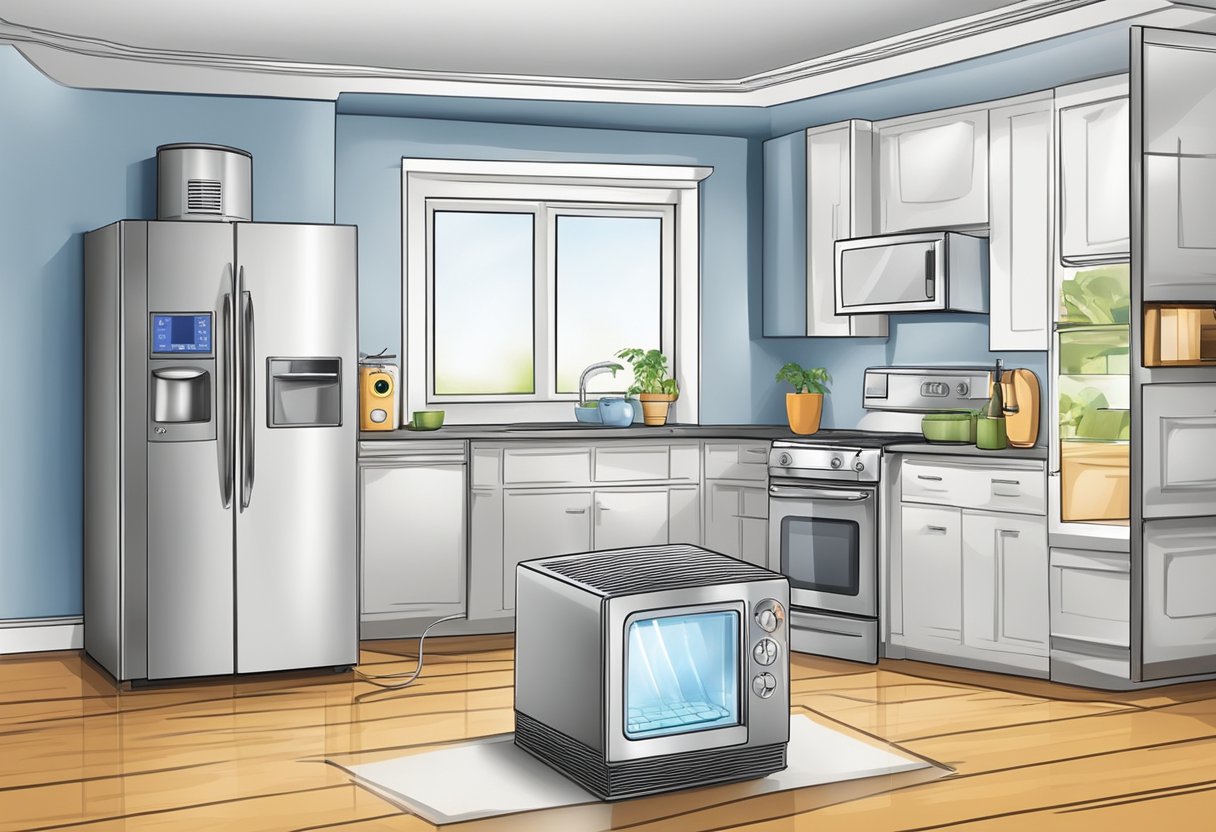
Other appliances in a home can influence room temperature, making it differ from the thermostat setting, due to the following reasons:
- Heat Emission: Many appliances emit heat when they operate. Devices like ovens, stovetops, dryers, televisions, computers, and even some light bulbs can raise the room temperature noticeably when in use.
- Extended Operation: Appliances that run continuously or for extended periods, like computers or refrigerators, can contribute to a steady increase in room temperature.
- Placement: If appliances that emit heat are placed near the thermostat location, they can directly affect its readings. The thermostat might read the temperature as being higher than the rest of the room because it’s sensing the heat from the appliance.
- Electrical Consumption: Appliances with high electrical consumption often release part of this energy as heat. For instance, older refrigerator models might emit more heat to the surrounding area than newer, more efficient models.
- Motor Heat: Appliances with motors, like refrigerators, freezers, or some fans, can emit heat when their motors are running, especially if they are working harder than usual.
- Poor Insulation: In homes with poor insulation, the combined heat from multiple appliances can accumulate more rapidly, causing significant temperature deviations.
Vents and ductwork are dirty or clogged
When the room temperature differs from the thermostat setting, clogged or dirty vents and ducts in your HVAC system might be the culprits.
For optimal performance:
- Check Air Filters: Replace if dirty to boost airflow and temperature regulation.
- Inspect Ducts: Look for corrosion, damage, or leaks. If present, seek professional repair or replacement.
- Clean Vents: Regularly remove dust and obstructions to facilitate even air distribution.
- Maintain Your Thermostat: Ensure its sensors, wiring, and power supply are functional. Replace batteries and inspect fuses when necessary.
- Evaluate Insulation: Good insulation in walls, ceilings, and floors helps retain desired indoor temperatures against external factors.
Check zone settings
If your room temperature isn’t aligning with the thermostat, it may be due to HVAC zoning issues or other factors:
Calibrating a Multi-zone Thermostat:
- Switch off the HVAC system.
- Use a separate thermometer to measure room temperature.
- Compare this reading to the thermostat. If different, adjust using the thermostat’s settings or consult an HVAC professional.
Programming a Multi-zone Thermostat:
- Label each zone (e.g., “Living Room”).
- Set the current date and time in the thermostat’s settings.
- For each zone, set desired temperatures for different times: morning, day, evening, and night.
- Utilize energy-saving settings: increase temperature during cooling seasons and decrease during heating when away.
- Regularly review and adjust schedules based on needs or changes in routines.
- Use manual overrides for temporary changes, knowing the system will revert to the scheduled settings after a set period.
- If it’s a smart thermostat, take advantage of features like learning abilities, geofencing, or remote app controls.
- Always keep the user manual handy for model-specific instructions.
Remember to periodically revisit your settings and adjust as needed, and consult with an HVAC technician for intricate setups or troubleshooting.
Windows and doors open
When windows and doors are open, it can make it difficult for your thermostat to maintain the desired temperature. External factors, such as drafts and outside temperatures, can influence the room temperature and cause it to deviate from the thermostat setting.
When to get professional help for thermostat issues
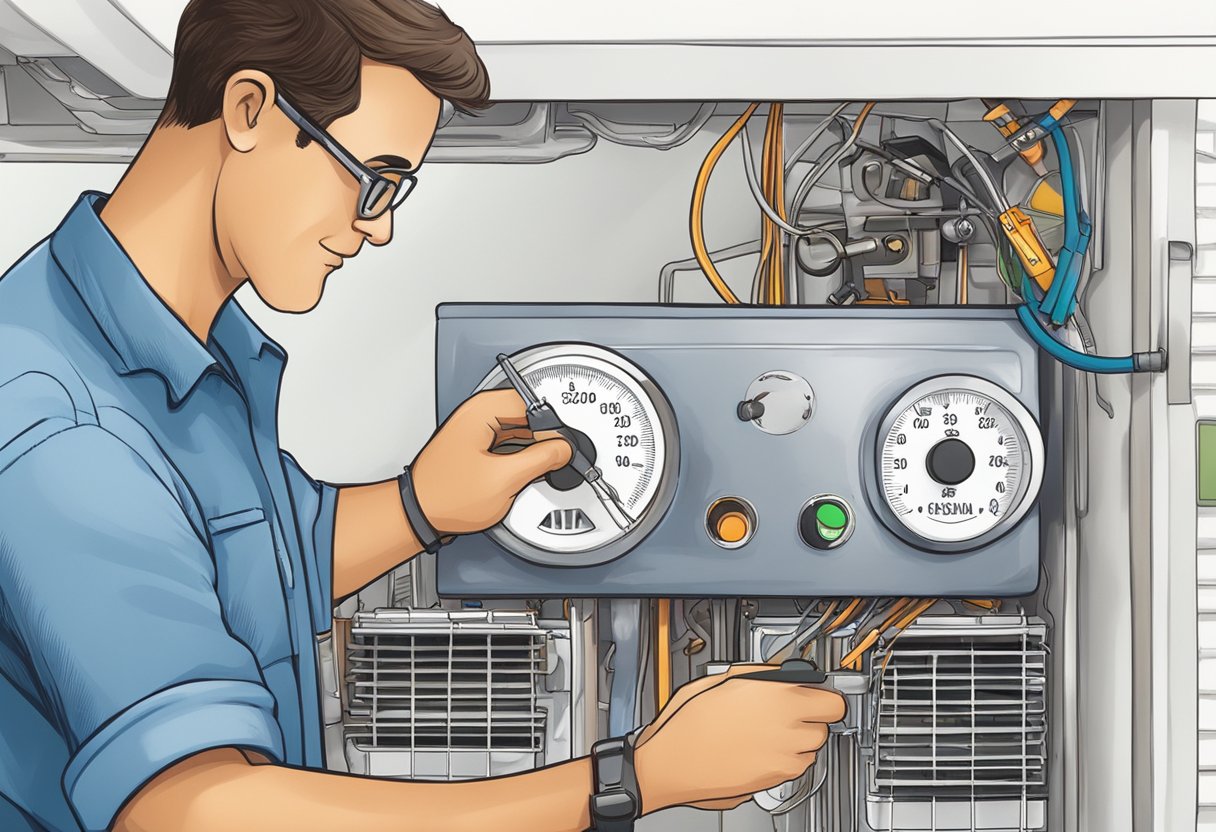
There are certain scenarios when it’s best to call a professional HVAC technician for help setting or resolving thermostat issues. Here are some situations that warrant hiring an expert:
- Working with wiring: If you’re not comfortable or experienced with electrical wiring, calling an expert is the safest choice. A professional can help test or repair thermostat components and wiring without causing additional damage to the system.
- Calibrating mercury switches: In case your thermostat uses a mercury switch, it needs to be leveled correctly to function properly. An HVAC technician is trained to calibrate mercury switches, which helps in addressing discrepancies between room temperature and thermostat readings.
- Complex HVAC systems: If your home or office has a complex HVAC system, such as multi-zone heating and cooling, a professional can help diagnose problems better. They may find that incorrect thermostat settings or wiring errors are causing the issues, and can resolve the problem accordingly.
- Frequent cycling: If your thermostat is frequently cycling on and off, leading to inconsistent temperatures, an HVAC professional can help troubleshoot the issue. They can check for level issues, improper wiring, or other contributing factors.
- AC repair: In some cases, the issue may not lie with the thermostat but with the AC unit itself. Calling a professional for AC repair can help identify and fix underlying problems, ensuring consistent room temperatures.
When in doubt, contact a licensed HVAC professional. They have the expertise to diagnose and resolve thermostat and HVAC system issues, ensuring that your room temperature matches your thermostat settings and providing a comfortable environment for your home or office.
Let Us Know How We’re Doing!
Did this expertly prepared resource answer your question?
Do you have another question about home maintenance, home improvement projects, home appliance repair, or something else?
Get more information, send in questions and keep the discussion going by contacting the I’ll Just Fix It Myself company customer service team at at 1-800-928-1490 or Email us at [email protected]
