The Ultimate Guide to Organizing Your Craft Room for Maximum Efficiency: Streamlined Creativity
Crafting can be both an exciting hobby and a chaotic one, especially when my workspace begins to overflow with materials and tools. To tackle this, I discovered that a well-organized craft room is key to maximizing creativity and productivity. Organizing my craft area not only enhances its appearance but also makes it easier to locate supplies and reduces the time spent searching for them, allowing me to focus more on the creative process.
Through trial and error, I found various methods to streamline my crafting space, turning disorder into a model of efficiency. Whether it’s utilizing vertical storage options or categorizing supplies by type or color, a systematic approach to organizing a craft room can revolutionize the crafting experience. By implementing these strategies, I transformed my space into an inspiring place where every item has a home and every project is within reach.
Now, with a functional craft room, I can swiftly move from one project to the next, and cleaning up has become a hassle-free task. By sharing the effective tips I’ve honed, I hope to help others create their own organized crafting sanctuary.
Designing Your Craft Room Layout
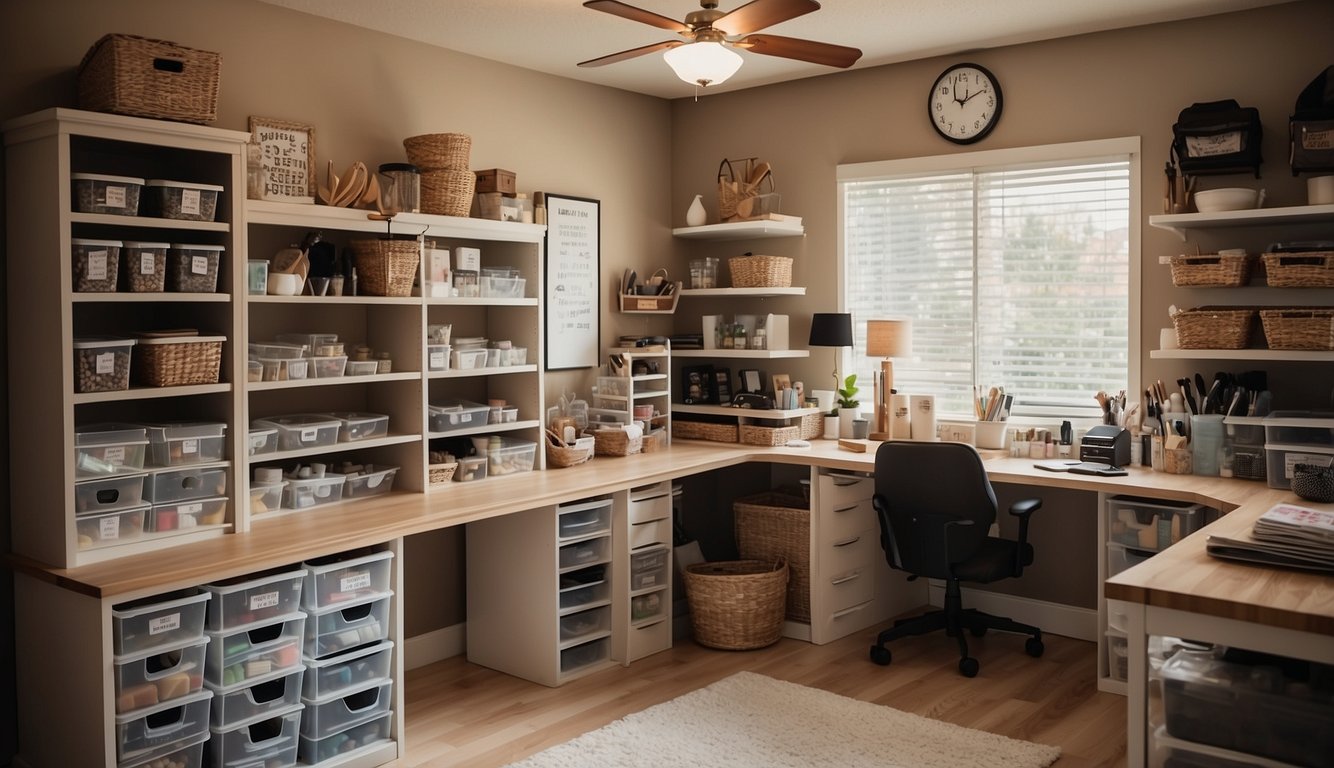
In designing the layout of a craft room, my focus is on creating a space that facilitates workflow and maximizes productivity. Here’s how I approach optimizing the floor plan and selecting functional furniture.
Optimizing the Floor Plan
Why this works: An efficient floor plan allows me to move freely and access supplies without unnecessary steps, which saves time and reduces frustration.
- Identifying Activity Zones: I start by designating specific areas within the room for different activities. For instance, a cutting zone might be placed near the window for natural light, while a sewing area could be near outlets for machine power.
Activity Zone Location Reasoning Sewing Near Outlets For sewing machine power connection. Cutting By the Window To utilize natural light for precise measurements. Ensuring Clear Pathways: I ensure that there is sufficient space between furniture to allow for comfortable movement. This means maintaining clear walkways to transition smoothly between tasks.
- Utilizing Vertical Space: I make use of wall space for storage to keep the floor area uncluttered. Installing shelves above the workstation can provide easy access to frequently used tools and materials.
Selecting Functional Furniture
Why this works: The right furniture supports the craft room’s various functions and can substantially improve my efficiency and comfort while working.
- Choosing a Versatile Desk: I select a desk with a large surface area for projects, preferably with built-in storage. This serves as a central workstation for a variety of crafts, from drawing to jewelry making.
- Incorporating Adequate Storage: I opt for furniture with ample storage options such as cabinets with drawers or cubbies. This allows me to sort materials by type, size, or color for quick retrieval.
- Adding Specialized Stations: For crafts that require specific tools or setups like sewing or cutting, I include stations tailored to these needs. A sewing machine table with drawers for threads and a cutting table at a comfortable height are essential for a functional craft room.
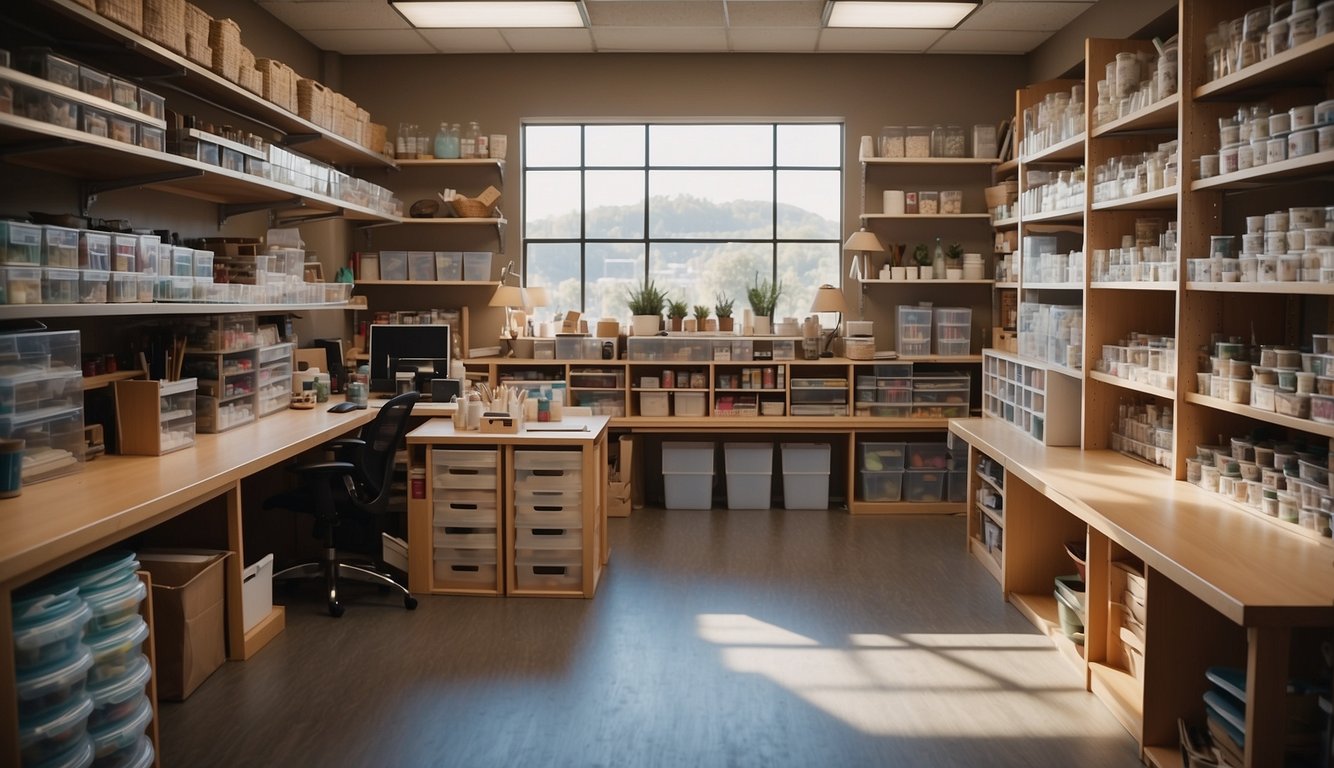
Organizing Supplies for Accessibility
In the realm of craft room efficiency, accessibility to supplies is paramount. I’ll share how easy it is to sort and group your items, along with effective labeling systems, to make creativity a seamless experience.
Sorting and Grouping Craft Supplies
Sorting and grouping craft supplies like fabric, ribbons, and buttons is an elemental step in organizing. I typically group items by type and usage. This not only streamlines the finding process but also conserves space.
- Fabric: Store them flat or rolled, separating solids from patterns
- Ribbon: Group by material (satin, grosgrain, etc.) and store on rods or in drawers
- Knitting Supplies: Keep yarn in clear bins and needles in decorative jars
- Pencils: Use desktop organizers or pencil cups segmented by color or type
Implementing Labeling Systems
An excellent labeling strategy ensures that I never waste time searching for my craft supplies. Clear, consistent labels are keys to a stress-free crafting environment.
- Labels: Use a label maker for uniformity or handwrite for a personal touch
- Organize Supplies by Name or Color: Sorting buttons or pencils in this manner makes them easier to identify
- Yarn: Attach a sample of the yarn to the outside of the storage bin for quick visual reference
By diligently sorting and labeling, I keep my crafting workflow smooth and my creativity unimpeded by the chaos of disorganization.
Maximizing Storage Solutions
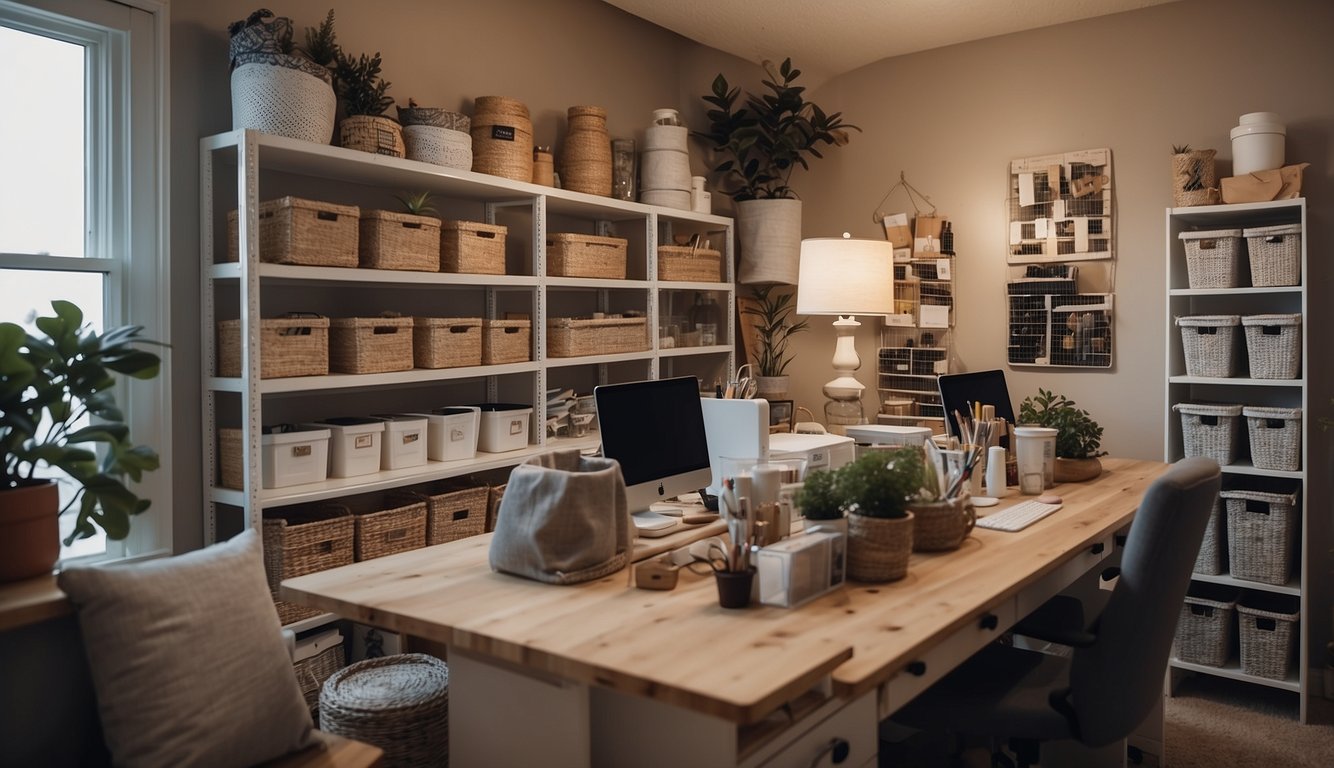
Craft room organization is crucial for efficiency and creativity. I’m going to share specific storage solutions that fully utilize available space, making sure every ribbon, brush, or bead has its place.
Utilizing Vertical Space
Vertical storage can greatly increase the capacity of your craft room.
- Wall-mounted shelves: They offer a versatile way to keep supplies within reach. I recommend installing modular shelving units that allow you to adjust the height and spacing of each shelf.
- Hanging storage: Use a rod with S-hooks or clip-on containers to hang tools and materials. This system is perfect for items that are often used and need to be accessible.
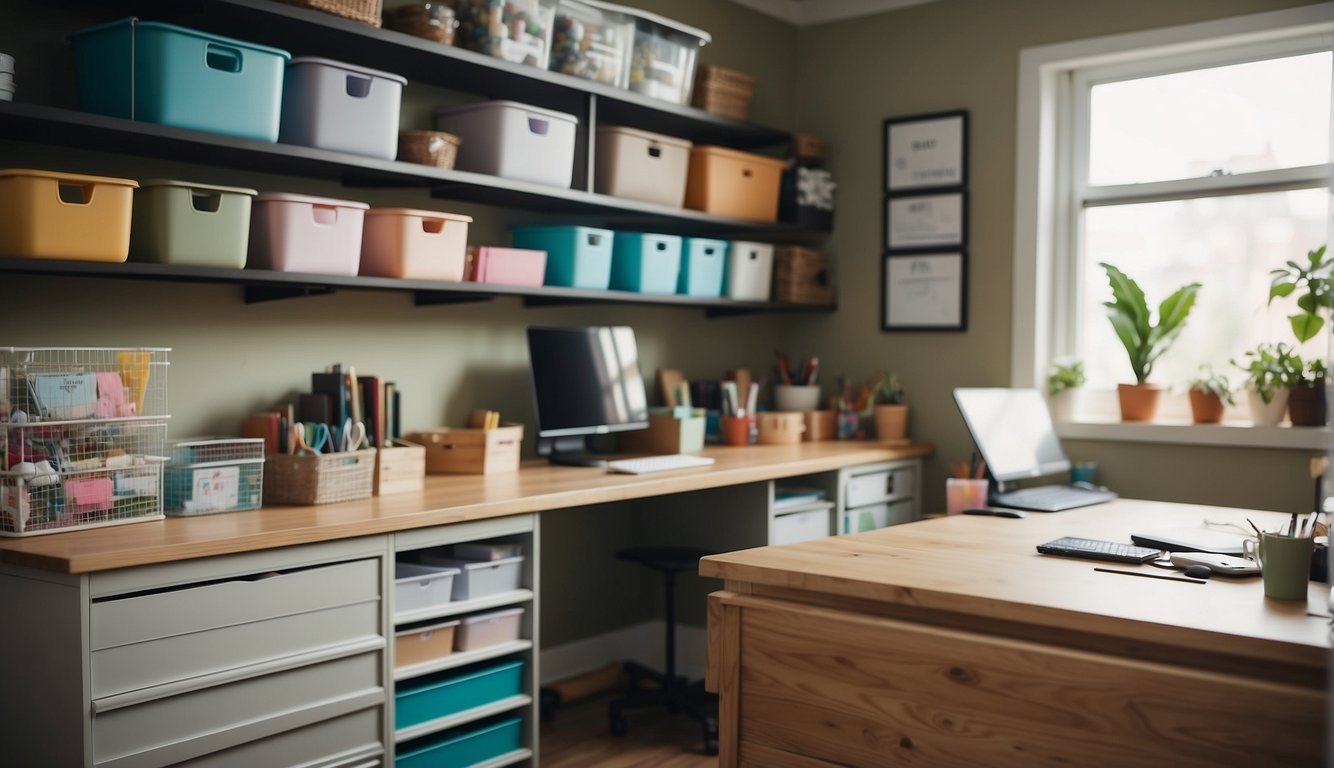
Innovative Shelving and Drawers
Shelving and drawer systems keep your crafting materials neatly tucked away while still being convenient.
- Drawer dividers: Drawer units with customizable dividers can keep small items like beads or buttons organized. Adding labels to the outside quickly tells me what’s inside without needing to rummage through.
- Cubbies with bins: Cubbies fitted with plastic bins or baskets are ideal for categorizing and storing assorted materials. I particularly like clear bins that allow me to see contents at a glance.
Enhancing Craft Room Functionality

I realize that the functionality of a craft room is pivotal for productivity and creativity. Essential to achieving this is smart use of vertical space and personalized organization systems.
Craft Room Pegboard Utilization
A pegboard is a versatile solution that allows me to exploit vertical space effectively. Here’s why it works:
- Maximized Space: Pegboards provide a home for tools and materials without consuming desk or shelf space.
- Visibility: I can easily locate my craft stash, reducing time spent rummaging through drawers.
Practical Tips:
- Install Hooks: Hooks of various sizes can hold scissors, tape measures, or spools of thread.
- Use Rods: Horizontal rods are perfect for ribbon rolls or tape, keeping them neat and accessible.
- Add a Roll Holder: A paper towel holder repurposed as a roll holder for vinyl or paper ensures rolls are tidy and tear-free.
Personalized Organizing Stations
An organizing station should be tailored to my crafting habits. Here’s why personalized stations excel:
- Efficiency: Having a station for each craft type means materials are at hand when I need them.
- Focus: Separate stations reduce clutter, which minimizes distractions and helps me concentrate on the current project.
Practical Tips:
- Use a Caddy: A portable caddy can store items I frequently use, so they can travel with me as I move around.
- Assess Containers: Baskets and clear containers let me see my supplies while keeping them sorted by type or color.
- Create a Labeling System: Labels help me quickly identify the contents of each container, saving time during the creative process.
Maintaining an Organized and Creative Space
Keeping a craft room organized can be a dynamic process. I find it’s essential to have structures in place that encourage ongoing organization and incorporate elements of decor that inspire creativity.
Creating a System for Ongoing Organization
I use different containers to sort all my items by category and type. This way, I can find what I need quickly, without rummaging through clutter. Here’s how I maintain a system:
- Use Clear Storage Bins: I can see contents at a glance, saving me time.
- Label Everything: Each bin, drawer, and shelf gets a clear label so I always know where to put things back.
- Regularly Declutter: I set a monthly reminder to go through my supplies and clear out anything I no longer need or use.
- Accessible Finished Projects: I keep a special shelf for finished projects. It’s satisfying to see my completed work, and it keeps the workspace clutter-free.
Incorporating Decor for Inspirational Workspace
The right decor not only makes my space more enjoyable to work in but also sparks my creativity. Here are two elements I ensure are part of my workspace:
- Mood Board: I maintain a mood board on one wall, updating it with new themes and projects. It’s both decorative and functional, making it a focal point of my craft room.
- Chalkboard: Having a chalkboard helps me jot down quick ideas or a to-do list. It’s a creative solution that adds character to the room and assists in keeping track of upcoming projects.
Supplementary Organizing Tips and Tricks
Mastering the art of organizing can transform your craft room into a space of inspiration and efficiency. These supplementary tips and tricks will help you maintain an environment where creativity thrives.
Repurposing Everyday Items for Storage
1. Shoe Boxes as Drawer Dividers:
Shoe boxes make excellent drawer dividers, keeping your scissors, ribbons, and washi tape neatly sectioned. Since they come in various sizes, they can fit into many drawer types, and you can label them for quick identification.
2. Egg Cartons for Small Items:
Egg cartons are perfect for sorting and storing small items like buttons and odds and ends. Their compartments make it easy to see everything at a glance, reducing the time you spend searching for these tiny necessities.
3. Jars for Sets of Supplies:
I find glass or plastic jars ideal for keeping sets of crafting supplies. Whether it’s a collection of crochet hooks or paintbrushes, having them in transparent containers makes it simple to grab exactly what I need without rummaging through drawers.
Keeping Your Crafting Inventory Updated
1. Regular Audits with a Rolling Cart:
A rolling cart can be a mobile station for current projects. By storing only the items I am currently using on the cart and doing weekly audits, I ensure that every tool or material is in its proper place and I’m aware of what needs restocking.
2. Inventory Lists on Containers:
Sticking updated inventory lists on storage containers helps me keep track of supplies like tape, ribbon, and yarn. Whenever I use something, I make a note, and this system reminds me what’s running low before my next big project.
Let Us Know How We’re Doing!
Did this expertly prepared resource answer your question?
Do you have another question about home maintenance, home improvement projects, home appliance repair, or something else?
Get more information, send in questions and keep the discussion going by contacting the I’ll Just Fix It Myself company customer service team at at 1-800-928-1490 or Email us at [email protected]