The Ultimate Guide to Organizing Your Garden Shed for Maximum Efficiency: Strategies and Tips
Organizing a garden shed can transform it from a cluttered catch-all into a well-oiled machine for your gardening and outdoor projects. As someone who values efficiency, I’ve discovered that the key to making the most of your shed lies in maximizing space while ensuring that every tool is easily accessible. Effective shed organization not only saves time and reduces frustration but also prolongs the life of your equipment by keeping it in good condition.
By prioritizing what you need on hand and implementing simple storage solutions, you can create a streamlined space that supports your gardening hobby or profession. It’s not just about aesthetics; an orderly shed makes for a safer workspace and can even contribute to a more enjoyable gardening experience. This guide will introduce you to practical and easy-to-implement strategies for turning your chaotic shed into a model of efficiency.
Laying the Foundation for Shed Organization
Organizing a garden shed effectively starts with a foundational approach that maximizes space and efficiency. A well-thought-out foundation not only supports the structure but also lays the groundwork for a well-organized interior.
Assessing Your Garden Shed
I always begin by assessing the current state of my shed. This involves evaluating what items are in the shed, how frequently I use them, and noting the available space. I categorize items into frequently used, occasionally used, and rarely used. For the assessment:
- Frequently used items should be readily accessible.
- Occasionally used items can be placed further back or higher up.
- Rarely used items might be better stored in a less accessible area or even outside the shed if appropriate.
Optimizing Floor Space
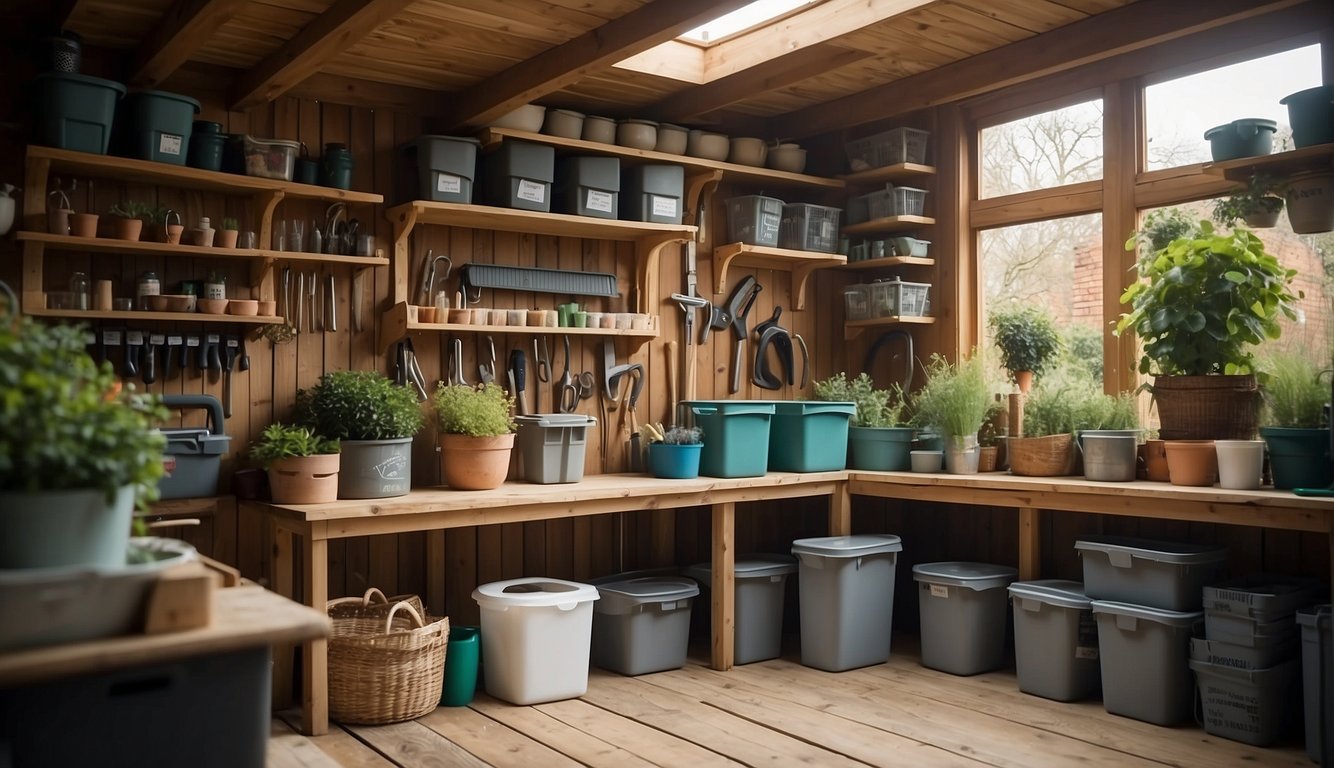
To optimize floor space in my shed, I consider various storage solutions that could maximize vertical space and free up the floor. I employ the following strategies:
- Install shelves and racks: By mounting shelves and racks, I can utilize the wall space for storage, keeping the floor clear and accessible.
- Use pegboards: Pegboards are my go-to for organizing tools. They allow me to hang tools in a visible and accessible way, making the most of vertical space.
Implementing these simple, but effective strategies greatly enhances the efficiency of garden sheds, maximizing the utility and organization of the space.
Maximizing Vertical Storage Solutions
When organizing a garden shed, making the most of vertical space is crucial. Not only does this approach save on floor space, but it also allows for easy access and better organization of tools and garden supplies. Let’s explore how to effectively utilize vertical storage.
Installing Shelving Units
Why this works: Shelving units take advantage of height, transforming empty wall areas into useful storage.
Practical tips:
- Measure: Ensure you choose shelving units that fit the dimensions of your shed.
- Material Selection: Opt for durable materials like metal or treated wood, which can withstand the weight and resist weather.
- Adjustability: Select shelving with adjustable heights to accommodate items of various sizes.
Utilizing Wall Space
Why it works: Wall space is often underutilized, yet it offers an abundance of storage possibilities.
Practical tips:
- Pegboards: Install pegboards for flexible hook placements to hang tools.
- Hooks and Brackets: Use heavy-duty hooks and brackets to hold larger tools and equipment securely.
Utilize the walls not just for small tools, but also for storing garden hoses or saws which can be hung up away from the floor.
Exploring Loft Options
Why it works: A loft area can be a game-changer for storing seasonal or less frequently used items out of the way.
Practical tips:
- Structure: Confirm your shed can structurally support a loft, then add sturdy flooring.
- Accessibility: Consider a foldable ladder or steps for easy access to the loft space.
Remember that lofts are ideal for lightweight items to avoid overloading and to ensure easy lifting.
Categorizing and Storing Garden Tools
When organizing a garden shed, the key lies in categorizing your tools and ensuring they’re properly stored for easy access and maintenance. A well-arranged shed saves time and keeps your gardening tools in top condition.
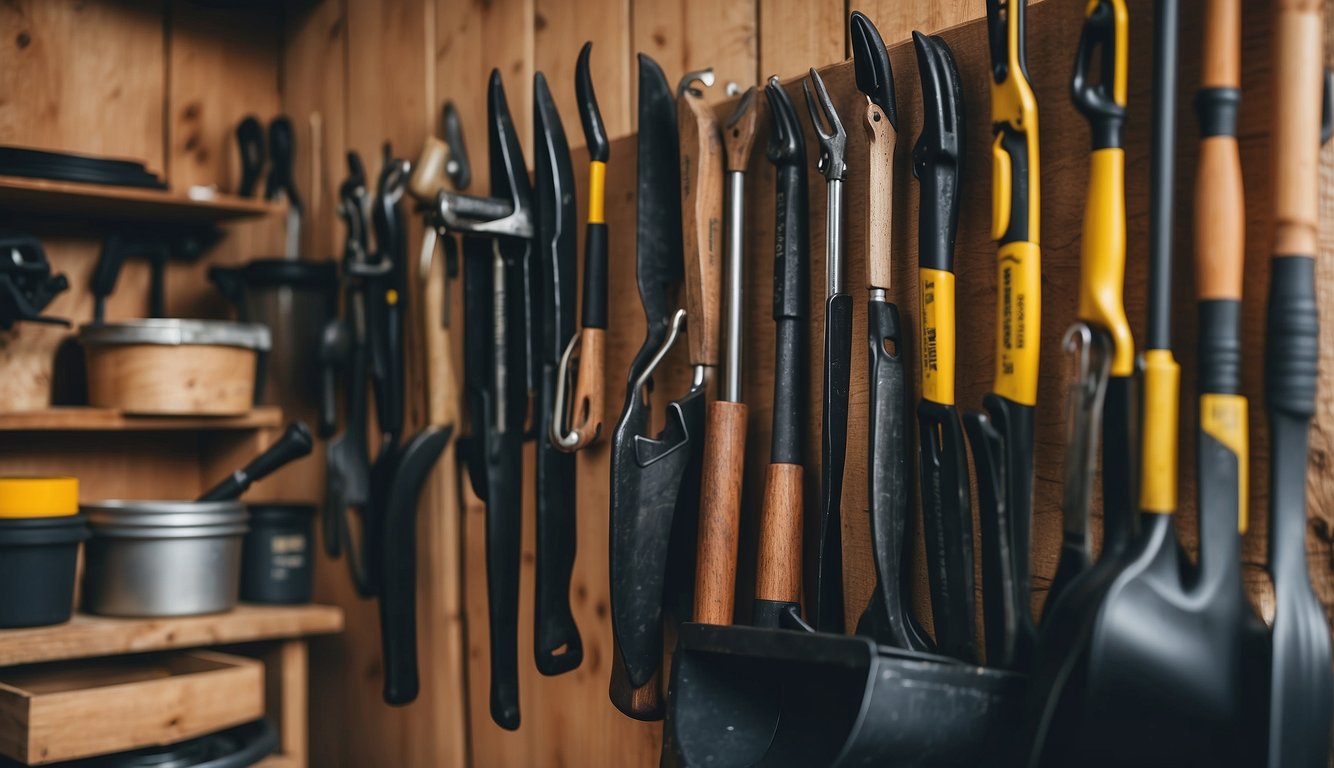
Organizing Hand Tools
- Implement a Pegboard System: I find that using a pegboard for hanging tools is an excellent way to keep frequently used hand tools within reach. I make sure to outline each tool on the pegboard, so I know exactly where it goes after use. The visual cues make it super easy to spot if anything is missing.
- Use Magnetic Bars: For metallic tools, magnetic bars are incredibly handy. I’ve installed a couple in my shed, and they securely hold onto spades, trowels, and hand rakes. This method keeps them off surfaces and prevents them from getting misplaced.
Garden Tool Maintenance
- Create a Cleaning Station: I keep a bucket of sand mixed with motor oil in my shed. After using any of my gardening tools, I plunge them into this mixture. It keeps the tools clean and prevents rusting, which means they last longer and perform better.
- Routine Check-Ups: On a monthly basis, I make a point to inspect all my garden tools for any signs of wear or damage. Sharpening blades and oiling moving parts ensure my tools are ready for use whenever I need them, preventing frustration during peak gardening seasons.
Systematizing Small Items and Supplies
To maximize the efficiency in your garden shed, it’s crucial to keep small items and supplies meticulously organized. A well-ordered space leads to smoother gardening activities, less wasted time, and a more enjoyable gardening experience.
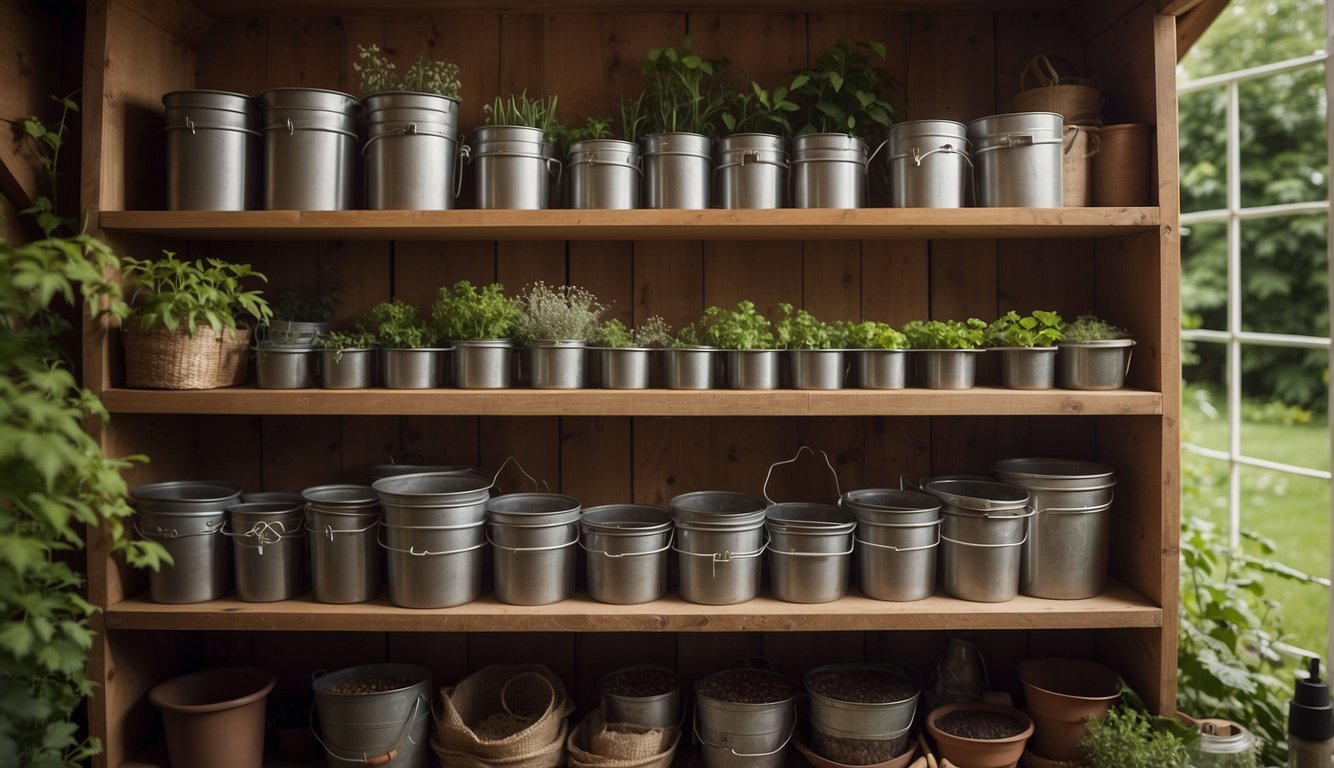
Containerizing Seeds and Chemicals
Utilizing Clear Bins and Jars: I recommend clear containers for housing seeds and chemicals.
- Why is this effective? Transparency allows you to quickly identify contents without sifting through multiple containers.
- How to implement: Purchase a variety of sizes of clear bins and jars. Use the bins for larger items like fertilizer bags and the jars for smaller seed packets. Label each container with its contents and expiration date to maintain an easy-to-navigate storage system.
Divide and Conquer in Drawers: Drawers with compartments offer an excellent solution for organizing a multitude of small gardening items.
- Why is this effective? Dividers allow you to separate different types of seeds and chemicals, preventing cross-contamination and ensuring easy access.
- How to implement: Install small drawer organizers within larger drawers and dedicate each section to a specific category, like vegetable seeds, flower seeds, herbicides, and pesticides. Again, labels are your friends here—use them liberally.
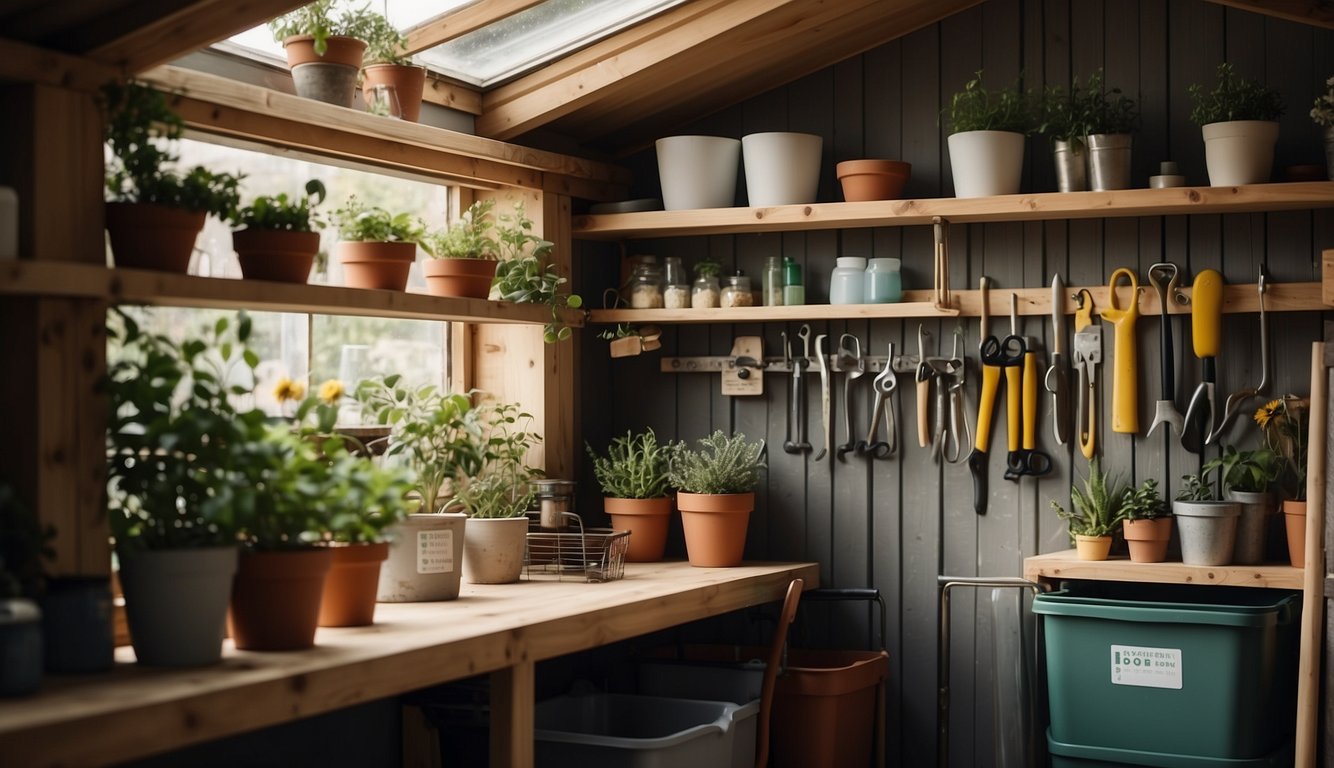
Organizing Small Tools and Accessories
Hanging Pegboard for Tools: I find that a pegboard with hooks is the ultimate tool organizer.
- Why is this effective? It takes your tools off shelves and into clear view, making them readily accessible and easy to sort.
- How to implement: Allocate a wall space for a pegboard. Attach hooks and hang small tools such as trowels, pruners, and gloves. This keeps your tools off the working surfaces and in a specific place where they belong.
Storage Solutions with Purpose: Bins and containers specifically designed for small tool organization can drastically reduce clutter.
- Why is this effective? Tailored storage caters to the unique shapes and sizes of garden tools, ensuring they stay in place and remain undamaged.
- How to implement: Invest in bins with segmented trays or rolling chests with fitted compartments for hand tools and accessories. Place them on shelves at an easy-to-reach height to save your back and to make the most of your storage space.
Expanding Your Storage with Smart Accessories
Maximizing garden shed efficiency involves creative use of accessories designed for space-saving and ease of access. By incorporating innovative solutions, I can make room for bulky items and ensure that tools are within immediate reach.
Innovative Storage for Bulky Equipment
- Vertical Bike Racks: I hang bicycles using vertical bike racks which free up the floor space. This strategy is ideal for outdoor storage, allowing me to store bikes in a small footprint against the wall.
- Ceiling-Mounted Racks: For larger, awkwardly shaped equipment, I install ceiling-mounted racks. These take advantage of the unused vertical space in a storage unit, storing items such as ladders and folding chairs out of the way.
Magnetic and Peg Systems for Easy Access
- Magnetic Bars for Metal Tools: A magnetic bar or strip installed on the wall keeps my metal tools organized and easy to reach. Implementing this system prevents clutter on workbenches and makes it simple to find what I need.
- Pegboard with Hooks: Pegboards outfitted with hooks give me a versatile organization system. They can hold a range of tools and garden accessories, providing a customizable and scalable outdoor storage solution.
Let Us Know How We’re Doing!
Did this expertly prepared resource answer your question?
Do you have another question about home maintenance, home improvement projects, home appliance repair, or something else?
Get more information, send in questions and keep the discussion going by contacting the I’ll Just Fix It Myself company customer service team at at 1-800-928-1490 or Email us at [email protected]