The Ultimate Guide to Organizing Your Tool Shed: Streamline Your Space for Optimal Workflow
Organizing a tool shed can transform a chaotic storage space into a functional workshop, maximizing efficiency for any homeowner or DIY enthusiast. A well-planned tool shed not only saves time but also extends the life of your tools by keeping them clean, sharp, and in good repair. Whether you’re an avid gardener, a woodworking hobbyist, or someone who enjoys various DIY projects, having a neatly organized shed is indispensable.
The process of reorganizing a tool shed might seem daunting at first, but breaking the task into actionable steps can simplify the endeavor. I find that assessing the current state of the shed, categorizing tools, and creating a layout that supports work flow are crucial steps in achieving an efficient tool shed setup. By implementing a few smart storage solutions and following a maintenance routine, the benefits of a tidy and well-arranged shed are easily sustained.
Working within the confines of space and the necessity for easy access to tools, I’ve discovered that a well-organized tool shed can also enhance safety. Properly stored tools are less likely to cause accidents, and a clear space minimizes the potential for tripping or falling. The key to an effective tool shed organization lies in the thoughtful consideration of every aspect, from sorting and grouping to selecting the right storage and ensuring everything has its place.
Assessing Your Tool Shed Space
When I address the organization of my tool shed, assessing the available space is critical. This is where I determine how to use floor and vertical space effectively, create a storage system, and plan the layout.
Understanding Storage Capacity
Storage Capacity: Why It Matters
Understanding my shed’s storage capacity allows me to maximize its utility without overstuffing it. This involves measuring the floor space and considering how much vertical space can be utilized.
- Measuring Floor Space: It’s essential to know the exact dimensions of my tool shed. I take measurements of the length and width to calculate the total floor area.
- Vertical Space Potential: I examine the height of my shed, looking for ways to use the walls and ceiling for hanging tools or installing shelves.
Inventory and Sorting
Creating an Inventory: The First Step to Organization
Taking an inventory is about knowing what tools I have, their condition, and how often I use them. This is the foundation for a systematic approach to organizing.
- Listing My Tools: I make a detailed list of every item in the shed.
- Sorting Techniques: Based on usage frequency and tool type, I sort everything into categories. Hand tools go together, as do power tools, and so on.
- Designating Spots: Every tool must have its designated spot, whether on a pegboard, shelf, or within a drawer.
Shed Design and Layout Planning
Designing for Efficiency: How Layout Affects Workflow
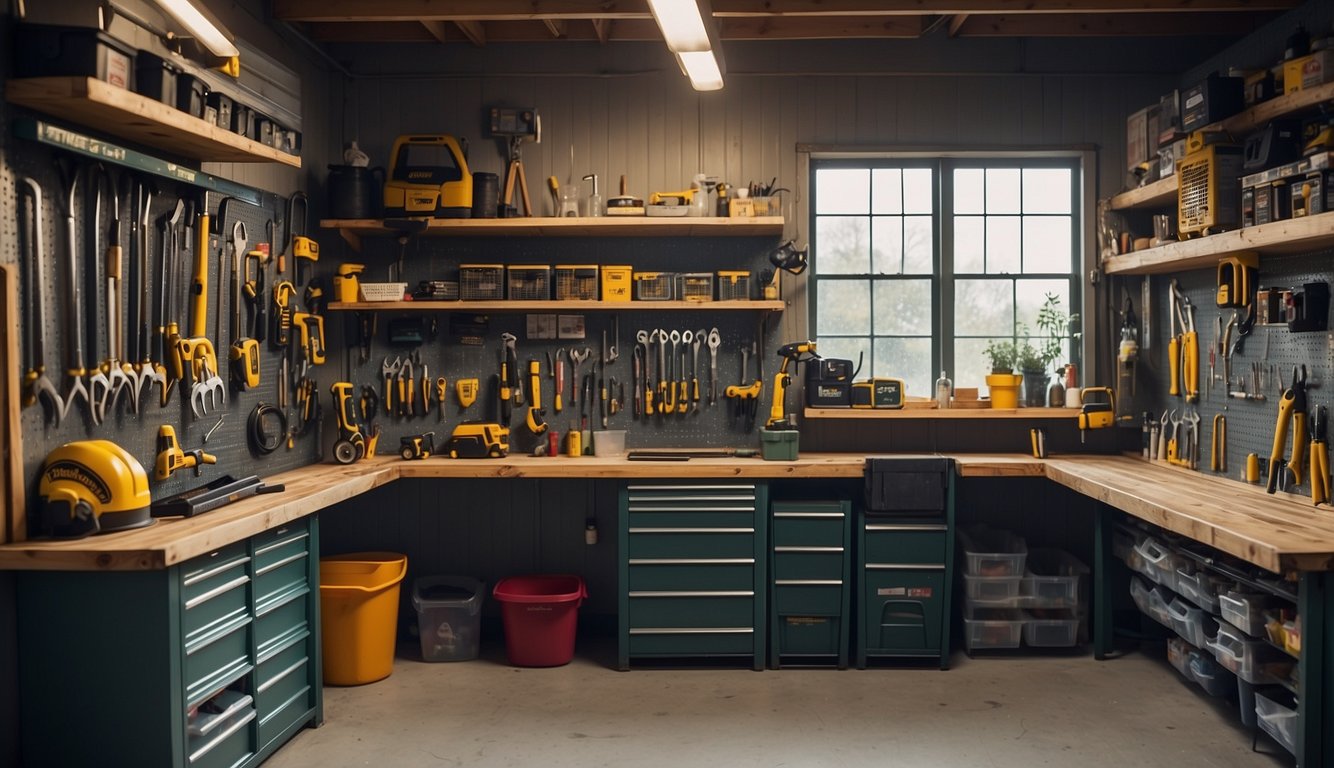
A well-thought-out design and layout are key to a functional tool shed. The goal is to arrange everything so that it’s easily accessible and enhances workflow.
- Workbench Placement: I place my workbench in a location that allows for easy access and sufficient working space around it.
- Shelves and Storage Systems: I decide on the type and placement of shelves and other storage systems to ensure that all tools are within easy reach and well-organized.
- Utilizing Pegboards: Pegboards are my go-to for keeping frequently used tools visible and at arm’s reach. I ensure they are strategically placed in my shed to support my regular tasks.
Maximizing Storage Solutions
In my experience, organizing a tool shed effectively involves specific storage solutions that promote efficiency and accessibility. By implementing these focused strategies in my shed, I’ve been able to make the most out of the available space.
Implementing Shelving Units
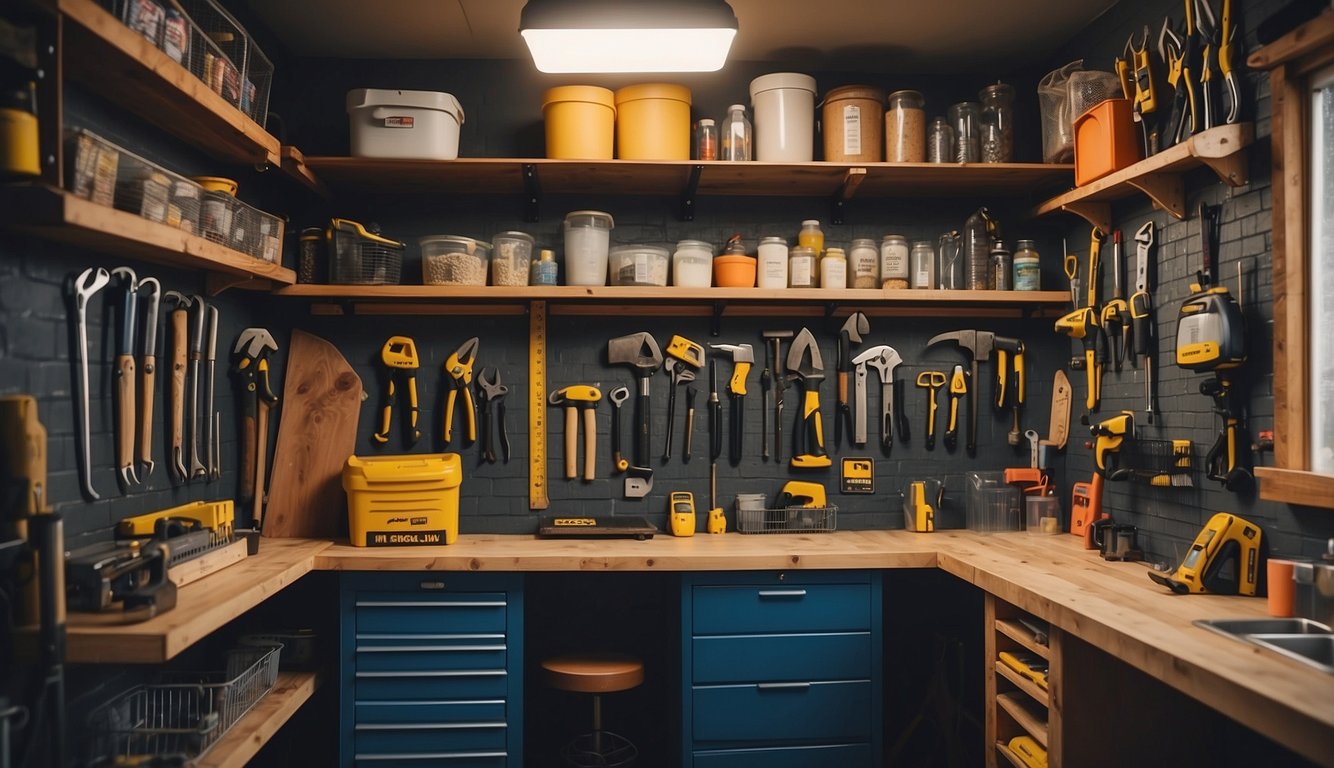
I’ve found that shelving units are a cornerstone of maximizing storage space. Shelving units should be sturdy and match the dimensions of the shed to ensure they hold the weight of various tools without wasting space.
- Grouping: On each shelf, I group similar items together, such as gardening tools on one level and carpentry tools on another.
- Labels: Clear labeling makes for quick identification. I use bold, easy-to-read labels that withstand the conditions inside the shed.
Utilizing Wall Space with Pegboards
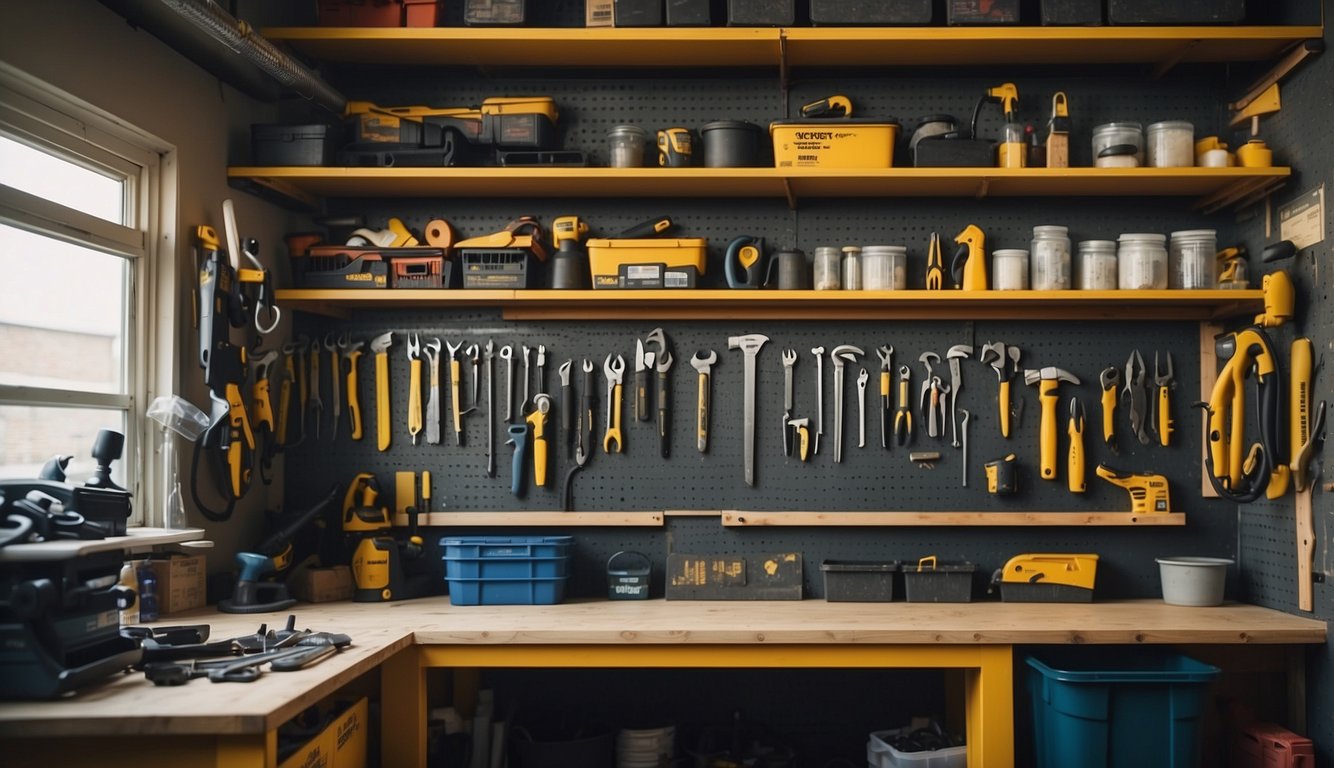
Pegboards are my go-to for capitalizing on wall space. They offer a flexible and visually accessible way to store tools within arm’s reach.
- Pegboard Layout: Layout should be planned according to the frequency of tool use. Commonly used tools go at eye level.
- Magnetic Bar: For small, metal tools, a magnetic bar alongside the pegboard keeps them organized and easy to access.
Drawer and Container Utilization
Drawers and containers streamline storage, especially for small or delicate items. I ensure all drawers are compartmentalized and labeled for efficient use.
- Storage Bins: Larger bins are perfect for grouping items that don’t hang well, like sandpaper or safety gear.
- Mason Jars: For tiny items like nails and screws, clear mason jars save time when searching for these small essentials.
Organizing Tools and Accessories
To maximize efficiency in a tool shed, I focus on smart organization strategies that make it easy to find and access what I need. Let’s look at how I arrange my tools and accessories for optimal use.
Gardening Tools Arrangement
Gardening tools can quickly become cluttered, so I organize them by frequency of use and function. Rakes, trowels, and other frequently used items are hung within arm’s reach. I employ vertical storage solutions like pegboards or wall-mounted racks to keep my space open and tools visible.
- Tip 1: Use labeled hooks to hang tools. This not only saves space but also simplifies the process of finding the right tool.
- Tip 2: Store seasonal tools like tents and pruning shears on higher shelves or in less accessible areas until they’re needed.
Hand and Power Tools Segregation
For hand tools, I prefer a toolbox or a drawer with segmented trays to keep everything organized. As for power tools, they’re bulky and need more space, so I allocate a specific cabinet or shelf for each category. Charging stations are installed nearby to keep battery-powered tools ready to go.
- Tip 1: Sort tools by type and size in your toolbox for a neat arrangement that also prevents damage.
- Tip 2: Use foam cutouts in drawers for power tool accessories to avoid them rattling around and becoming damaged.
Small Items and Screws Order
The trick to handling small items like screws and accessories is to prevent them from getting lost in the shuffle. I use clear, labeled containers, magnetic strips, or storage bins with dividers to separate them by size and type. This method also accelerates my DIY projects because I spend less time searching for parts.
- Tip 1: Transparent jars or containers help me quickly locate the screws I need without opening multiple containers.
- Tip 2: Use a portable organizer with compartments when working on a project to bring only the necessary small items with you.
Maintenance and Accessibility
Ensuring your tool shed remains in top condition involves regular maintenance and enhancements for better accessibility. I will run through the essential steps to keep everything in order, protect your tools, and make them easy to reach and use.
Routine Cleaning and Inspecting
- Dedicate Time for Cleaning: I make it a point to regularly remove dust, dirt, and debris from my tools and shelves. By setting up a cleaning schedule, I can ensure I don’t miss any spots and keep my tools in good working condition.
- How to implement: Choose a specific day each month for cleaning. Use appropriate cleaning tools such as brushes, cloths, and cleaners suitable for different tool materials.
- Conduct Thorough Inspections: I inspect all my tools for damage or wear. This habit helps me maintain their functionality and prevents accidents caused by tool failure.
- How to implement: Examine each tool for rust, damage, or dullness. Sharpen blades, oil moving parts, and repair or replace damaged items as needed.
Accessibility and Protection Measures
- Optimize Tool Placement: I organize my tools based on frequency of use, with those I use most within easy reach, such as on a peg board. This dramatically improves efficiency when working on projects.
- How to implement: Identify the tools you use most and place them on hooks or shelves at eye level. Use labeling to find each tool’s home quickly.
- Protective Measures: Wearing gardening gloves during organization protects my hands from sharp edges, and the gloves themselves are stored prominently for quick access to encourage regular use.
- How to implement: Hang gardening gloves on a designated hook near the shed entrance to remind yourself to put them on before you start working.
Regular Updates to Organizational Systems
- Embrace Organizational Changes: I periodically reassess and update my shed organization system. Staying flexible with the arrangement allows me to adapt to new tools or work habits.
- How to implement: Every season, evaluate your current setup and rearrange tools if necessary to suit the kind of work you’re doing at that time.
- Incorporate New Storage Solutions: As I acquire new tools or my needs change, I incorporate additional storage solutions such as magnetic strips or expandable shelves to keep my shed’s organization optimal.
- How to implement: Install modular storage systems that can be easily adjusted or added to. This provides the flexibility to cater to an evolving tool collection.
Safety and Special Considerations
In organizing a tool shed, safety is paramount. It’s crucial to address potential hazards, especially when dealing with hazardous materials or bulky items. Let’s dive into specific strategies to ensure a safe and efficient storage environment.
Handling Hazardous Materials
Hazardous materials, including pesticides, solvents, and paints, must be stored with care to prevent accidents. I recommend using a lockable cabinet specifically designated for hazardous materials.
This limits access and protects against accidental spills. Within this cabinet, I use separate, labeled bins for each type of chemical, ensuring they are not mixed. It is also useful to include spill containment trays as an added layer of protection.
Garden Supplies and Plant Storage
Garden supplies, particularly fertilizers and seeds, require proper organization to maintain their viability and prevent clutter. I use a series of clear, airtight containers for these items. Not only does this protect them from moisture and pests, but it also allows me to see what is inside without having to open each one.
For plant storage, especially for delicate bulbs or seedlings, shelving units with adjustable heights ensure that sensitive plants can be stored away from direct sunlight and in a temperature-controlled environment.
Organizing Seasonal and Bulky Items
Seasonal items like tents or bulky garden tools can overwhelm a shed, creating clutter. To manage these, I install sturdy hooks and shelves on the walls to store them vertically. PVC pipes work exceptionally well for storing long-handled tools off the floor, granting easy access and maximizing floor space.
For items like lawn mowers or snow blowers, I use corner spaces of the shed, keeping the center area free for movement and preventing potential injury from tripping over them.
Let Us Know How We’re Doing!
Did this expertly prepared resource answer your question?
Do you have another question about home maintenance, home improvement projects, home appliance repair, or something else?
Get more information, send in questions and keep the discussion going by contacting the I’ll Just Fix It Myself company customer service team at at 1-800-928-1490 or Email us at [email protected]