The Ultimate Guide to Organizing Your Walk-In Pantry: Tips for Peak Efficiency
Organizing a walk-in pantry is essential for any homeowner looking to streamline their meal prep and reduce food waste. A well-organized pantry saves time during cooking, as you can easily find ingredients without digging through clutter. Implementing a functional system and using the right storage containers transforms a chaotic pantry into an efficient storage space.
Maximizing pantry storage often starts with evaluating what you have and creating zones for different items. By assigning specific areas for canned goods, baking ingredients, snacks, and other frequently used items, you’ll be able to access everything with ease. Utilizing various organizational tools like clear bins or pull-out drawers also ensures that each item is visible and reachable.
When setting up these zones, I focus on the flow of the kitchen activity—from meal planning to cooking—and locate the pantry items accordingly. For example, cooking staples like oils and spices should be close at hand. By tailoring the organization to personal cooking habits, the pantry becomes a functional extension of the kitchen workspace.
Walk-In Pantry Basics
When I organize a walk-in pantry, my goal is always to maximize efficiency. Here’s how I approach the fundamental setup to ensure that every item has its place.
1. Utilize Vertical Space
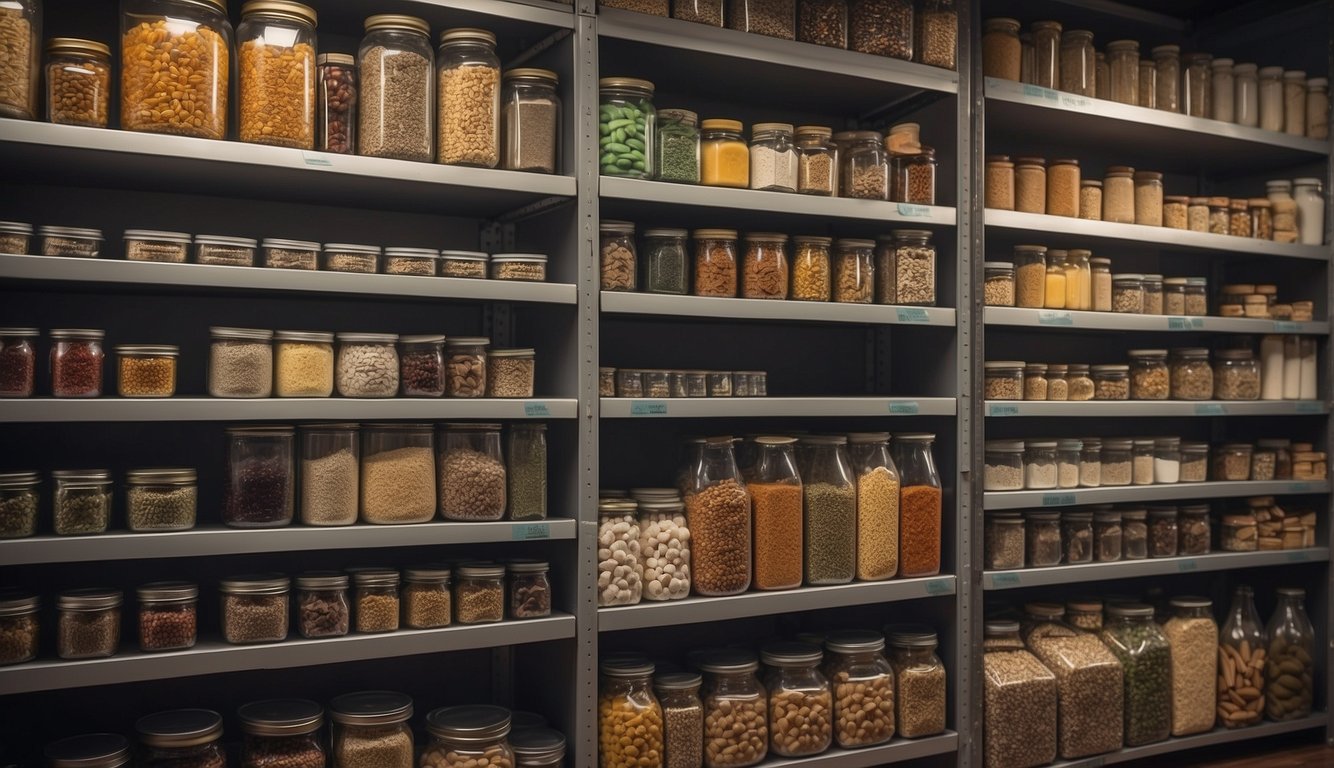
Vertical spacing is the backbone of a well-organized walk-in pantry. I install tall shelving units to take advantage of the height, storing less-frequently used items on the top shelves and everyday items at eye level.
- Why It Works: Vertical storage makes use of the full height of the pantry, which can significantly increase the storage capacity.
- Practical Tips: Choose adjustable shelving, so you can tailor the space to your needs.
2. Introduce Clear Containers
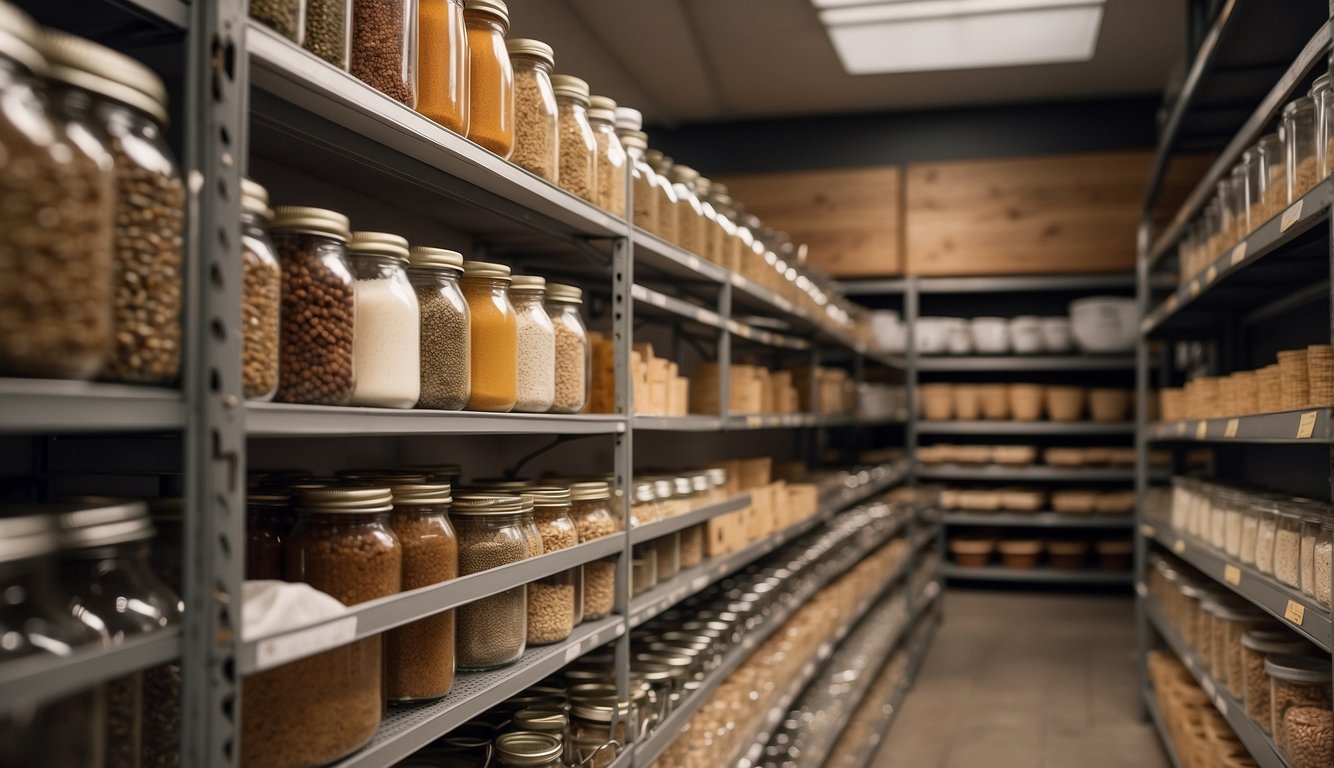
I use clear, airtight containers to store dry goods.
- Why It Works: This strategy allows for quick identification of contents and keeps food fresh longer.
- Practical Tips: Be sure to label each container with its contents and the date it was stored.
3. Organize in Zones
To maintain order, I divide my pantry into zones based on item type or usage.
- Why It Works: Zones help in finding what I need quickly without rummaging through everything.
- Practical Tips: Have a baking zone, a snack zone, and a cooking essentials zone for better categorization.
4. Implement Turntables
In corners and hard-to-reach areas, I install turntables.
- Why It Works: They make accessing items tucked in the back corners simpler by simply spinning the turntable.
- Practical Tips: Opt for multi-tiered turntables to maximize corner spaces.
By sticking to these basics, organizing a walk-in pantry becomes a manageable task that can dramatically improve kitchen efficiency.
Designing an Efficient Pantry Layout
When I design an efficient pantry layout, my focus is on utilizing every inch of space effectively while keeping everything accessible. I consider storage options and how to create an organizational system that makes sense for daily use.
Maximizing Space with Shelving Options
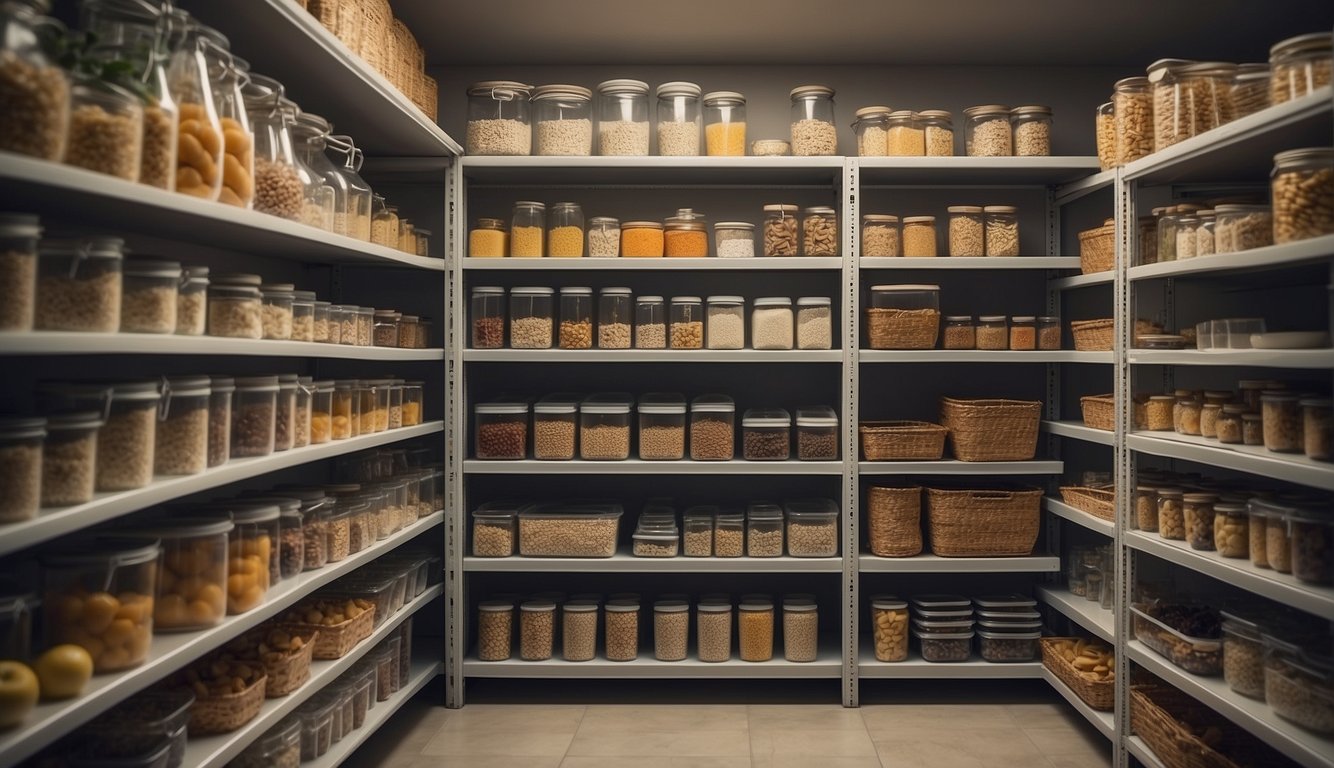
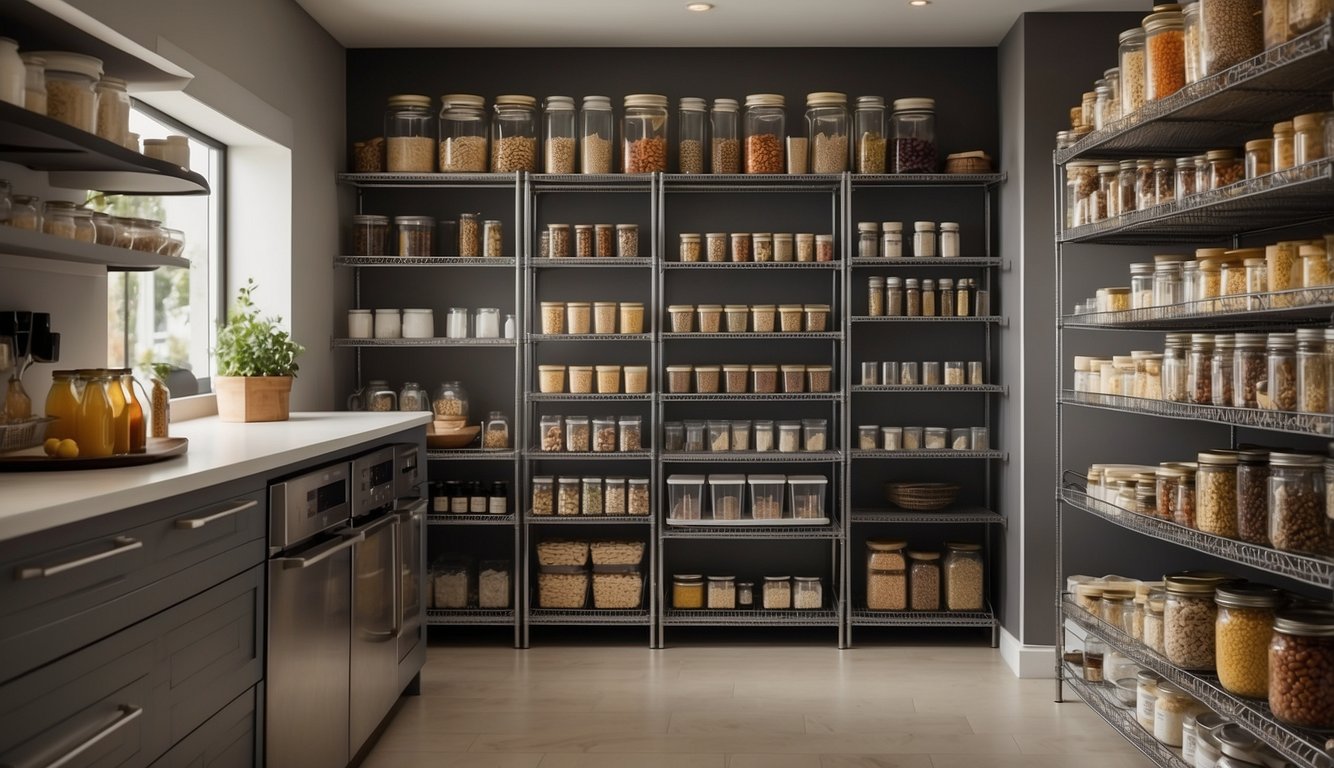
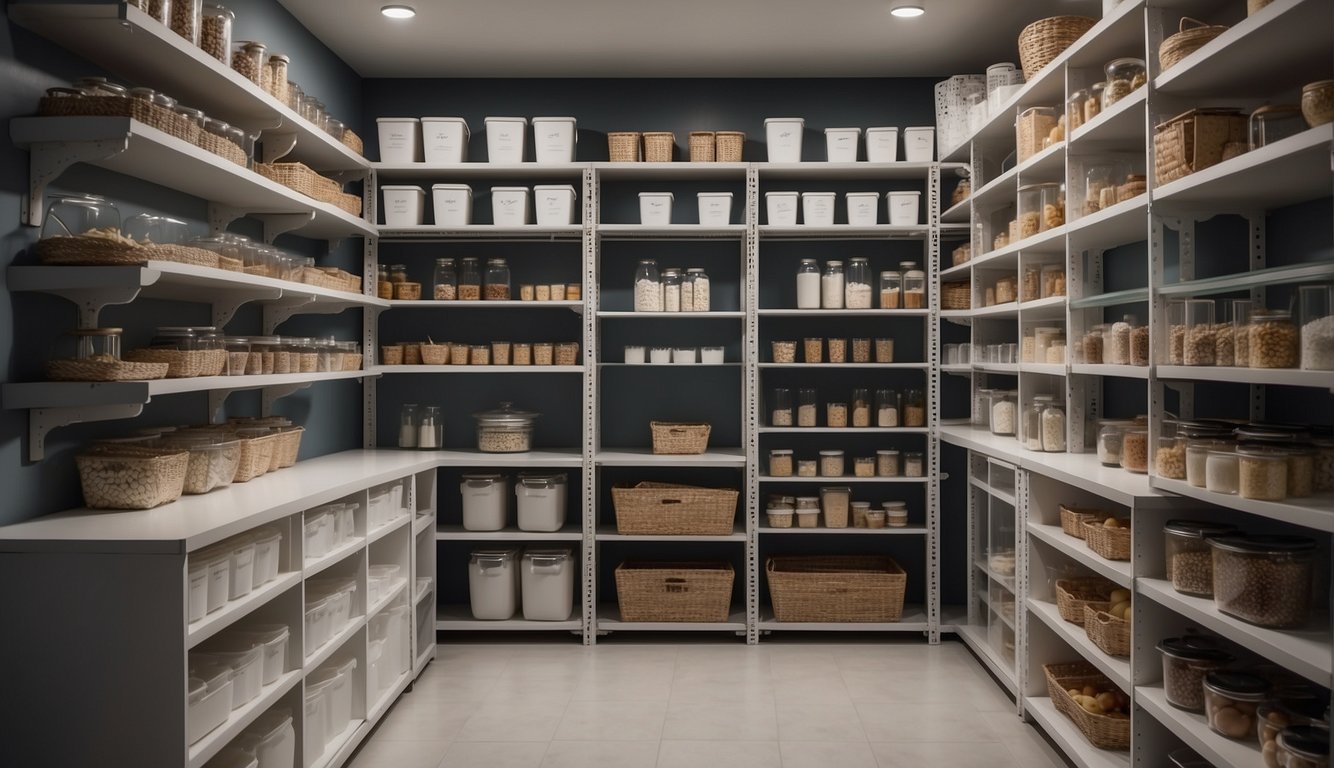
For walk-in pantry shelving, I balance between deep shelves for bulky items and shallow ones to prevent things from hiding in the back. Wire shelving is excellent for visibility and circulation, reducing dust build-up. Open shelving keeps items within easy reach, which I find handy for daily needs. I recommend adjustable shelving to accommodate various heights, allowing for flexibility as your needs change.
- Small items: Arrange on mid-level, easy-to-reach shelves.
- Bulk items: Store on lower or higher shelves where they won’t obstruct the view.
- Less used items: Place on the topmost shelves.
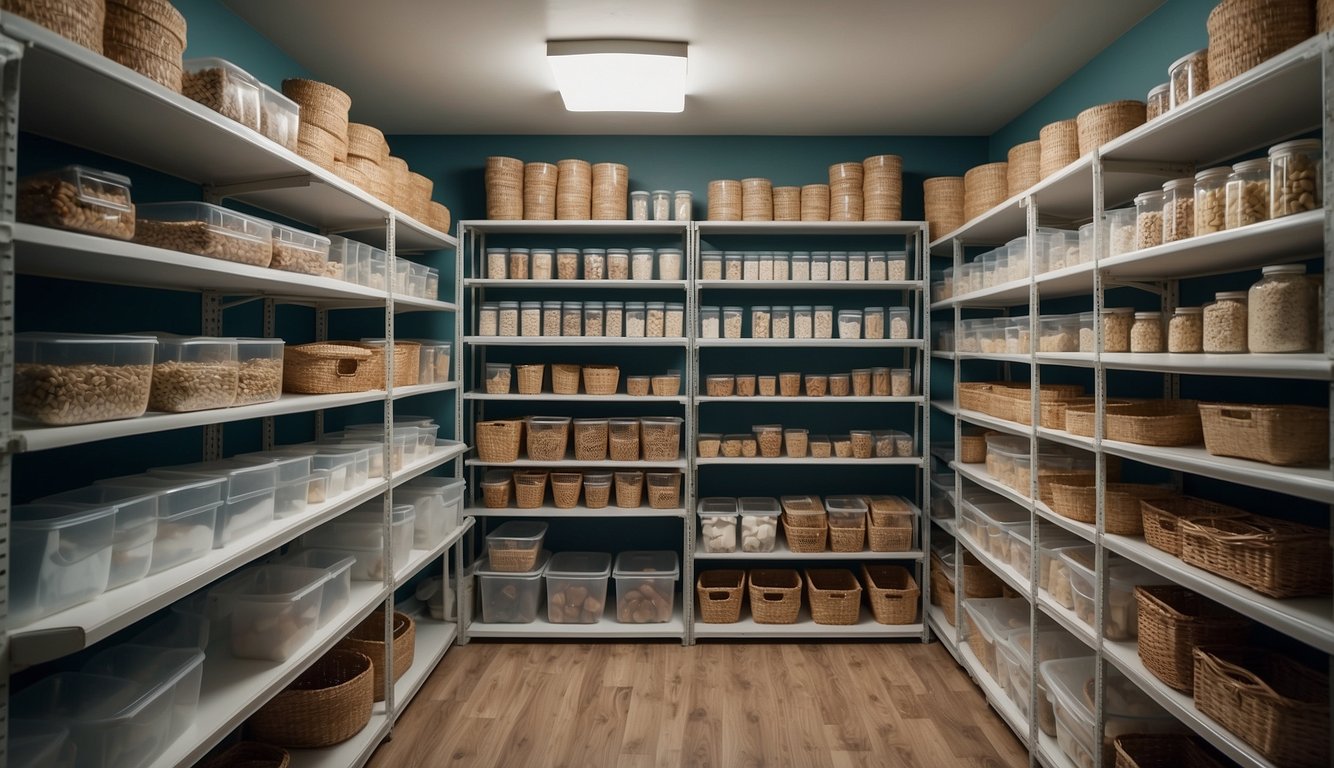
Incorporating Drawers and Baskets
Drawers are perfect for corralling small packets, tea boxes, or snack bars that can get lost on pantry shelves. I use clear storage containers for a quick inventory of what I have. Large baskets are ideal for grouping like items and can be labeled for easy identification. A wire basket allows for airflow around produce such as onions and potatoes.
- Drawers: Label and group similar items together.
- Large baskets: Use for bulky items like bags of chips or loaves of bread.
- Wire baskets: Ideal for fruits and vegetables that don’t require refrigeration.
Utilizing Wall and Door Storage
I never forget the walls and doors — they’re prime real estate in a walk-in pantry. An over-the-door rack can hold jars, spices, or cling wrap and foil. Wall-mounted holders are perfect for utensils like measuring cups and spoons. I like to dedicate a small section as a coffee station with hooks for mugs and shelves for coffee, sugar, and creamers.
- Over-the-door racks: Store frequently used items for quick accessibility.
- Coffee station: Position near an outlet if possible, keep all coffee-making essentials together.
- Vertical storage: Use wall mounters to hang aprons, shopping bags, or linens.
Implementing an Organizational System
When I organize my walk-in pantry, my top priority is always to create a system that makes finding and using items effortless. I aim to prevent clutter and ensure that all food is used before its expiration date.
Categorizing Pantry Items
I start by sorting pantry items into distinct categories like snacks, canned goods, and cereals. This approach simplifies locating what I need quickly and efficiently. To make this system work:
- Group Similar Items: I put all snacks on one shelf, all baking items on another, and so on. This way, I always know where to reach for a specific group of items.
- Consider Usage Frequency: I place items that I use daily at eye level. Bulk or rarely used items go on higher or lower shelves.
Labeling for Easy Identification
After categorizing, labeling each shelf and storage container is crucial. This keeps everything in its right place and informs me at a glance where everything should go. For effective labeling:
- Use Clear and Simple Labels: I opt for bold, readable fonts that can be seen from a distance.
- Track Expiration Dates: On the label, I include the expiration date of perishable goods, so I use them in time.
With this simple yet purposeful system, I’ve managed to keep my walk-in pantry organized and efficient.
Optimizing Food Storage
In my experience, the key to maximizing efficiency in a walk-in pantry revolves around two main practices: selecting the right containers and employing strategies to reduce food waste. Let’s dive into each to ensure your pantry is as efficient as possible.
Container Selection and Use
Why It Works: Choosing the right containers can significantly enhance the shelf life of your foods and keep your pantry well-organized.
- Airtight Containers: I use these for storing baking supplies and dry foods to keep them fresh longer. The absence of air circulation preserves the quality and flavor of these products.
- Glass Canisters and Jars: For items like rice, pasta, or cereal, I prefer clear glass containers. This allows me to see exactly what I have and how much, preventing overbuying and contributing to an efficient meal planning process.
- Labeling: All my containers are labeled with names and expiration dates. This practice helps me track when I need to use items by, thus preventing food waste.
Strategies to Prevent Food Waste
Why It Works: Implementing strategies to avoid food waste not only saves money but also ensures I make the most out of my pantry space.
- First In, First Out (FIFO): I organize my pantry so that the oldest items are in the front and the new acquisitions go to the back. This method ensures I use ingredients before they spoil.
- Meal Planning: I plan my meals around what needs to be used up. This includes spices which can lose potency over time, so I ensure they’re regularly rotated and used in my cooking.
- Regular Inventory: Taking regular stock of what I have prevents me from buying duplicates or unnecessary items, maintaining an efficient pantry storage system.
By integrating these specific container practices and food waste prevention strategies into your pantry organization, I’ve found that you’ll greatly enhance your pantry’s functionality and efficiency.
Additional Pantry Enhancements
Maximizing your walk-in pantry’s potential involves more than just arranging food items. It’s also about complementing the space with useful features that streamline your kitchen workflow and enhance accessibility.
Creating Specialized Storage Areas
Small Appliances: I designate a zone for small appliances to avoid clutter on kitchen counters. Keeping a food processor, mixer, or waffle iron here makes them accessible but out of the way. Implementing pull-out shelves or appliance garages can tuck away these items when not in use. This organization allows for a smoother cooking experience without having to navigate through a maze of gadgets.
Food Storage: Effective food organization is pivotal. I recommend using transparent containers for bulk items, which allow quick identification and maintain freshness. For maximum space utilization, installing tiered shelf risers and spice racks ensures everything has its place. If you’re a wine enthusiast, incorporating a wine rack into your pantry helps you organize your collection beautifully.
Convenient Additions and Accessories
The Grocery Store Experience: To mimic the convenience of a grocery store, I suggest employing lazy susans in corners for effortless access to jars and bottles, and adding shelf liners for easy clean-up of spills. Labels play a significant role too, turning chaotic shelves into a streamlined system where everything is easy to find.
Accessibility and Lighting: In my pantry, I keep a step stool to reach higher shelves safely. Good lighting is also crucial. Installing bright, energy-efficient LED lights ensures I don’t overlook items. This addition transforms the search for ingredients from a hunt in the dark to an easy grab-and-go action.
By focusing on these enhancements, I can confidently say my pantry serves as a highly efficient extension of my kitchen, tailored to my needs and cooking style.
Maintaining Your Walk-In Pantry
Categorize for Clarity
I find categorizing pantry items is vital for maintaining an organized pantry. By grouping items into categories like breakfast, snacks, baking, and cooking, I can easily locate what I need. I use labels on shelves, bins, or baskets to keep everything in order. This method ensures that everything has its own designated spot, making it effortless to return items after use.
Check Expiration Dates Regularly
To keep my pantry fresh and safe, I regularly check expiration dates. I make it a habit to place newer items at the back and move older items to the front. This rotation ensures I use items before they expire, reducing waste and keeping the pantry stocked with fresh products.
Integrate Meal Planning
Integrating meal planning into pantry maintenance helps me prevent over-purchasing. Before I shop, I plan my meals and then buy what’s necessary, ensuring I only have what I need. This approach keeps my pantry from becoming cluttered with unnecessary items and simplifies the decision-making process when it’s time to prepare meals.
Reassess and Reorganize Periodically
I reassess and reorganize my pantry every few months. This lets me adapt the layout to any changes in my household’s eating habits or preferences. A periodic review and reorganization can involve rearranging shelves to prioritize items that have become more frequently used or demoting less common ingredients.
Let Us Know How We’re Doing!
Did this expertly prepared resource answer your question?
Do you have another question about home maintenance, home improvement projects, home appliance repair, or something else?
Get more information, send in questions and keep the discussion going by contacting the I’ll Just Fix It Myself company customer service team at at 1-800-928-1490 or Email us at [email protected]