Trane Thermostat Isn’t Cooling? (Here Are 9 Easy-To-Follow Tips!)
Are you dealing with a Trane thermostat and HVAC system that isn’t cooling properly? Most problems with air conditioners and heating systems are caused by the thermostat but there are easy solutions and troubleshooting tips that can get you going and help you save a little money.
If your Trane thermostat is on, but your air conditioner isn’t cooling, give it five minutes. Thermostats and HVACs cycle, meaning the air may not kick on immediately even if the reading passes the desired temperature. If that doesn’t work, try resetting the thermostat or replacing the batteries. No luck? Check the filters, then call in a pro.
Let’s take a deep dive into troubleshooting fixes for your not-so-cooling Trane thermostat and what to do if your HVAC turns into a hot air balloon.
Trane Thermostat is On But Not Cooling
I don’t know about you, but indoor plumbing and central heating and air conditioning are to me what coffee is to a programmer, vital! So, it is a big concern when the heating system or cooling units aren’t working properly.
Before you turn your house upside down looking for an HVAC professional to service or repair your appliance, take a deep breath, grab a cup of your favorite beverage, and run a quick check on a couple of basics on your Trane thermostat. You might save yourself some bucks, time, and discomfort by ruling out some possible problems.
To make this troubleshooting journey a bit smoother, gather some knowledge about your HVAC unit, like where the air filters are and how often they’re replaced, and the exact location of the unit. Regular maintenance goes a long way in ensuring your HVAC lives a long, productive life.
Troubleshooting a Trane Thermostat that isn’t cooling
Your thermostat is your indoor weather reporter. Placed in a central location that doesn’t experience extreme temperature changes, this system senses the ambient temperature and gives the command to the heater or AC to maintain a comfortable temperature. Now, what if this weather reporter starts giving wrong forecasts?
If your Trane thermostat seems to be in a deep sleep, here are nine steps to wake it up:
- Check your settings
- Be patient (Yes, again!)
- Reset the thermostat
- Change the batteries
- Replace the air filters
- Check the furnace door/power switch
- Inspect the AC coils
- Replace the thermostat
- Call in an HVAC specialist
I’ve tried to arrange these steps from the ‘stroll in the park’ to the ‘climb up the mountain’ ones. But feel free to tackle them in any order you want. Depending on your comfort level, you might want to leap to #8 after changing the batteries. We’re not judging!
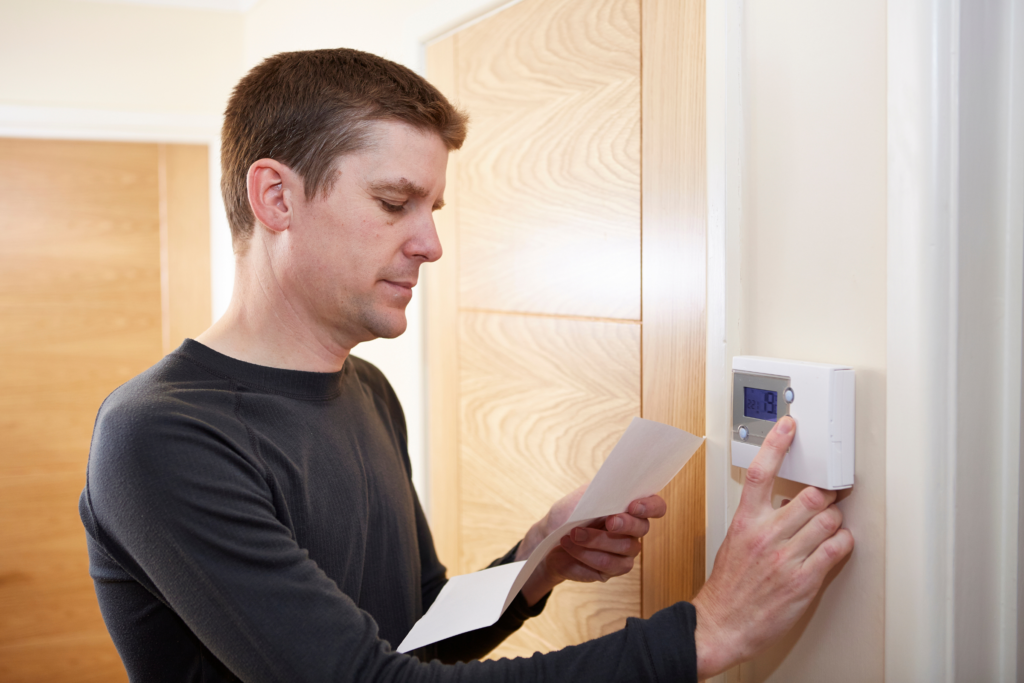
Check Your Trane thermostat Settings
This might seem as obvious as finding sand on a beach, but hey, sometimes, it’s the most apparent things we overlook. In fact, simple setting problems are one of the main reasons for thermostat issues.
On your Trane thermostat adjust:
- Switch – The Heat – Off – Cool switch should be set to Cool. Fan switch should be on Auto (it runs only when the AC is activated) or On (it circulates air without cooling it). Fan speed doesn’t need to be adjusted.
- Programming – This controls the target temperature based on the day, time, and mode. Double-check to ensure all programmed temperatures match your comfort level and expectations – not too high and not too low for the room.
- Hold – This function overrides the programmed temperature. It will maintain the new temperature until you manually remove the hold or until the programmed temperature changes. After that, the thermostat will return to its standard schedule.
If reprogramming your Trane thermostat feels like solving a Rubik’s cube, you can always check out the manufacturer’s instructions or watch some handy online tutorials.
Be Patient
Patience is a virtue, especially when dealing with a thermostat. It displays the current temperature but may not kick-start the AC immediately. You might see that it’s cooling without there being any noticeable temperature change.
Fortunately, a simple cycling is another common cause for thermostat issues. Give the thermostat some “me-time”, usually 2-5 minutes before labeling it as non-functional. This little pause will tell you if the thermostat is just on a tea break (delay mode) or there is a more serious problem. Delay mode usually lasts about five minutes, but this could vary depending on your thermostat model.
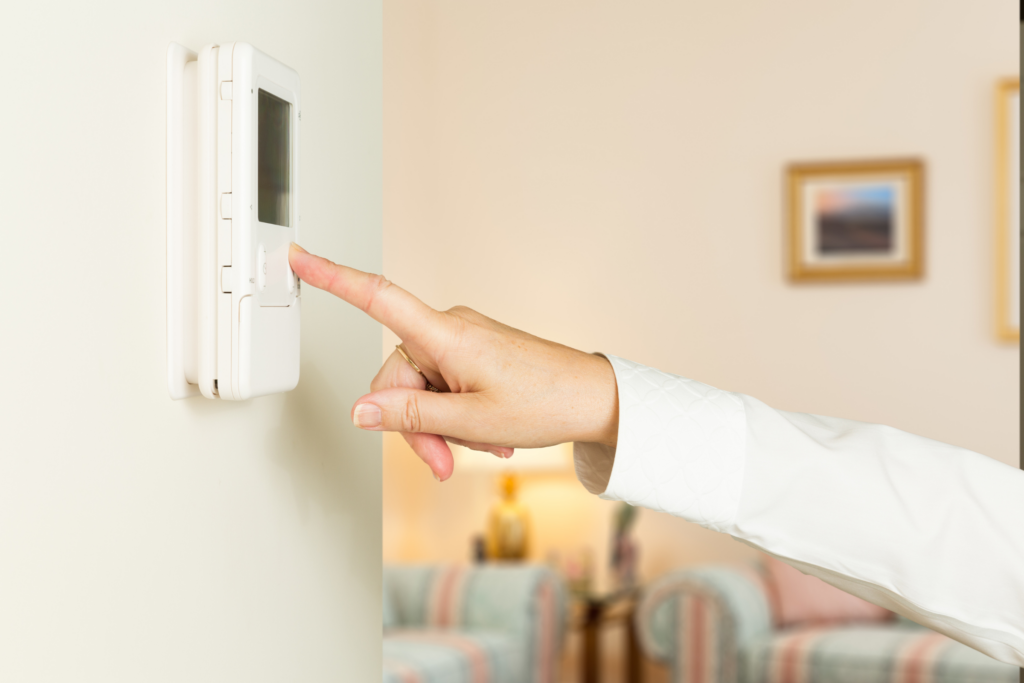
Reset the Thermostat
Resetting a Trane thermostat involves a straightforward process but may vary slightly depending on the specific model of your Trane thermostat.
Here are some general steps to follow:
- Locate the thermostat: The thermostat is typically installed on a wall that’s centrally located in your house. It may be higher on the wall and should be easy to spot.
- Open or remove the cover: Most Trane thermostats have a removable cover or panel. To remove the panel, you may need to use a slight amount of force to pull it off, or there may be a screw or latch that needs to be undone. Check your model’s manual if you’re unsure.
- Find the reset button: Once the cover is off, look for a button labeled “Reset” on the thermostat. If there is no button, check the manual for the specific reset instructions for your model.
- Press the reset button: Press the reset button with a small, thin object like a paperclip or pen tip. Hold it for a few seconds and then release. In some models, the settings may immediately revert back to the factory settings. In others, you may need to switch the system off and then on again.
- Replace the cover: Once you’ve reset the thermostat, replace the cover or panel.
- Reprogram the thermostat: After resetting, you’ll likely need to reprogram the thermostat with your preferred settings.
Remember, always refer to your specific model’s owner manual before attempting to reset the thermostat, as the process may vary.
Here is a video that covers a typical Trans thermostat reset:
Change the Batteries
The process to change batteries in a Trane thermostat can depend on the specific model of your thermostat. However, here are some general steps that apply to many models:
- Turn off your HVAC system: It is recommended to turn off your heating and air conditioning system at the circuit breaker to prevent any short circuits or electrical issues.
- Remove the front cover or body of the thermostat: In most models, you can do this by gently pulling the cover or body straight out towards you. Some models may have a latch or screw that you will need to undo before you can remove the cover.
- Locate the battery compartment: Once the cover is off, look for the battery compartment. It should be easily visible.
- Remove the old batteries: Remove the old batteries from the compartment. Be sure to note which way the batteries were installed (which end was positive and which was negative).
- Install the new batteries: Insert the new batteries in the same orientation as the old ones. Most Trane thermostats use AA or AAA batteries but check your specific model’s manual to be sure.
- Replace the cover: Once the batteries are replaced, put the cover or body back on the thermostat.
- Turn your HVAC system back on: You can now turn your heating and air conditioning system back on at the circuit breaker.
Remember, always check your specific model’s owner manual for precise instructions on replacing the batteries, as the process can vary between different models. If you can’t find the manual, many are available online on the manufacturer’s website.
Replace Air Filters
The air filters are like the gatekeepers of your HVAC system. If they get clogged with dust and debris, the AC won’t function properly. They should ideally be replaced every 1-3 months.
Ignoring air filter replacements is like ignoring the ‘check engine’ light in your car. You might not see immediate issues, but sooner or later, it will come back to bite you.
Check the Furnace Door/Power Switch
Okay, we’re stepping up a bit. While we’re dealing with the cooling system, sometimes the furnace door or power switch may have a part to play in the malfunction.
Most furnaces have a safety switch that prevents the furnace from running when the door is open. Check to ensure the door is securely closed. Also, ensure the power switch is in the ‘on’ position. You don’t want your HVAC playing hide and seek with the power.
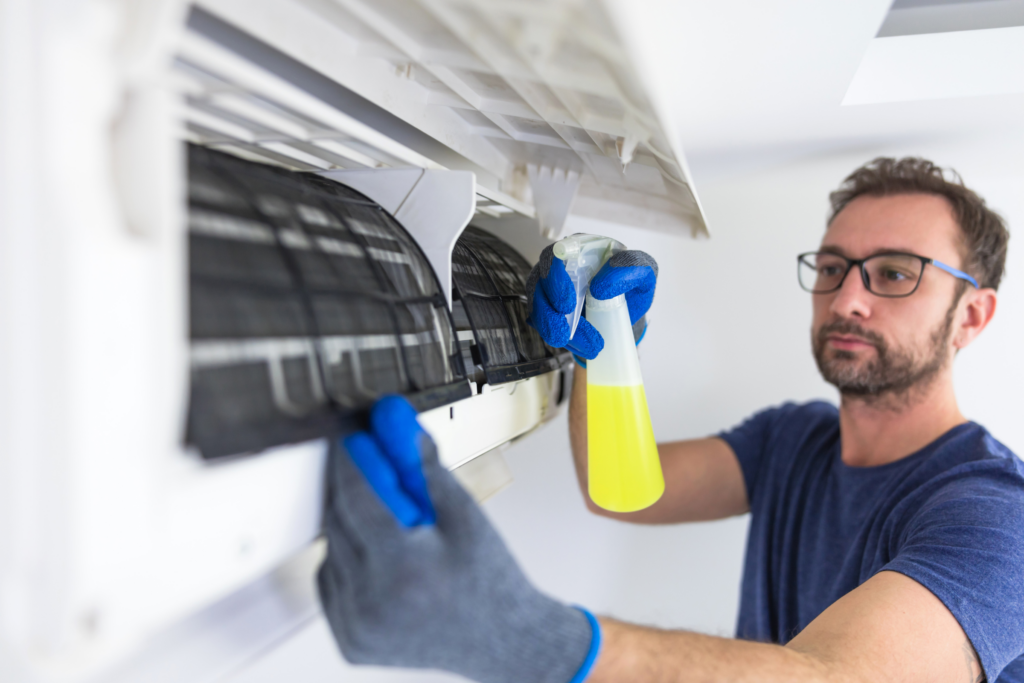
Inspect the AC Coils
Air conditioner coils are responsible for the transfer of heat. The inside coil cools and dehumidifies the air, and the outside coil releases the collected heat outside. If the coils are dirty, the heat transfer process gets disrupted. While you’re there, it is a good idea to visually check for any refrigerant leak on your cooling unit.
Regular cleaning of AC coils can prevent this issue. However, you might want to call a professional if you’re not comfortable cleaning the coils yourself. Some things are better left to the experts, like performing a heart surgery, or in this case, cleaning AC coils!
Replace the Thermostat
Sometimes the best way to fix a problem is to start from scratch. If you’ve followed all the steps and your thermostat still isn’t behaving, it might be time to bid it goodbye.
Replacing a thermostat is like finding a new roommate. You need to find the right match that fits your requirements and budget. When purchasing a new thermostat, consider the type of HVAC system you have, your schedule, the desired energy efficiency, and your budget.
Call in an HVAC Specialist
I know, I know, you wanted to fix this all by yourself, but sometimes we need a little professional help. If all else fails, call an HVAC specialist. HVAC troubleshooting can be tough and many HVAC issues are difficult to diagnose and fix for average homeowners. You might have a faulty HVAC unit, or there could be a serious electrical issue that needs a professional touch.
A qualified HVAC technician will be able to help you!
Always be sure to check on your warranty status before you pay, though!
The following table summarizes these steps:
| Step | Action |
|---|---|
| 1. | Check your settings |
| 2. | Be patient |
| 3. | Reset the thermostat |
| 4. | Change the batteries |
| 5. | Replace air filters |
| 6. | Check the furnace door/power switch |
| 7. | Inspect the AC coils |
| 8. | Replace the thermostat |
| 9. | Call in an HVAC specialist |
In conclusion, if your Trane thermostat is not cooling, you have several troubleshooting steps at your disposal. If it feels like you’re in a hot desert without a camel, take a deep breath and remember that Rome wasn’t built in a day, nor are thermostat issues always solved in five minutes. Good luck, and here’s to hoping your HVAC system starts playing nice soon!
Let Us Know How We’re Doing!
Did this expertly prepared resource answer your question?
Do you have another question about home maintenance, home improvement projects, home appliance repair, or something else?
Get more information, send in questions and keep the discussion going by contacting the I’ll Just Fix It Myself company customer service team at at 1-800-928-1490 or Email us at [email protected]