
4 Reasons Your Faucet Turned Off But Water Still Running (Fixed!)

The water should stop coming out of the fixture when you turn it off, but plumbing components fail, especially after prolonged use. With that said, is your faucet turned off but water still running?
The water continues running even with the faucet turned off because of a faulty cartridge, broken O-ring, broken shower, and a rusted valve seat. You will need to troubleshoot, repair, or replace the damaged parts to fix the issue.
This post will walk you through four reasons your faucet won’t stop water from running and how to fix them. You may need to replace some parts, but don’t rush into contacting a plumber because DIY solutions are at your disposal.
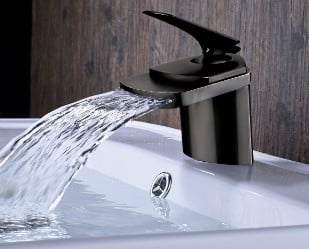
Faucet Turned Off But Water Still Running (Quick Fix)
The table below summarizes why water keeps running after turning your faucet off.
| Cause | Recommended Solution | |
| 1. | Broken O-ring | Replace the O-ring |
| 2. | Faulty cartridge | Remove the defective cartridge and replace it with a new one. |
| 3. | Broken washer | Replace the washer. |
| 4. | Rusted valve seat | Wash sections of the valve seat with vinegar. |
1. Broken O-ring
The cartridge regulates water flow via the tap spout and features an O-ring. A broken O-ring can cause water to leak from your faucet.
Fix
- Using an Allen wrench, loosen the screw on the handle.
- Take off the faucet handle.
- Hand-unscrew the ornamental piece from the cartridge.
- Undo the brass piece with channel closures, keeping the cartridge in place, and remove it.
- Take the cartridge out of the slot and change it.
- Using a screwdriver, detach the O-ring. After applying plumbing lubricant to the replacement O-ring, reinstall it.
- Reinstall the faucet and switch on the water supply.

2. Faulty Cartridge
A damaged cartridge can cause your faucet to leak even after turning it off.
Fix
- Take off the cap that conceals the bolt on top of the handle.
- Undo any nuts or clips securing the cartridge, then lift it to remove it.
- Add the plumber’s lubricant to the new O-rings.
- Remove the old O-rings and substitute them.
- Uninstall and replace the cartridge.
- Replace the tap and turn on the water.
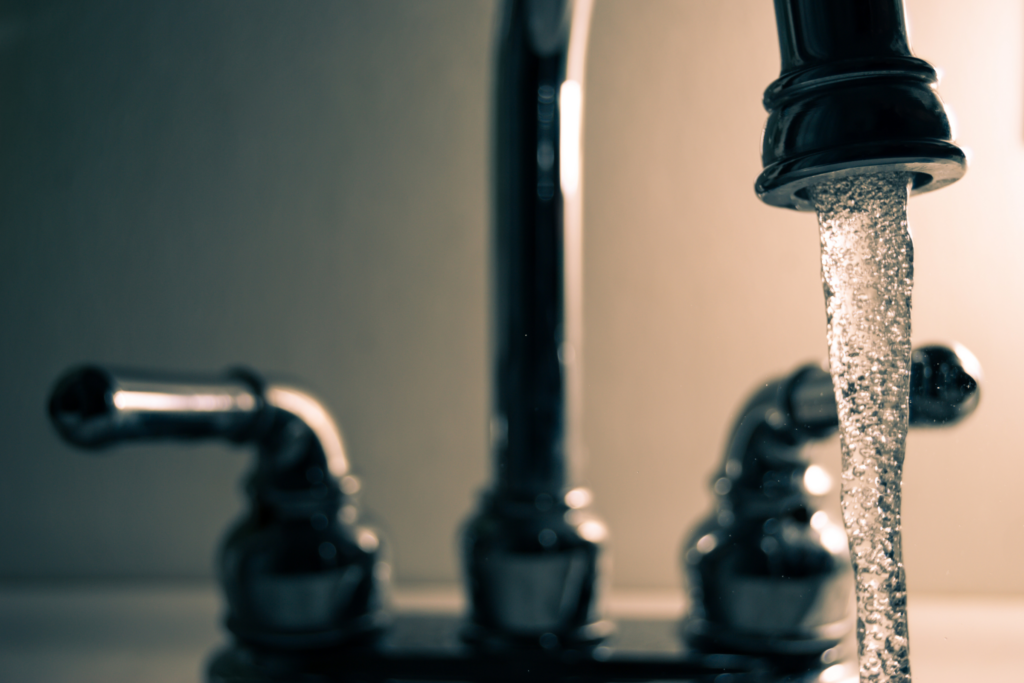
3. Broken Washer
Plumbers fasten rubber washers to the inside ends of pressure fittings with screws, forcing the washer into an aperture in a closed state to restrict the water flow. However, years of service diminish the washer’s size to the point where it barely covers the opening.
Worn washers are to blame for both leaking and gushing faucets. Additionally, washers can leak if you install them wrongly.
Fix
Replace the broken washer or install it correctly or get a professional plumber to do it.
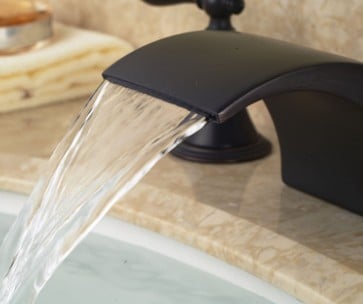
4. Rusted Valve Seat
If the source of your leaky faucet is emerging from the spout, the valve seat may have rusted. Water transports minerals, meaning sediments will accumulate on your valve seat after a while.
Fix
- To combat rust buildup, have a professional clean the valve seat three times a year.
- You can also wash sections of the valve seat in vinegar. However, this requires disassembling the faucet first.
Shower Faucet Turned Off But Water Still Running
If you turned off your shower faucet and you still have running water, then you should check the system for the following:
1. Loose Faucet
Shower faucets have a little screw in the lever that keeps them in position, and you must tighten the screws enough for the tap to turn on and off without leaking. A loose screw means the faucet won’t create a tight seal when you turn off the water, causing your showerhead to leak.
Sometimes your shower faucet won’t shut off because it’s stuck or loose, causing it to fall off. Other times, the shower faucet will not turn off because the screw in the handle is loose or broken.
Therefore, a stuck or loose faucet screw is the cause of a shower faucet failing to turn on despite cranking it many times.
Fix
- Shut off the water supply to your bathroom.
- Open the faucet covering the plate with a flat-blade screwdriver or any other sharp instrument.
- Drive the handle screw behind the cover using a spanner or screwdriver.
- Replace the faucet’s cover plate.
- Put on the water at the mains and then shut it off at the tap to see if the remedy worked.
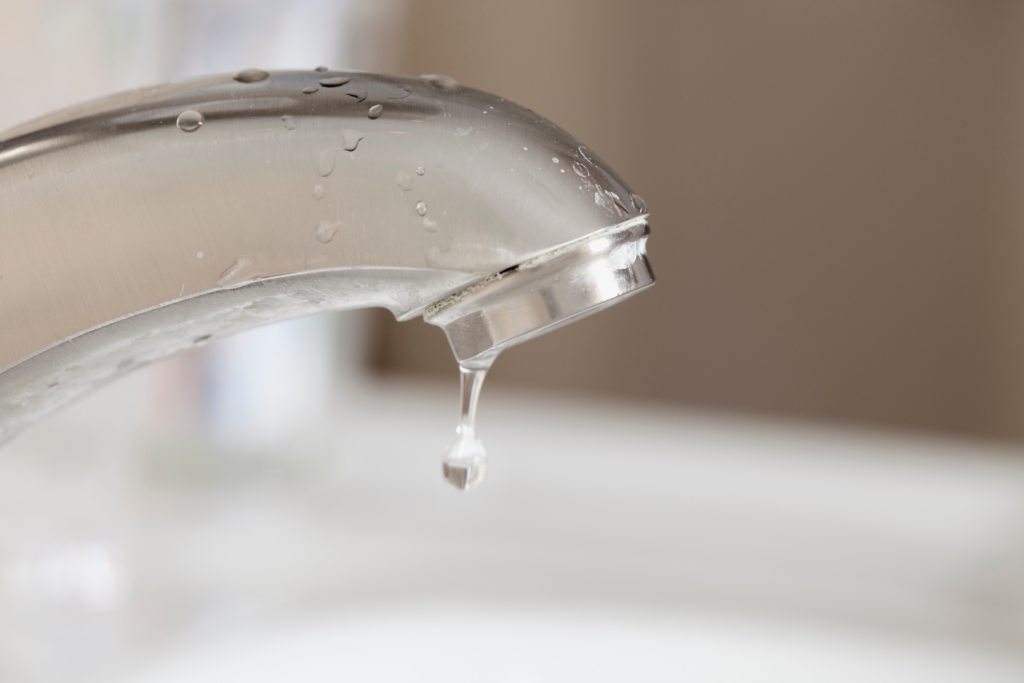
2. Faulty Cartridge Or Valve
You can use the shower cartridge and valve interchangeably to control the flow and temperature of the water. If one is defective, water continues to get to the showerhead even after you switch it off because the cartridge or the valve will not produce a good seal on the control knob.
Fix
- Disconnect the water supply to the bathroom at the mains.
- Turn on a faucet in your bathroom to see whether it worked.
- Seal the shower drain to stop screws or other tiny items from falling out while you work.
- Find the faucet’s cover plate, then pry it using a sharp tool.
- Turn the nut or screw anticlockwise to remove it, and detach the handle. This screw holds the cartridge and allows you to slide it off.
- Take care not to lose any tiny pieces, like the clip, which will come in handy with the replacement cartridge.
- Use the lubrication that came with the replacement cartridge in case you don’t have some.
- Fit the cartridge with the cold and hot sections of the water intake in the same way you did before.
- Install the cartridge, the handle, and the bolt in the center of the handle.
- Tighten the bolt by rotating it clockwise until it is snug.
Bathroom Sink Faucet Won’t Turn Off All The Way
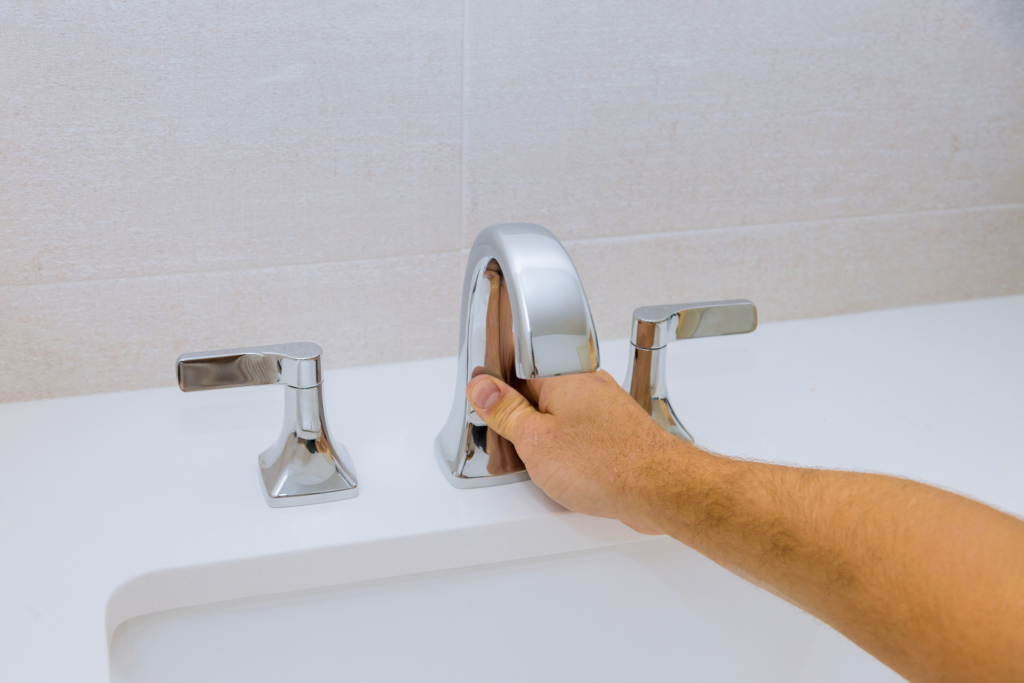
Here are the reasons your bathroom sink faucet doesn’t turn off all the way:
1. A Stripped Faucet’s Handle
Does the handle turn without ever resting into a single position when you crank it? This is a sign of a dirty faucet handle.
Tiny threads connect handles to stems to allow you to spin your handle. However, the threads may deteriorate and peel out over time, rendering the handle unable to regulate the water supply.
Fix
In most situations, you’ll need to change the handle. Experts recommend fixing both handles simultaneously to eliminate the worry about the other one deteriorating sooner.
However, some situations call for a new stem. Since removing faucet handles is difficult in most cases, it’s advisable to hire a plumber to help if you aren’t confident you can handle the task.
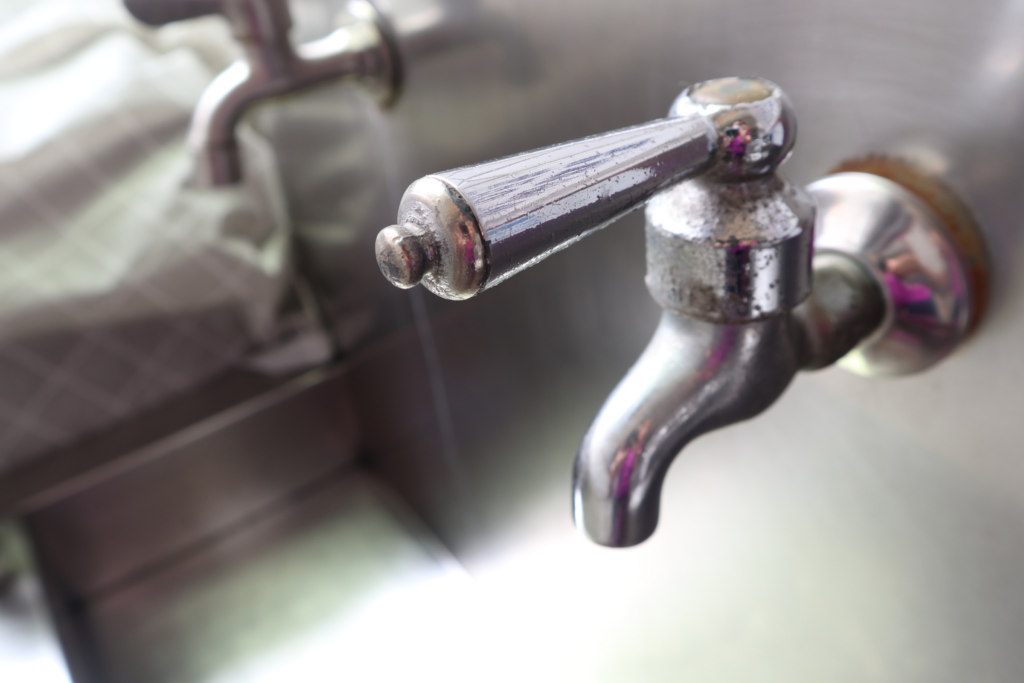
2. The Handle’s Stem Needs A New Washer
A washer disperses pressure from the screw to prevent it from loosening over time. Failure to grease the stem will fracture or break the washer, preventing the handle from shutting off the water.
Fix
Detach the handle and examine the stem to ensure it’s oiled and has a working washer.
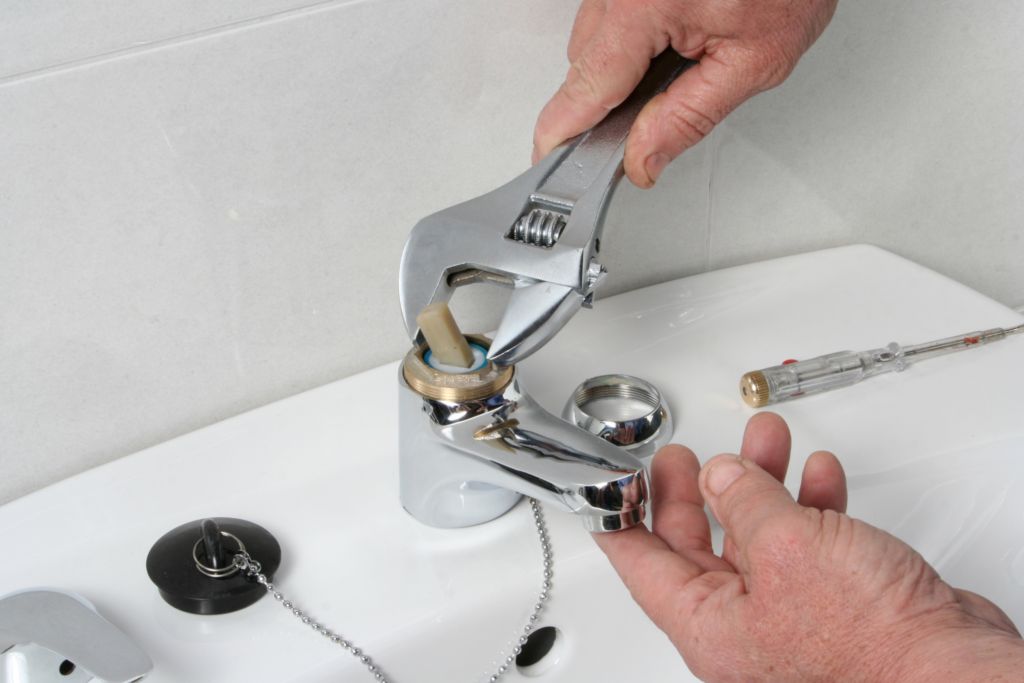
3. The Handle Seat Needs Replacement
A faucet handle boasts a seat that helps the handle turn, but it will wear out over time due to constant use.
Fix
Repair or sand smooth the handle’s seat.
How Do You Fix A Faucet That Won’t Stop Running?
Given that you’ll be disassembling your faucet, you must first determine the type of faucet you have to buy the appropriate replacement components. Faucets are classified into four types: cartridge, compression, ball type, and ceramic disc.
Single and double-handle faucets work in the same way. You can find the problem inside the handle.
Compression faucets employ rubber washers in the valve seat, whereas other types of faucets feature O-rings. Examine the cartridge, washers, valve seat, and gaskets.
Tools
- Replacement kit
- Phillips and flathead screwdrivers
- Allen wrench
- Channel-lock or plumbing wrench
- Rags
- Pliers
- Plumber’s grease
- Distilled white vinegar
- Utility knife
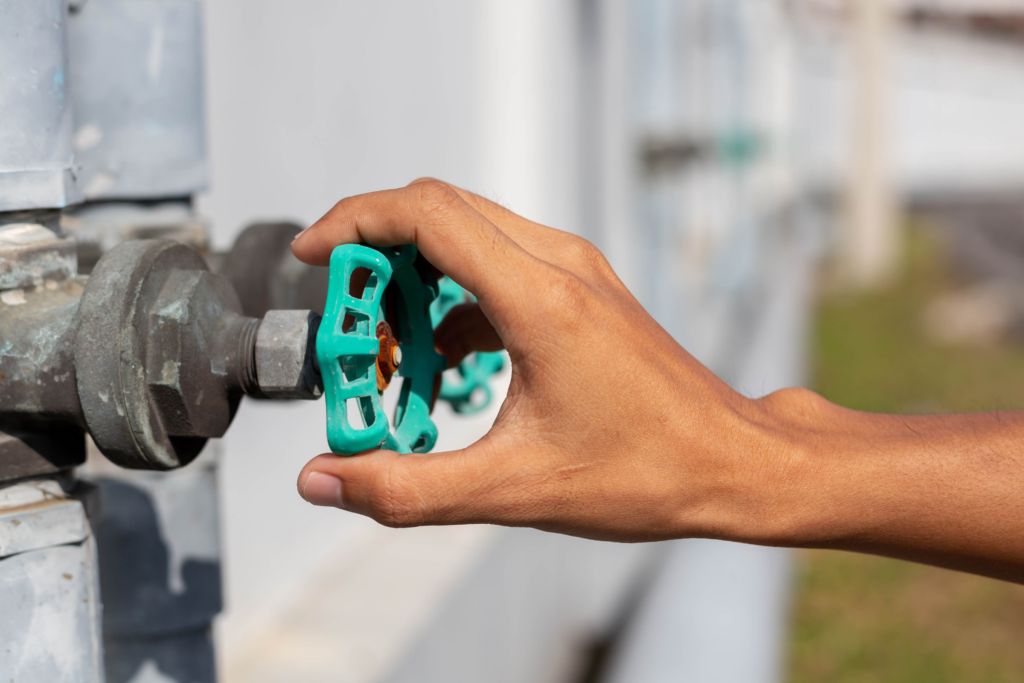
1. Turn Off The Water
To deactivate the water, find the fixture of shutdown valves and crank the handles clockwise. Cut off the main water supply to the residence if the faucet does not have a shutdown valve.
2. Remove The Faucet Handles
For regular fixtures, detach the caps on the handle’s top with a flathead screwdriver to access the handle screws. Next, unscrew and remove the handles.
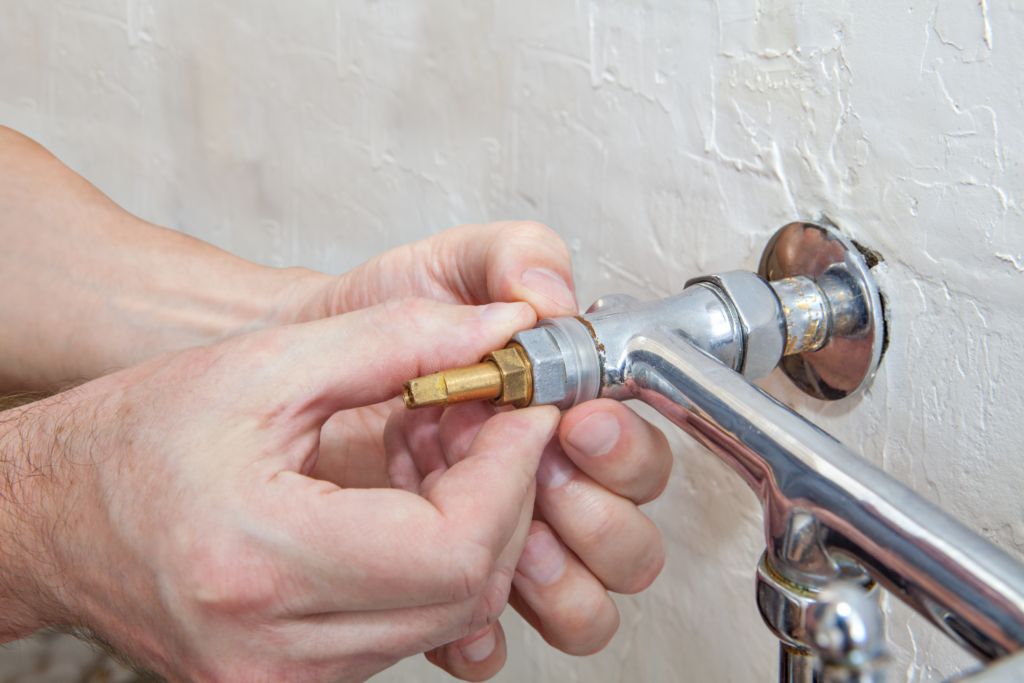
3. Detach The Valve Stem
Compression faucets feature a brass valve stem that you can unscrew effortlessly to remove the cartridge faucet. Check your faucet’s owner’s handbook or seek instructions online if you get stuck,.
4. Examine The Parts Of The Sink And Replace The Damaged Parts
After removing the pieces, check them to determine what needs replacement to fix the leaky faucet.
5. Sanitize The Valves
Apply white vinegar over the valve seat and leave it for a few minutes to clear the mineral buildup. Brush it away, and then scrub the rest of your sink.
6. Put The Faucet Together
Reassemble your faucet, turn on the water supply and inspect for leaks.
Final Thoughts On Faucet Turned Off But Water Still Running
Hopefully, this post has helped you troubleshoot faults in your faucet that keep leaking despite being turned off. The major areas to examine are the cartridge, O-ring, washer, and valve seat.
If the problem persists, contact a professional plumber.
Also Read:
Let Us Know How We’re Doing!
Did this expertly prepared resource answer your question?
Do you have another question about home maintenance, home improvement projects, home appliance repair, or something else?
Get more information, send in questions and keep the discussion going by contacting the I’ll Just Fix It Myself company customer service team at at 1-800-928-1490 or Email us at [email protected]
