How to Fix Blotchy Spray Paint? (3 Quick Steps for Uneven Paint)

Spray paint is awesome because it lets you get a painting job done quickly and easily if you prepare correctly and have the right skills with the paint can. Unfortunately, a bad spray paint job can turn out blotchy or uneven, turning a quick project into a long and frustrating experience. So, how do you fix blotchy spray paint?

Fix blotchy spray paint by lightly sanding and cleaning the surface, applying additional thin coats of paint, and repeating the process as necessary. Prevent spray paint from becoming blotchy or uneven by properly prepping your project surface, applying a separate primer, and applying several thin coats of paint rather than one or two heavy coats.

Read on to learn more about how to fix and prevent blotchy or uneven spray paint in general as well as on specific material surfaces and also grab some practical tips for preventing blotchy paint on your next spray painting project!

What do we mean by blotchy or uneven spray paint?

There are lots of things that can go wrong when it comes to spray paint – drips, runs, streaks, bleed-through, and more.

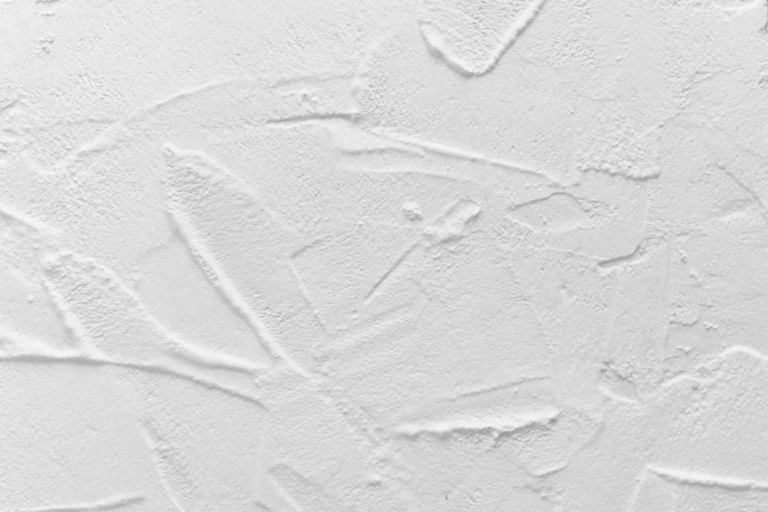
Blotchy or uneven spray paint occurs when the surface is covered adequately and there are no drips or runs, but you can see uneven coverage on the surface that looks lighter or darker in certain areas. It might also look like your paint has a different texture in different areas owing to a lack of surface prep or uneven paint amounts.

Here is a good example from a forum community member that was trying to paint a table with spray paint:

blotchy table painted with spray paint

As you can see, the table’s surface looks pretty rough in terms of texture, color tone, and overall coverage. If you paint a table like this, you will definitely be able to notice the imperfections day-to-day without close inspection.

Now that we know what it looks like, what causes it?

What causes blotchy or uneven spray paint?

Unlike some other spray paint issues that are related to spraying too much paint at a time, blotchy or uneven paint is typically caused by something else:

  • Uneven coatings
  • Not enough paint
  • Surface imperfections
  • Lots of different surface materials painted at the same time
  • Lack of surface preparation

Not enough paint

The first place to look when you are dealing with blotchy paint is whether or not you have enough of it to begin with.

Some surface materials, especially real wood, will absorb spray paint as you are painting them. Because wood is a natural material, it will naturally absorb paint differently in different areas. Although it looks like the paint is uneven, what is really happening is that you don’t have enough paint on the wood, and you need additional coats to make up for the areas that absorbed more than others.

not enough paint can cause a blotchy appearance

Uneven coatings

If you aren’t painting real wood and you’ve applied several coats to your project surface, issues with blotchiness could be caused by an uneven coating of paint.

Typically, uneven paint coatings are caused by poor spray can technique – basically, you are spraying more on some parts than others due to irregular distance between the can and the surface or irregular speed as you move your can across the object.

Surface imperfections

Even if you use perfect technique and apply enough paint, you can still have issues with blotchiness if the surface you are painting has lots of imperfections.

Spray paint won’t adhere to or lay flat on surfaces with lots of imperfections. Surface imperfections could include dirt, debris, or oil left that wasn’t cleaned off before painting, existing paint or stain on the surface, or even a poor sanding job.

Before starting any spray paint project, you need to prepare the material’s surface adequately, depending on what you are working with. For instance, you will want to:

  • Clean the surface with warm, soapy water to remove any dirt or residue
  • Fill in any gaps, cracks, or holes with a paintable putty or other material
  • Sand down the entire surface to ensure a level surface free of imperfections
  • If you are painting over paint or stain, you still need to sand the surface to ensure it is flat.
uneven wood surface with imperfections

Lots of different surface materials painted at the same time

If your project involves lots of different materials (such as metal, plastic, glass, or wood), then you’ll have to be aware that each surface will react to the paint differently.

Before painting, identify the various material types that will be painted and take special precautions.

Lack of surface preparation

Blotchy spray paint is typically caused because of an uneven level of paint on the surface – more paint in some places than others. Blotches can also occur because of imperfections in the surface itself, such as an unevenly sanded wooden surface.

Finally, your project might look blotchy if the object is made of several different materials together, such as a plastic toy with rubber wheels or a metal tool with rubber fittings.

sanding wood to make an even surface

How to fix blotchy or uneven spray paint

If you are dealing with a blotchy spray paint job, don’t worry!

Fixing blotchy spray paint is a straightforward process but, depending on what caused the issue, it might take a fair bit of work to handle it.

Here are the three basic steps:

  • Correct any preparation issues
  • Lightly sand the surface and remove paint dust
  • Apply additional coats of paint

Step #1 – Correct any preparation issues

I mentioned earlier that there are a few reasons why you have blotchy paint, to begin with. To correct any issues, you’ll first need to identify what caused it in the first place.

Did you fail to clean the surface thoroughly?

Are there big gaps, cracks, or other imperfections?

No amount of paint will realistically cover up big gaps or holes in something like a wooden table. If you failed to fix any of the issues above, you’ll have to take the time to correct them, and then you’ll have to repaint the whole thing.

How does the saying go? An ounce of prevention is worth a pound of cure (or, in this case, a pound of spray paint!)

Step #2 – Lightly sand the surface and remove paint dust

Whether or not you had to correct any prep issues, your best bet is always to sand a surface with paint imperfections.

Sanding the surface flattens it and evens the amount of paint already there.

Here is the process for sanding:

  • Let the paint dry completely before sanding, else you risk causing more problems
  • Choose a fine or very fine grit sandpaper or sanding block
  • Use even pressure to lightly sand down the entire surface, paying special attention to the blotchy areas
  • Avoid over-sanding in any one spot – the goal is to create an even, level surface
  • Wipe the paint dust off of the surface and make sure it is completely clean and dry

Step #3 – Apply additional coats of paint

Once the surface has been prepped, it is time to move back to painting.

At this point, I would also recommend considering a primer before your first coat of paint. The whole point of a primer is that they stick really well to most surfaces and lay down flat. They might not look great on their own, but they make the paint on top of them look better!

Add the primer and/or additional coats of spray paint using these best practices:

  • Use high-quality spray paint
  • Use a primer
  • Hold the spray paint can 10-12 inches away
  • Keep the spray can moving continuously
  • Apply more thin coats instead of fewer thick coats

Here is an excellent YouTube video by Chic Antique that demonstrates the entire process from start to finish, including prepping a wooden table and chairs for paint. As you can see in the video, the initial several coats look VERY blotchy, and it takes her a full 5 coats before the finish looks good enough to cover with a clear coat.

How to fix blotchy or uneven spray paint on plastic

Plastic is an easy material to spray paint. Still, its surface’s incredibly smooth, and the glossy texture can make it easier for spray paint issues to pop up, especially if the plastic is hot or you are painting a vertical surface.

To fix blotchy spray paint on plastic, you can scrape away the paint and start over or lightly sand the surface before applying additional coats of paint.

Since paint doesn’t soak into the plastic while painting, getting an even coat with proper technique should be easier. But be careful because it is easy to overspray when painting plastic.

How to fix blotchy or uneven spray paint on glass

Glass is an easy material to spray paint. Still, it’s surface’s incredibly smooth, and the glossy texture can make it easier for spray paint issues to pop up, especially if the glass is hot or you are painting a vertical surface.

To fix blotchy spray paint on plastic, you can scrape away the paint and start over or lightly sand the surface before applying additional coats of paint.

Since paint doesn’t soak into the glass while painting, getting an even coat with proper technique should be easier. But, be careful because it is easy to overspray when painting glass.

How to fix blotchy or uneven spray paint on wood

Wood can be a great surface to spray paint because real wood usually absorbs a bit of the paint as you go. The upside is that the absorption reduces the likelihood of runs or drips. The downside is that real wood can end up looking blotchy because the paint absorbs at different rates.

To fix blotchy spray paint on wood, we recommend only painting wooden surfaces that have been primed first and then using light sanding to smooth out any imperfections. After sanding, be sure to clean up the surface of your wood and remove any paint dust before applying additional coats of paint.

With wood, it really it all about prevention.

How to fix blotchy or uneven spray paint on metal

Metal is typically a super easy surface to paint if it isn’t too hot or cold.

To fix blotchy spray paint on metal, you can scrape away the paint and start over or lightly sand the surface before applying additional coats of paint.

Always keep a lint-free cloth at the ready when spray painting metal to avoid most of the drips and runs.

Similar Posts