
Can You Stack Mini Fridges? Dos and Don’ts for Safety

Stacking mini fridges can be a smart and space-efficient solution for your storage needs. Whether you’re looking to maximize your living space or thinking of creative ways to organize your kitchen, dorm room, or office, considering the vertical use of space by stacking mini-fridges is an option.
Before you start, it’s crucial to note that not all mini fridges are designed to be stacked—one should always confirm that the models are stackable to ensure safety and proper operation.
When thinking about stacking mini fridges, it’s important to ensure they are compatible with one another and to consider the necessity of adequate ventilation. Ventilation prevents overheating, which could not only damage the fridges but also pose a safety risk.
Balancing the units correctly and, if available, using recommended spacers or stacking kits can also be pivotal in setting up a stable and functional stacked mini fridge arrangement.
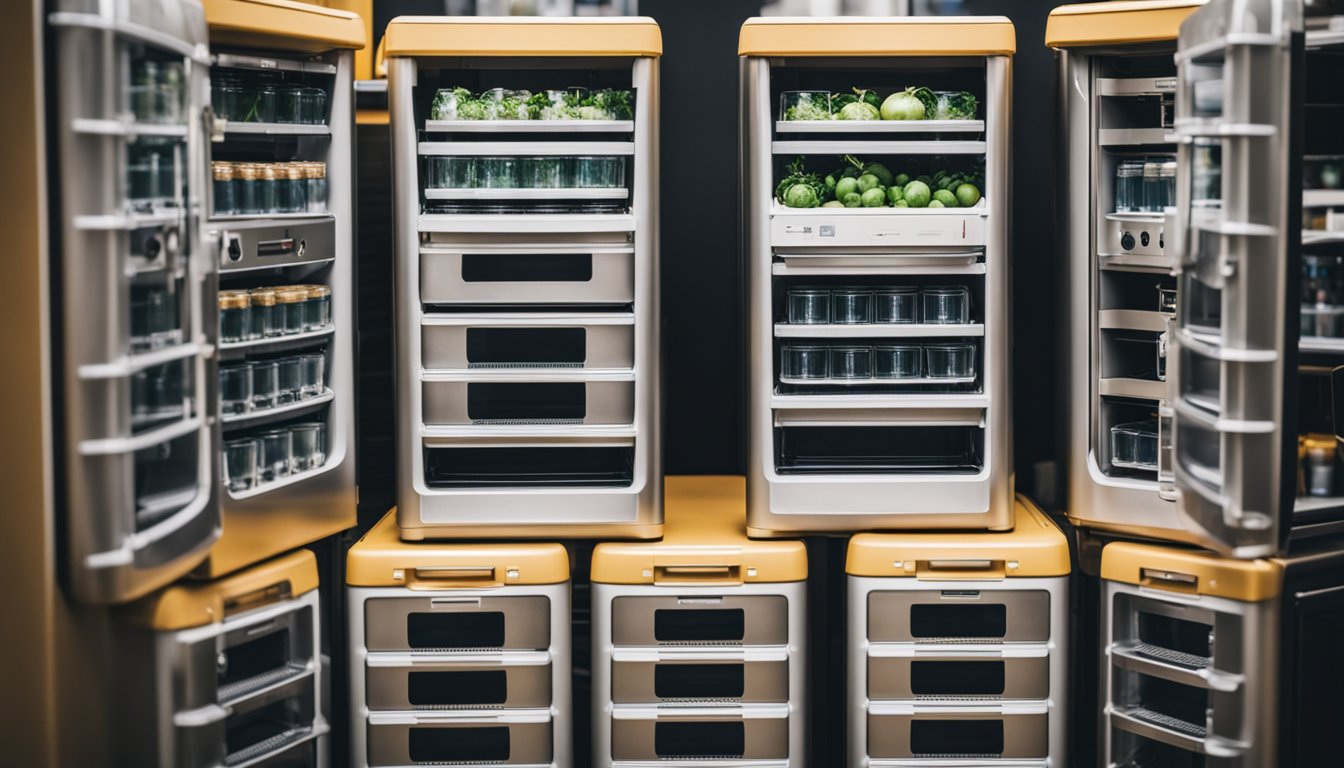
Stacking Mini Fridges: A Step-By-Step Guide
Stacking mini fridges is a great way to maximize your storage space. Before you begin, check that your mini fridges are designed for stacking. Not all models are compatible, and ignoring this can lead to damage or injury.
Step 1: Choose Your Mini Fridges
- Ensure both fridges are stackable models.
- Confirm the bottom fridge is sturdy enough to support another appliance.
Step 2: Gather Your Materials
- Obtain a metal bracket stacking kit if not provided.
- Have an anchor mechanism ready for securing the top fridge.
Step 3: Prepare the Area
- Choose a well-ventilated space to avoid overheating.
- Confirm the surface is flat and stable.
Step 4: Assemble
- Place the heavier fridge at the bottom for stability.
- Use the stacking kit or shelf to evenly distribute the weight.
Step 5: Secure the Fridges
- Attach metal brackets or use the anchor provided to lock the top fridge in place.
- Ensure nothing wobbles and that the setup is secure.
Step 6: Test Your Setup
- Gently apply pressure to ensure the stack isn’t prone to tipping.
- Check that doors can open freely without obstruction.
Remember, while mini fridges are lightweight, never compromise on safety. Using the right stacking kits and carefully following these steps will ensure you create a safe and efficient stacked fridge setup.
Safety and Stability Measures
When stacking mini fridges, it’s critical to prioritize safety and stability to prevent injury and ensure the longevity of your appliances. Your focus should be on adequate ventilation, secure placement, and even weight distribution.
Importance of Ventilation
Ensuring proper ventilation is paramount for the safe operation of stacked mini fridges. Fridges emit heat during operation, and without enough space for air to circulate, there’s a risk of overheating which can lead to malfunction or fire.
Here are guidelines for maintaining good ventilation:
- Leave a gap of at least 2-3 inches around each side and the top for airflow.
- Do not block the fridge’s vents, as they are crucial for expelling heat.
Securing for Safety
To secure your stacked mini fridges, use brackets or straps that are designed for appliance stability. This will significantly reduce the risk of the top fridge sliding or toppling over. Here’s how to secure them properly:
- Confirm that the appliance design supports stacking and if brackets are provided.
- Secure each fridge to the other
How To Maximize Mini Fridge Efficiency
When you’re aiming to save space in your home, stacking mini fridges is a clever solution. Not only does this create a more organized kitchen or storage area, but it also adds to your efficiency by keeping everything accessible. Here’s how you can maximize both storage space and convenience.
- Organization: Use stackable containers and shelves inside your fridges to keep items separated and neat. This makes it easier to find what you need quickly.
- Accessibility: Place items you use most at eye level. Reserve the lower fridge for less frequently used products.
Table: Estimated Energy Consumption Comparison
| Stacked Mini Fridges | Traditional Single Fridge |
|---|---|
| Lower Energy Use | Higher Energy Use |
Stacking mini fridges may also contribute to energy efficiency. By using multiple smaller units, you can switch off one when it’s not needed, potentially using less energy overall than a larger fridge would.
Plus, the convenience of having extra cooling right where you need it cannot be overstated—especially if you enjoy entertaining or have a office that’s far from the kitchen.
Mini Fridge Basics – Size and Space
When considering a mini fridge for your space, knowing the fundamental characteristics related to size, capacity, and space considerations is key.
Fridge Fundamentals
A mini fridge is a compact version of a full-sized refrigerator designed to chill food items, beverages, and sometimes even offer a small freezer section.
Mini fridges typically range from 1.7 to 4.5 cubic feet in capacity. Temperature control is a standard feature, allowing you to adjust the cooling level to preserve your fruits, vegetables, and other food items optimally.
- Capacity: Mini fridges offer enough space to store a limited number of food and beverage items, making them ideal for personal use or in spaces like dorms or offices.
Space and Size Considerations
When selecting a mini fridge, it’s important to consider not just how much it can hold, but also the physical space it will occupy. Here’s a simple breakdown:
- External Dimensions: Measure your available space to ensure the fridge fits. Leave room for ventilation.
- Internal Configuration:
- Shelves: Assess if shelves are adjustable, allowing for storage of taller items like bottles.
- Freezer: Check if there is a freezer compartment and its size; this is usually a small section suitable for ice trays or a few frozen food items.
Remember, before stacking, check that your mini fridge models are compatible with each other to ensure safe and stable stacking. Such a space-saving solution can make a significant difference in smaller living spaces or where a full-size fridge wouldn’t be practical or energy-efficient. By thinking vertically, you’re not only making the best use of your space—you’re also paving the way for a more organized and convenient life.
Let Us Know How We’re Doing!
Did this expertly prepared resource answer your question?
Do you have another question about home maintenance, home improvement projects, home appliance repair, or something else?
Get more information, send in questions and keep the discussion going by contacting the I’ll Just Fix It Myself company customer service team at at 1-800-928-1490 or Email us at [email protected]
