Dripping Faucets and How to Fix Them: Your Step-by-Step Repair Manual
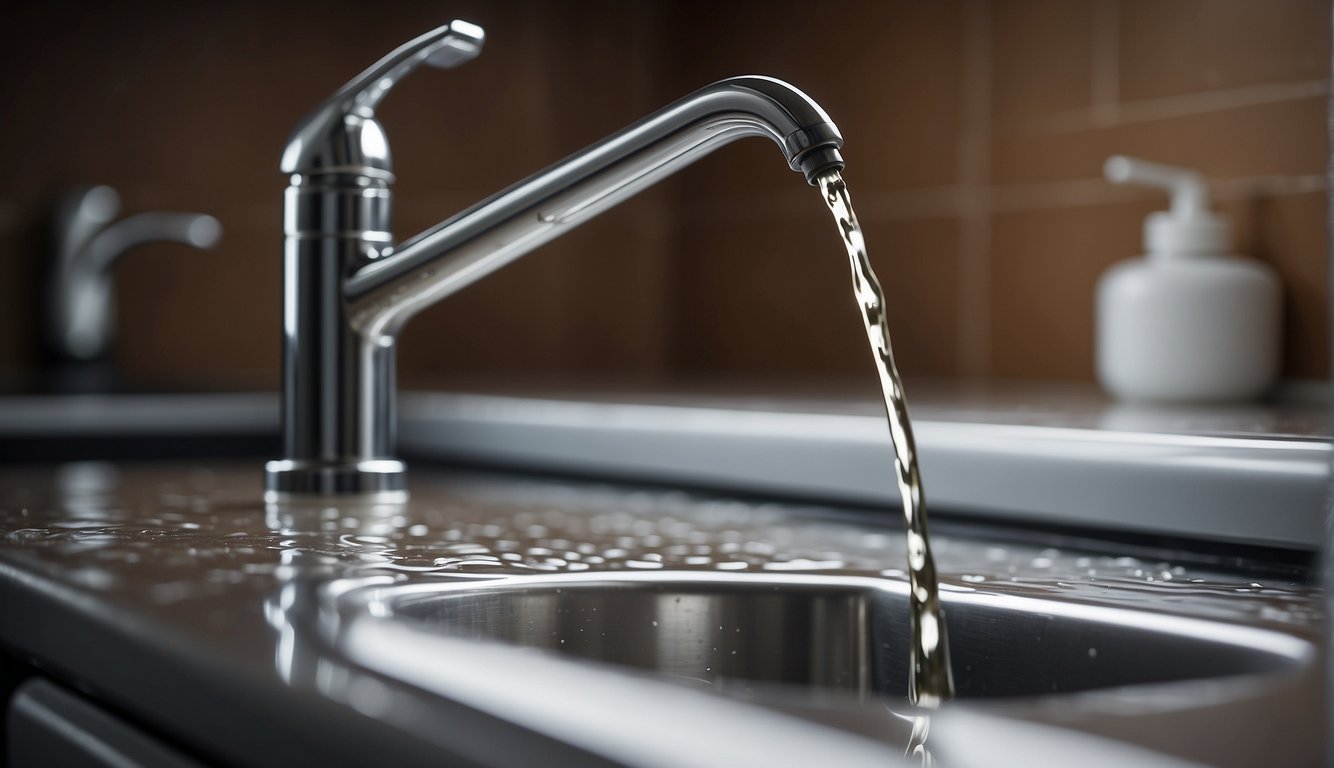
A dripping faucet is more than just an annoyance; it can lead to wasted water and increased utility bills. We understand the urgency of fixing a leaky tap and the importance of doing it right. Whether it’s a steady drip or an occasional leak, addressing the issue promptly prevents further damage and conserves water.
In tackling a leaky faucet, the first step is identifying the type of faucet. The common types include compression, cartridge, ceramic disk, and ball faucets. Each type may have different internal mechanisms, but the process typically involves shutting off the water supply, disassembling the faucet to access the faulty parts, and replacing any worn components like O-rings or washers.
By following a methodical approach to diagnose the problem and secure the necessary replacements, the repair can often be completed without the need for a professional plumber. With the right tools and a bit of know-how, we can stop that drip and ensure our faucets function efficiently once again.
Faucet Basics
Before we dive into repairs, it’s pivotal to grasp the basic types of faucets found in homes and their common components. Recognizing these essentials will ease the troubleshooting process when facing a dripping faucet.
Faucet Types
We find four primary types of faucets in both kitchen and bathroom: compression, ball, cartridge, and ceramic-disk. Each has unique mechanisms and repair methods:
- Compression Faucet: This type uses rubber washers that compress to stem the flow of water. They’re recognized for having separate handles for hot and cold water.
- Ball Faucet: Equipped with a single handle, ball faucets house a ball bearing that adjusts water temperature and flow.
- Cartridge Faucet: These can have one or two handles. Instead of a washer, a cartridge controls the water flow.
- Ceramic-Disk Faucet: The most durable option, with a single handle over a wide cylindrical body, utilizing two ceramic disks that slide to control water flow.
Common Components
Regardless of the faucet type, certain components are universal in plumbing fixtures:
- Valve: Essentially controls water flow through the faucet.
- O-Ring: A small ring typically found around the stem screw that helps seal the faucet.
- Stem: Connects to the handle, controlling the valve that regulates water flow.
- Spout: Where the water exits the faucet.
- Faucet Handle: Used to operate the valve.
| Component | Function | Common In |
|---|---|---|
| Valve | Controls water flow | All faucet types |
| O-Ring | Seals and prevents leaks at various connection points | All faucet types |
| Stem | Connects handle to the faucet, controls water flow | Compression & Cartridge |
| Spout | Water exit point | All faucet types |
| Faucet Handle | Operated to control water flow | All faucet types |
By familiarizing ourselves with these basic components and faucet types, we’re better equipped to address and fix any issues with dripping faucets.
Diagnosing Your Dripping Faucet
When faced with a dripping faucet, the key is to diagnose the issue correctly before proceeding with repairs. We’ll first identify the problem, then take you through troubleshooting steps to pinpoint the cause of the leak.
Identifying the Problem
Dripping faucets can be caused by a range of issues, from simple wear and tear to more complex valve problems. It’s important to ascertain whether the drip is constant or inconsistent, as this can help narrow down the possible causes.
Common causes include worn washers or O-rings, corroded valve seats, or a misaligned part within the faucet mechanism.
Troubleshooting Steps
- Turn off the water supply to your faucet. You’ll usually find the shutoff valves under the sink, but if they’re not there, you may need to turn off the main supply to your house.
- After the water is off, carefully disassemble your faucet. Be sure to note the order and orientation of parts as you remove them.
Inspect each part for signs of wear, damage, or dirt buildup. Pay special attention to:
- Washers: These should form a tight seal and be free of grooves.
- O-rings: Look for elasticity and shape integrity.
- Once you’ve identified any faulty parts, replace them with new ones. Reassemble the faucet, ensuring every component is tight and secure.
By following these steps, you can effectively diagnose and prepare to fix a leaky faucet.
Performing Repairs
Before we begin, it’s crucial to understand that repairing a dripping faucet often involves replacing worn parts such as washers, seals, and o-rings. Always turn off the water supply before attempting any repairs.
Fixing a Compression Faucet
Compression faucets are common and identifiable by separate hot and cold handles. The repair process typically involves disassembling the faucet to replace the seat washer, which necessitates turning off the water, removing the handle, and unscrewing the packing nut.
Here’s a quick rundown:
- Shut off the water: Locate the valve under the sink and turn clockwise to stop water flow.
- Remove the handle: Take off the decorative cap and handle screw, then pull the handle off the stem.
- Replace the seat washer: Unscrew the packing nut, remove the stem, and replace the seat washer, usually held in place by a brass screw.
Ensure the seat washer is an exact match to prevent future leaking. Apply a small amount of plumber’s putty or grease before reinstallation.
Servicing Cartridge Faucets
Cartridge faucets may have one or two handles. The key to fixing a leak involves the faucet cartridge, which may require replacing:
- Disassemble the faucet: Remove the handle and retaining clip or nut.
- Extract the cartridge: Pull the cartridge straight up.
- Check o-rings and seals: Inspect for damage and replace if necessary.
Use a cloth to clean any debris around the cartridge area before installing a new one.
Maintaining Ball and Ceramic-Disk Faucets
Ball faucets and ceramic-disk faucets have complex mechanics, commonly utilizing springs and neoprene seals.
Ball Faucet:
- Remove the handle and collar: Carefully take apart the faucet.
- Replace worn parts: Look for worn springs and seals. A replacement kit often contains all the components you need.
Ceramic-Disk Faucet:
- Disassemble the faucet: Remove the handle and access the disk cartridge.
- Inspect the seals: Lift the ceramic disk, clean the neoprene seals, and inspect for damage.
Replacing an entire ceramic disk cartridge might be necessary if cleaning does not fix the drip. Always consult the manufacturer’s manual for specific instructions related to your faucet model.
Preventive Measures and Maintenance
Keeping your faucets in good shape requires routine inspections and basic upkeep. We’ll cover how to regularly check your faucets and how to shield your pipes from harsh conditions.
Regular Faucet Check-Ups
Frequency of Inspections:
It’s important to inspect your faucets every couple of months. Pay attention to any signs of wear or damage in critical components such as the aerator, which can accumulate mineral deposits, or the rubber o-ring, which may deteriorate over time.
Steps for Inspection:
- Aerator: Unscrew and clean the aerator to prevent buildup.
- Escutcheon Cap: Check for leaks or moisture that can indicate an issue.
- O-Ring and Washers: Look for signs of wear or stiffness in the rubber o-ring and washers.
- Handles: Make sure faucet handles are secure and turn smoothly.
Protecting Pipes from Extremes
Insulation Techniques and Tips:
- Outdoor Faucets: Before freezing temperatures hit, disconnect hoses and cover outdoor faucets with insulation kits.
- Exposed Indoor Pipes: Use foam or heating tape to insulate any pipes in unheated areas of your home.
Precautions to Prevent Burst Pipes:
- Keep a slight drip running during extreme cold to prevent pressure buildup.
- Maintain a consistent thermostat setting day and night to minimize the risk of freezing.
Regular maintenance and protective measures can significantly reduce the risk of leaking faucets and serious plumbing issues, such as burst pipes that can lead to property damage. Take these precautions seriously to safeguard your home and maintain a proper functioning plumbing system.
Professional Advice and When to Hire an Expert
When dealing with plumbing issues, there are times a homeowner can manage repairs, but recognizing when to call in a professional is crucial to prevent property damage.
Recognizing the Limits of DIY
We know that leaks, low water pressure, and running toilets are common annoyances. However, if you notice strange noises in your pipes or consistent issues with heating and clogged drains, these may be signs of larger plumbing problems.
In cases where DIY fixes haven’t resolved the issue or when problems recur, it’s time to consult an expert. Extended property damage can result from unresolved issues, emphasizing the need for professional assessment. Experts can provide not just repairs but also advice on preventing future issues.
| Signs You Need a Professional | Reason to Hire an Expert |
|---|---|
| Persistent leaks | Avoid property damage |
| Low water pressure | Identifies underlying issues |
| Strange noises | Prevents further damage |
| Heating inconsistencies | Ensures system efficiency |
| Recurring clogged drains | Addresses root cause |
| Running toilets | Saves water and money |
Choosing the Right Plumbing Service
To ensure quality repairs, it’s essential to choose the right plumbing service. Look for licensed plumbers with good reviews and recommendations. Check for their experience specifically with issues like drain cleaning, leaks, and installation of fixtures to make a well-informed decision.
- Qualifications: Ensure the expert has the necessary certifications to work in your area.
- Experience: Check for a track record of solving similar plumbing issues.
- Reputation: Read reviews and seek recommendations to gauge their reliability and customer service.
- Pricing: Ask for quotes and compare to ensure you get fair pricing without compromising on the quality of work.
Prioritizing these factors will lead to selecting a service that delivers lasting solutions, minimizes the risk of future plumbing issues, and protects your home from avoidable property damage.
Let Us Know How We’re Doing!
Did this expertly prepared resource answer your question?
Do you have another question about home maintenance, home improvement projects, home appliance repair, or something else?
Get more information, send in questions and keep the discussion going by contacting the I’ll Just Fix It Myself company customer service team at at 1-800-928-1490 or Email us at [email protected]