How to Clean a Mini Fridge with Mold: Step-by-Step Sanitization Guide
Discovering mold in your mini fridge can be alarming and unsightly, but it’s a common issue that arises from moisture buildup and food residue. Mold in a fridge is not just unpleasant to look at, but it can also be a health hazard. It’s crucial to address mold promptly to maintain a safe and clean environment where your food and beverages are stored.
Cleaning a mini fridge with mold involves a thorough process to ensure the removal of visible signs and to disinfect the area to prevent future growth. Safe cleaning practices are essential to protect yourself and to make sure that the fridge is safe for storing food again.
I have extensive experience in dealing with such household issues, and I’ll guide you through the necessary steps to effectively eliminate mold and refresh your mini fridge.
Safety Precautions Before Cleaning a Mini Fridge
Before you tackle mold in your mini fridge, focusing on safety helps prevent allergic reactions or irritation. By wearing appropriate gear, preparing the area, and ensuring good ventilation, you protect yourself from potential hazards.
Wear Protective Gear
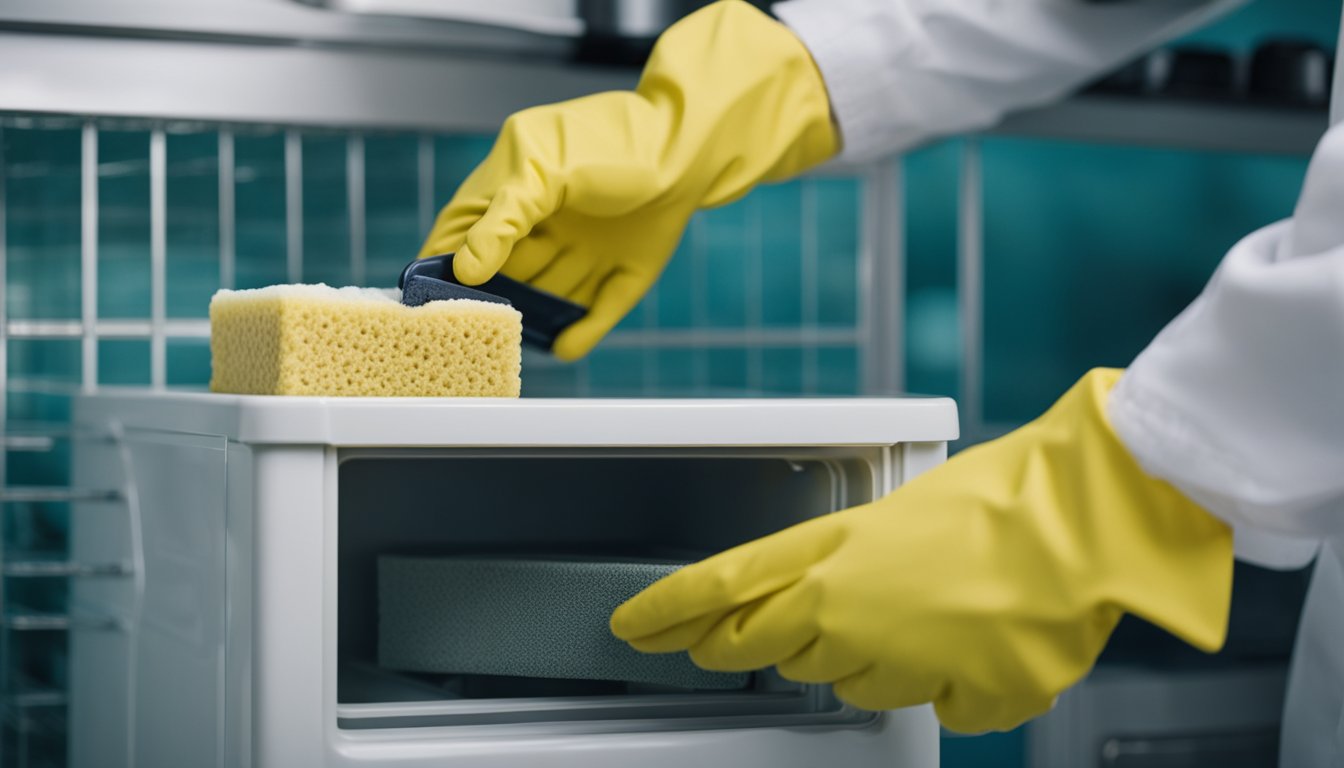
To guard against mold spores that can cause asthma-like symptoms, wear rubber gloves and a face mask. Safety glasses help prevent irritated eyes. This is especially crucial if you are elderly, pregnant, or ensuring the safety of young children, as these groups may be more sensitive to mold exposure.
- Rubber Gloves: To avoid direct skin contact with mold and cleaners
- Face Mask: To protect against inhaling spores
- Safety Glasses: To shield eyes from spores and cleaning agents
Prepare the Cleaning Area
Start by placing the fridge in an area where any spills or leaks during cleaning will not damage flooring or nearby items. If dealing with corrosive cleaners, check labels and only use them if absolutely necessary, as some solutions may release toxins that are harmful in enclosed spaces.
- Placement: Relocate fridge to a safe, easy-to-clean surface
- Cleaners: Use non-toxic options when possible for safety
Ensure Proper Ventilation
Open windows or use fans to maintain airflow, reducing the risk of inhaling airborne mold spores or chemical fumes. Adequate ventilation is key to prevent the build-up of any toxic substances and to dispel any strong odors from the cleaners.
- Windows: Open to increase fresh air flow
- Fans: Use to ensure continuous circulation
Step-by-Step Cleaning Guide
In this guide, you’ll learn how to effectively remove mold from your mini fridge, ensuring it’s safe and clean for use. Each step is critical in eliminating mold and preventing its return.
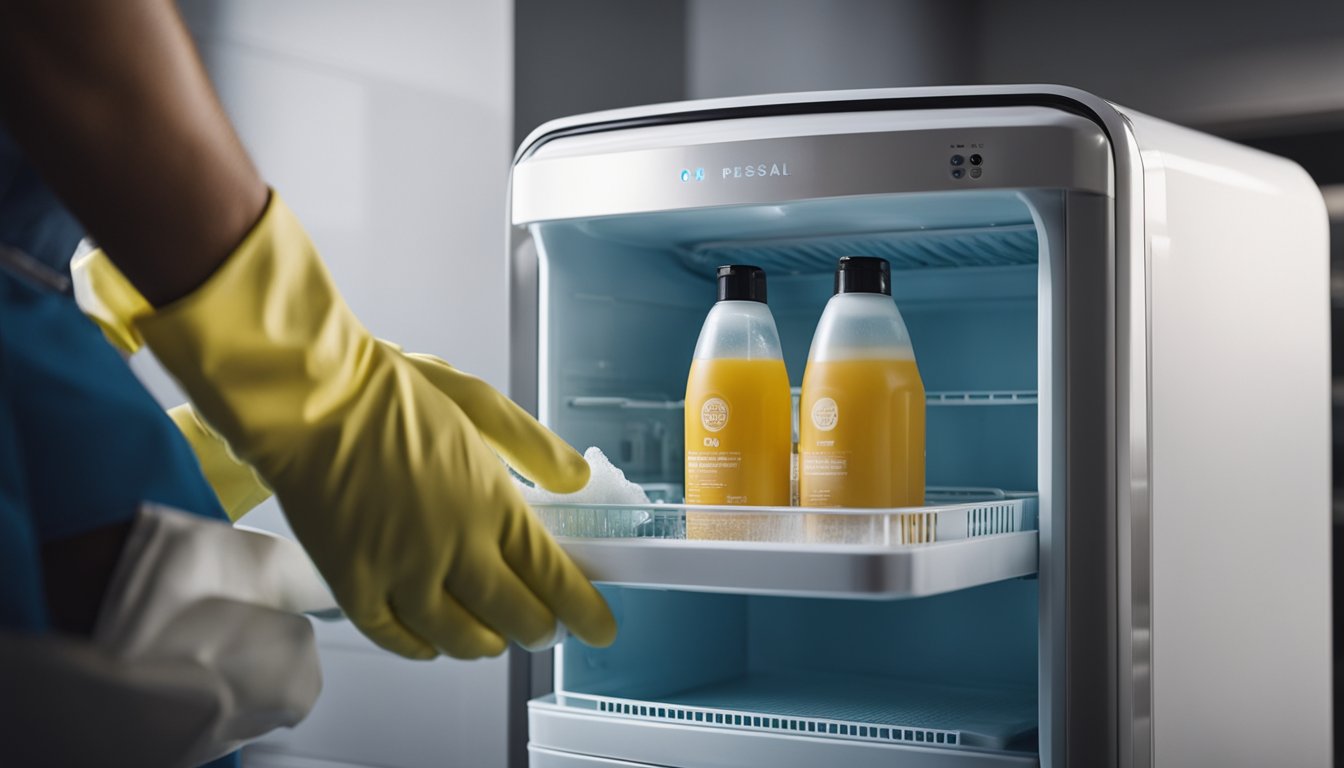
Unplug and Empty the Mini Fridge
Before beginning, ensure safety by unplugging your fridge. Remove all contents, disposing of any mold-contaminated items. If possible, take out shelves and drawers for separate cleaning.
Initial Cleaning of Surfaces
Wipe down the fridge’s interior using a damp cloth or sponge to remove loose debris. Pay special attention to moldy areas by gently scrubbing with a toothbrush to loosen mold spores.
Applying Cleaning Solutions
Create a cleaning solution with one part water to one part vinegar in a spray bottle. Alternatively, use a mix of one tablespoon baking soda to one quart of water. Spray the solution inside the fridge, focusing on areas with mold growth. For heavier mold, consider a solution of one part bleach to ten parts water.
| Solution | Ratio |
|---|---|
| Vinegar & Water | 1:1 |
| Baking Soda & Water | 1 tbsp : 1 qt |
| Bleach & Water | 1 :10 |
Rinsing and Drying
After applying the cleaning solution, wipe the fridge with a clean damp cloth to rinse away mold and cleaner residue. Dry all surfaces thoroughly with a towel to prevent mold from returning.
Reassembling the Fridge
Once the fridge is completely dry, replace the shelves and drawers. Reinserting them properly ensures no moisture traps where mold could grow again. Plug the fridge back in once reassembled and restocked.
Preventing Future Mold Growth
To safeguard your mini fridge from mold, it’s essential to maintain consistent cleaning habits, optimize how you use the appliance, and manage the internal humidity and moisture levels.
Regular Cleaning and Maintenance
To prevent mold growth, regularly clean and perform maintenance on your refrigerator. Deep clean your mini fridge every month by emptying all contents, and wiping down the interior with a mild cleaning solution. Ensure that all surfaces, including the removable shelves and drawers, are fully dry before restocking. For a natural approach, use lemon wedges as an eco-friendly alternative to clean and deodorize the interior.
- Monthly Deep Clean Checklist:
- Remove all food and shelves/drawers
- Wipe interior with mild cleaner or lemon juice
- Dry thoroughly with a clean cloth
- Inspect and clean the rubber door seals to keep them free of mold spores
Optimizing Fridge Usage
Organize and monitor the contents of your fridge to prevent moldy food from contaminating the space. Ensure that the fridge is not overstuffed as this can restrict airflow and create moisture pockets. Regularly check expiration dates and throw away any spoiled items immediately to prevent spores from spreading.
- Fridge Organization Tips:
- Use airtight containers for food storage
- Allow space between items for air circulation
- Keep an inventory list to track perishable items
Controlling Humidity and Moisture
Control the humidity and moisture within the fridge to stave off mold formation. Ensure that your mini fridge is defrosting properly and that any excess water is wiped away. If your fridge is in a particularly humid environment, consider using a dehumidifier. It’s also important to check and clean the fridge’s drainage system and filter to keep moisture at bay.
- Humidity Control Strategy:
- Check and clean drainage systems regularly
- Use a dehumidifier if necessary
- Ensure the fridge and its contents are fully dry after cleaning
What to Do with Mold-Affected Items
When dealing with mold in your mini fridge, it’s crucial to handle mold-affected items properly to prevent health risks.
Assessing Food Safety
Moldy Food: If any food item has mold on it, throw it away immediately. Mold can spread beyond the visible areas, making food unsafe to eat.
- High-risk items: Foods with high moisture content, such as meats, dairy products, cooked leftovers, and soft fruits and vegetables, are at higher risk for mold contamination and should be discarded.
- Low-risk items: Harder, less porous items like hard cheeses and firm vegetables may be salvageable by cutting at least 1 inch around and below the mold spot.
Handling Non-Food Items
Non-Food Items and Surfaces: Scrutinize any containers, utensils, and the fridge’s interior for mold or stains.
- Plastic and glass containers that held moldy food should be cleaned with hot soapy water and then sterilized with a bleach solution (1 tablespoon bleach to 1 gallon of water).
- Metal and wood items are more susceptible to mold growth and should be thoroughly cleaned or discarded if the mold has penetrated the surface.
Handle all items with gloves and dispose of any rotting food or items that cannot be satisfactorily cleaned to prevent further contamination from fridge mold.
Let Us Know How We’re Doing!
Did this expertly prepared resource answer your question?
Do you have another question about home maintenance, home improvement projects, home appliance repair, or something else?
Get more information, send in questions and keep the discussion going by contacting the I’ll Just Fix It Myself company customer service team at at 1-800-928-1490 or Email us at [email protected]