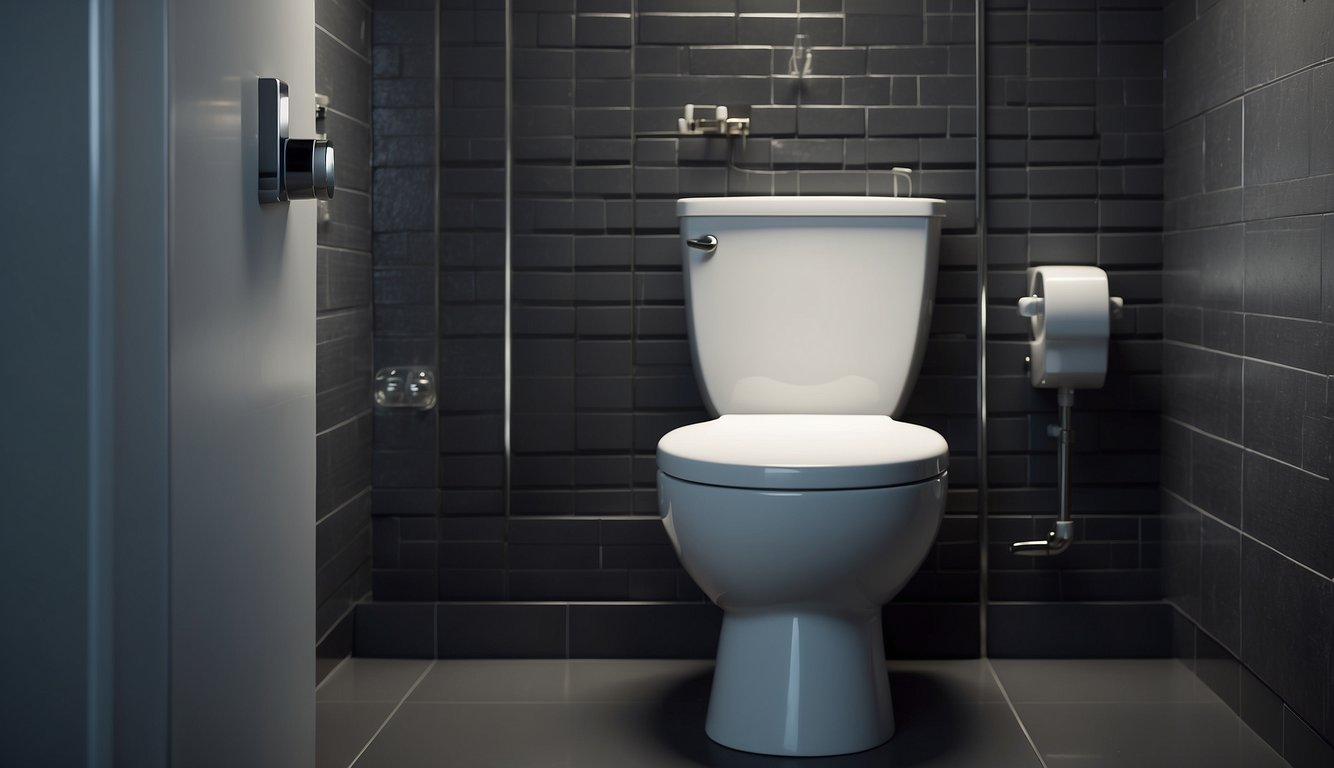
Reasons Why Toilet Keeps Running: A Guide to Fixing Common Issues
Having a running toilet is more than a mere annoyance; it can lead to a significant increase in your water bill if left unaddressed. Through my years of experience, both as a DIY enthusiast and a seasoned plumber, I’ve encountered a myriad of causes leading to this persistent issue. Rest assured, the majority of running toilet problems can usually be resolved with some basic DIY fixes.
The most common culprit of a running toilet is a faulty flapper that no longer seals properly, often due to wear and tear or warping. This results in a continuous flow of water from the tank into the bowl. Another frequent cause stems from an improperly adjusted float, which affects the water level and can prompt incessant running. In some cases, issues with the fill tube or a stuck handle might be to blame.
Addressing these problems promptly is critical in conserving water and keeping your utility costs in check. While tackling these repairs as a DIY project can be cost-effective, for more complex issues, it’s wise to consult a professional plumber to ensure a proper, long-lasting fix.
An Overview of Toilet Mechanics – What Causes a Toilet to Run
When addressing toilet mechanics, it’s essential to understand the parts involved and how they work together during the flushing process. I’ll take you through the primary components and the sequence of events that occur when you flush a toilet.
Components of a Toilet Tank
The toilet tank is home to several critical parts, each playing a role in ensuring efficient operation. Here’s a breakdown of the main components:
- Flapper: Seals the water in the tank from escaping into the bowl.
- Chain: Connects the flapper to the handle.
- Handle: When pressed, it lifts the chain and opens the flapper.
- Fill Valve: Controls the water flow back into the tank after flushing.
- Overflow Tube: Prevents water from overflowing the tank.
- Flush Valve: Allows water to enter the bowl when the flapper is opened.
- Tank: The container that holds water until the next flush.
| Part | Function |
|---|---|
| Flapper | Seals water within the tank. |
| Chain | Links the flapper to the handle. |
| Handle | Initiates the flush. |
| Fill Valve | Refills the tank after a flush. |
| Overflow Tube | Prevents tank overflow. |
| Flush Valve | Enables water flow to the bowl during a flush. |
| Tank | Stores water for flushing. |
The Flushing Process
My extensive experience has shown that understanding the flushing process is key to diagnosing running toilet issues. Here’s how a typical flush works in sequential order:
- Press the handle: This action lifts the chain inside the tank.
- The chain raises the flapper: Water rushes from the tank into the toilet bowl through the flush valve.
- After flushing, the flapper closes, allowing the fill valve to replenish water in the tank.
- The fill valve shuts off when the water reaches a pre-set level.
- If the flapper doesn’t seal correctly or the fill valve malfunctions, water may continue to flow, which can lead to a running toilet.
Maintaining each of these toilet parts and understanding their functions is crucial for the toilet’s efficient operation and to prevent constant running.
Common Causes of a Running Toilet
In my professional experience, tackling a running toilet effectively means identifying the root cause. Here are the most common issues I’ve found:
Flapper Issues
A faulty flapper is often to blame for a running toilet. If the toilet flapper is worn or does not form a proper seal, water will continuously leak from the tank into the bowl, causing the toilet to run incessantly. A new flapper usually resolves this, but make sure it’s the correct size and installed correctly—securely attached to the flush valve and creating a watertight seal.
Fill Valve Malfunctions
The fill valve controls the water flow into the toilet tank. If the fill valve assembly is malfunctioning, it may not shut off properly, leading to an overflow. Signs of a faulty fill valve include a hissing sound or water running even after the tank has filled. Adjusting or replacing the fill valve can fix the issue.
Improper Water Level
The water level in the tank should be just below the top of the overflow tube to prevent running. If the water level is too high, it can continuously flow into the overflow tube. This can often be corrected by adjusting the float, which may be a float ball or a float cup, depending on the type of mechanism your toilet uses.
Misaligned or Damaged Components
Components such as the float arm, tank ball, or refill tube can become misaligned or damaged, leading to a running toilet. The float ball or cup, which influences the water level, should be free of any leaks and properly connected to the float arm.
The refill tube should be positioned correctly to refill the tank without spilling into the overflow tube. Checking and realigning these components can help alleviate running issues.
How to Diagnose Your Toilet’s Problem
Before attempting repairs, accurately diagnosing your toilet’s issues is essential. In my professional experience, focusing on the flapper, fill valve, and water level will provide clarity on the problem.
Inspecting the Flapper
The flapper is often the culprit in a running toilet. A worn or misaligned flapper won’t seal properly, causing water to leak from the tank into the bowl. Check the flapper’s condition—both rubber and plastic types can deteriorate over time. If it’s dirty, a simple cleaning with vinegar and a sponge may solve the problem. But if it’s damaged, replacement is necessary.
- Condition of Flapper: Look for warping, decay, or mineral deposits.
- Cleaning: Use vinegar and a sponge for mineral buildup.
- Seal Quality: Confirm the seal is tight and secure.
Checking the Fill Valve
Improper water pressure or a faulty fill valve can lead to continuous running. Listen for a hissing sound, which is a telltale sign. Turn off the water supply and inspect the valve. I’ve found a bit of maintenance, such as cleaning or adjusting the fill valve adjustment screw, often fixes the issue.
- Water Pressure: Ensure it’s appropriate for the fill valve.
- Hissing Sound: Indicates a leak or malfunction.
- Adjustment Screw: Make small turns for better water level control.
Assessing the Water Level and Float
A misadjusted float will misread water levels, causing the valve to admit more water than needed. Bend the float arm gently to lower the water level if it’s too high. Also, check the siphon jet to ensure proper function and clean it if necessary. Regular maintenance keeps these parts operational.
- Water Level: Mark the ideal level on the tank and adjust the float accordingly.
- Float Condition: Examine for breaks or sticking.
- Siphon Jet: Confirm it’s clear of debris for efficient flushing.
Fixing a Running Toilet
In my experience, fixing a running toilet typically involves a few common repairs. These are straightforward, and with the right tools, most DIYers can handle them without a plumber.
Replacing the Flapper
I always start with the simplest solution: the flapper. A worn-out flapper is often the culprit for a running toilet.
First, shut off the water to the toilet and flush to drain the tank. Remove the old flapper by unhooking it from the flush valve and lift chain. Take it to the hardware store to buy a compatible universal flapper. Install the new one by attaching it in the reverse order, ensuring a proper seal.
Adjusting or Replacing the Fill Valve
A faulty fill valve can also cause continuous running. After shutting off the toilet’s water and emptying the tank, I use an adjustable wrench to loosen the locknut of the old fill valve under the tank. I remove the old fill valve, making sure to hold a towel nearby for any drips.
A new fill valve can be installed by placing it into the tank hole and securing it with a locknut. The fill height is then adjusted to the correct water level, usually marked on the inside of the tank.
Setting the Correct Water Level
The water level in the tank is crucial for efficient toilet operation. If the float is set too high, the toilet runs constantly. I check the water level and adjust the float by either turning a screw or bending the float arm. The goal is to have the water level about one inch below the top of the overflow tube.
Sealing Tank Leaks
Leaks between the tank and bowl are sometimes the cause. To fix this, I first confirm a leak by adding a few drops of food coloring to the tank water. If the color appears in the bowl, there’s a leak. I then tighten the tank-to-bowl bolts with a screwdriver and pliers, or replace the tank-to-bowl gasket if necessary. Having gloves handy helps to keep my hands clean during this process.
Let Us Know How We’re Doing!
Did this expertly prepared resource answer your question?
Do you have another question about home maintenance, home improvement projects, home appliance repair, or something else?
Get more information, send in questions and keep the discussion going by contacting the I’ll Just Fix It Myself company customer service team at at 1-800-928-1490 or Email us at [email protected]