
Protect Floor Around Toilet: Effective Strategies for Bathroom Maintenance

Protecting the floor around the toilet is an essential aspect of maintaining a hygienic bathroom. As someone experienced in home care and upkeep, I’m aware that stains and odors around the toilet area can pose a cleanliness challenge. To manage this, it is vital to implement solutions that prevent urine splashbacks or spills which can seep into the flooring, causing long-term damage.
Effective protection begins with simple measures such as placing absorbent mats, rugs, or towels in front of the toilet. These items serve as the first line of defense by catching any stray droplets before they can reach the floor. Regular cleaning of these materials, along with the surrounding area, is also crucial in eliminating odors and maintaining a fresh bathroom environment.
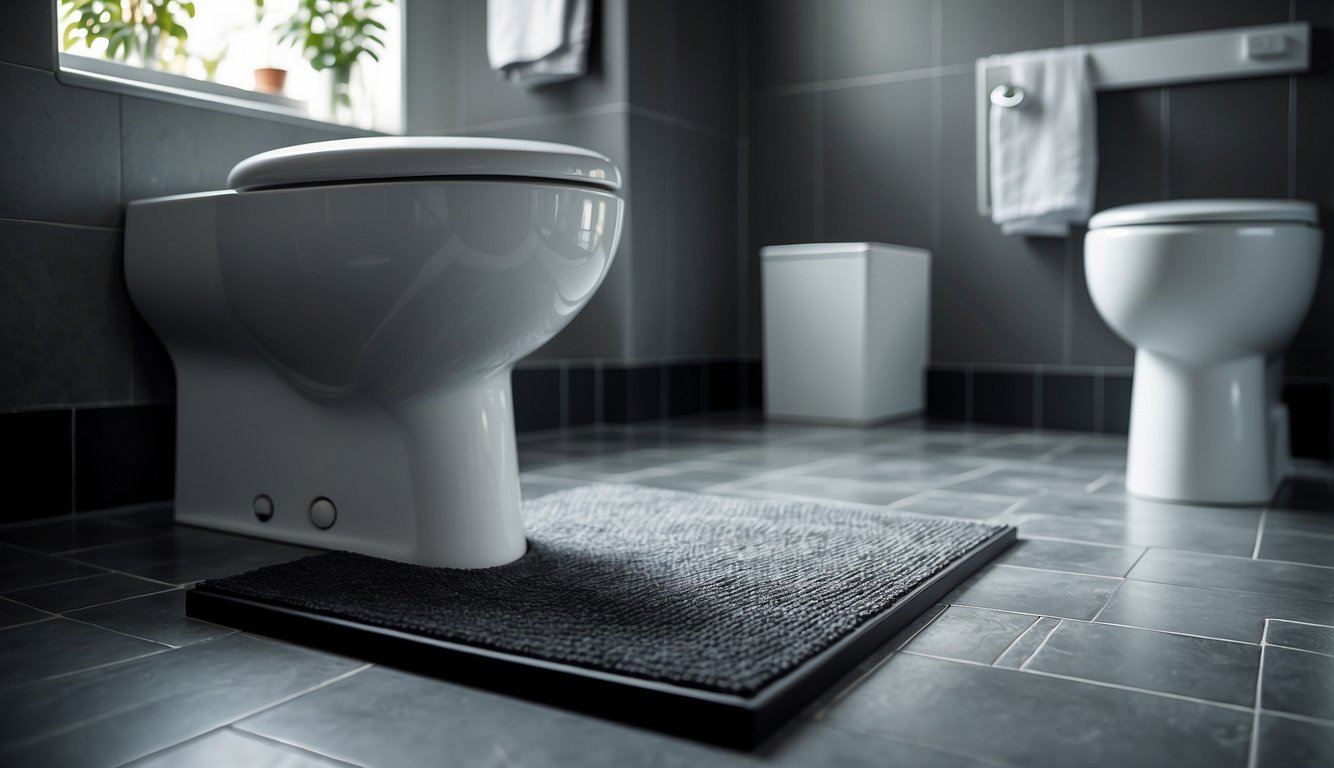
Floor Protection Basics
Protecting the area around the toilet ensures longevity and cleanliness. From personal experience, I’ve learned that selecting durable materials, employing the right installation strategies, and committing to consistent maintenance are key to safeguarding bathroom floors from water damage and wear.
Choosing the Right Materials
In my professional work, I’ve found that non-absorbent, waterproof materials make for the best floor protectors. Bathroom mats and rugs should be water-resistant and easy to clean. Non-slip options add a layer of safety, preventing slipping hazards. A washable toilet floor protector is ideal, as it can be regularly laundered to maintain hygiene.
- Toilet mats: Select non-slip and washable types
- Rugs: Go for those with water-resistant and quick-drying features
- Wax ring: Ensure a snug fit around the toilet base to prevent leaks
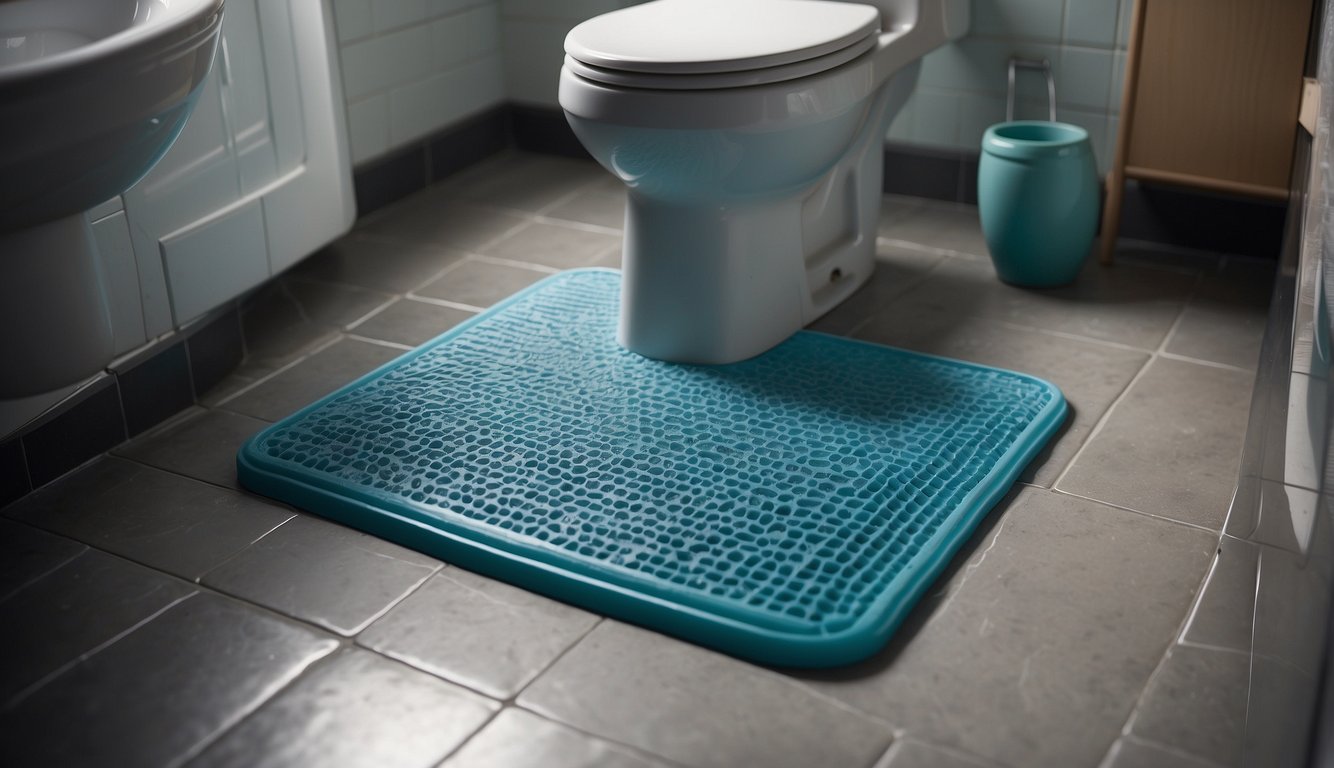
Proper Installation Techniques
Properly installing floor protectors can drastically reduce the risk of water damage. It’s important to position toilet mats correctly; they should cover the high-splash zones without obstructing the door or toilet use. Applying a good sealant around areas like the base of the toilet and the edges of the floor material (such as grout or caulking) can prevent water seepage and damage.
- Toilet base: Use quality sealants like silicone caulk for a firm seal
- Grout: Apply sealant to protect grout lines
- Floor protectors: Place mats securely and ensure they don’t slide
Regular Cleaning and Maintenance
I always recommend a routine that involves wiping up spills immediately and frequent laundering of washable protectors. Over time, bathroom floors can accumulate buildup that can wear down protective measures. Therefore, regular cleaning with a gentle floor cleaner, avoidance of harsh chemicals, periodic disinfecting, and ensuring ventilation can prevent mold and maintain the integrity of your bathroom floor.
- Disinfectant: Use gentle, non-abrasive disinfectants
- Ventilation: Keep the area well-ventilated to dry out residual moisture
- Maintenance: Regularly check for damage or wear and take prompt action
Advanced Floor Care
In managing advanced floor care around the toilet, my focus is on addressing stains and odors effectively and preventing as well as repairing damage efficiently. This ensures a pristine bathroom while safeguarding the floor material.
Addressing Stains and Odors
Urine stains and odors in bathroom floors, especially from potty training or urine splashing, require targeted cleaning methods. Mixing baking soda with water to form a paste effectively lifts these stains. For odors, a solution of equal parts vinegar and water acts as a natural deodorizer, neutralizing unpleasant smells. I often use a scrubber to carefully work these solutions into grout lines without causing damage.
Urine Stain Remover:
- Baking soda and water paste
- Application with a soft brush
Odor Neutralizer:
- 1:1 mixture of vinegar and water
- Lemon for added freshness
Damage Prevention and Repair
Regular cleaning can prevent long-term structural damage, a lesson I’ve learned through professional practice. I use sealants to protect bathroom tiles from the corrosive effects of uric acid and ammonia found in urine. During repairs, minor tile cracks can be filled with a matching caulk, and for serious cases, I ensure complete tile replacement. Always using gentle, pH-neutral cleaning agents can protect the finish on tiles during the cleaning process.
Preventive Measures:
- Regular sealing
- pH-neutral cleaning agents
Repair Strategies:
- Caulk for small cracks
- Replacement for severe damage
Special Considerations
In my professional experience with maintaining bathrooms, I’ve observed that the section around the toilet requires targeted strategies to ensure cleanliness and safety. Below, I discuss key measures under two essential subtopics.
Hygiene and Safety
The area around the toilet is a hotspot for germs and potential infections, so choosing hygienic solutions is critical. Urine absorbent floor mats and washable toilet rugs are practical because they can be cleaned regularly, reducing the build-up of bacteria. Pee guards or urine splash guards also prove effective in containing splashes, thereby keeping the floor dry and sanitary. Here’s a quick reference:
- Washable mats: Should be laundered frequently.
- Urine splash guards: Must be installed properly inside the toilet bowl.
- Disposable floor mats: A convenient option for hygiene-focused users, especially for instances like incontinence.
Accessibility and Ease of Use
For the elderly or anyone with mobility issues, the floor around the toilet demands attention to accessibility. Solutions like a sturdy toilet base plate or wooden toilet mats can offer additional stability.
Moreover, materials that are easy to clean without the need for bending or stretching can make a significant difference. An absorbent floor mat is both practical and beneficial, as it prevents puddles thereby reducing the risk of slips and falls. The following items are noteworthy:
- Elderly considerations: Mats should lie flat to prevent tripping.
- Repairs: Minimized with the use of protective items that prevent floor damage.
By focusing on these practical solutions, I ensure that the floor around the toilet remains clean, safe, and accessible.
Product and Material Recommendations
In my extensive experience, the right materials can safeguard your bathroom floors effectively. Below are my top picks for products that offer the best protection and ease of maintenance for the area around your toilet.
Best Toilet and Floor Mats
I’ve found that the best toilet mats are those that combine functionality with durability. Here’s a breakdown:
- Toilet Mat: Look for washable, non-slip mats designed to fit snugly around the toilet base. These often have urine absorbent properties and prevent moisture from seeping onto the floor.
- Floor Mat: I recommend non-absorbent, disposable toilet mats or a washable rug to protect the wider floor area. These can be replaced or washed regularly to maintain hygiene.
| Type | Material | Features | Maintenance |
|---|---|---|---|
| Toilet Mat | Various fabrics, often microfiber | Non-slip backing, urine absorbent | Machine washable |
| Floor Mat | Cotton, microfiber, or commercial-grade materials | Non-absorbent, may be disposable | Washable or replaceable |
Cleaning Supplies and Solutions
Maintaining the hygiene of the mats is crucial, and the right cleaning supplies make a difference:
- Disinfectant: Always use a disinfectant that’s designed for bathroom use, to effectively clean the mats and eliminate germs.
- Solutions: Regular cleaning with appropriate solutions will extend the life of your toilet floor protectors and ensure the bathroom remains sanitary.
| Product | Use Case | Notes |
|---|---|---|
| Bathroom disinfectant | Cleaning toilet and floor mats | Follow manufacturer’s instructions for safe use. |
| Mild detergent | Washing washable mats and rugs | Gentle on materials, effective in removing stains. |
Through this approach, my bathroom floors remain protected and the space is both safe and inviting.
Let Us Know How We’re Doing!
Did this expertly prepared resource answer your question?
Do you have another question about home maintenance, home improvement projects, home appliance repair, or something else?
Get more information, send in questions and keep the discussion going by contacting the I’ll Just Fix It Myself company customer service team at at 1-800-928-1490 or Email us at [email protected]
