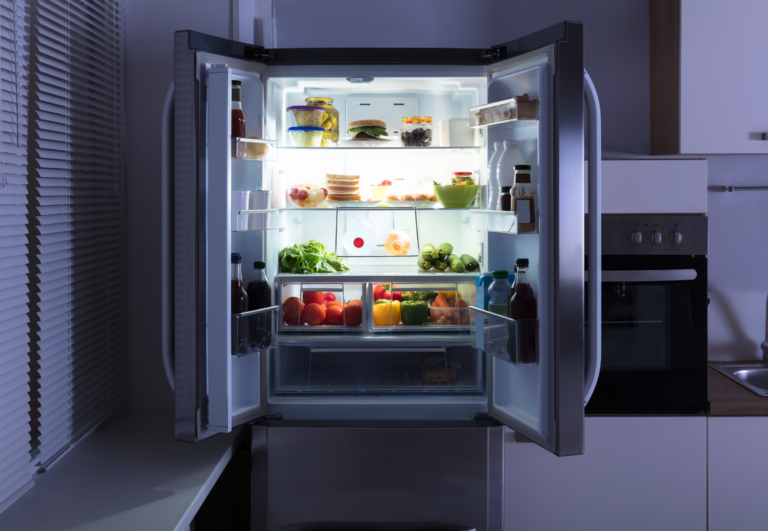
Budget-Friendly Home Updates for the Kitchen: Transform Your Space Economically
Updating your kitchen need not drain your wallet. We’ve seen that even the smallest updates can…

Updating your kitchen need not drain your wallet. We’ve seen that even the smallest updates can…

As someone who’s spent a considerable amount of time researching and using various kitchen appliances, I…

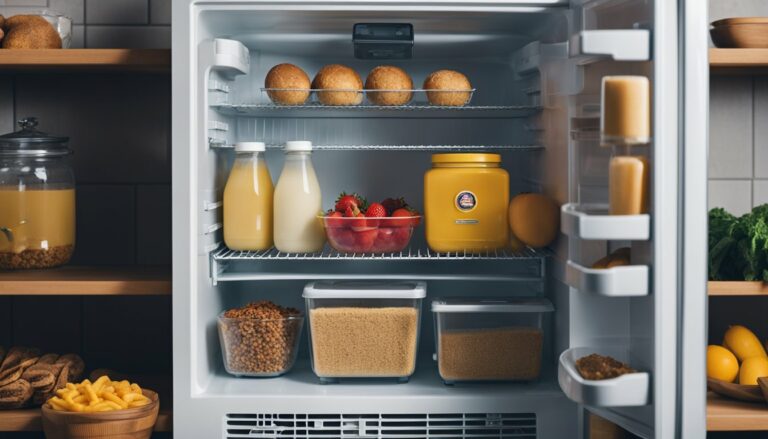
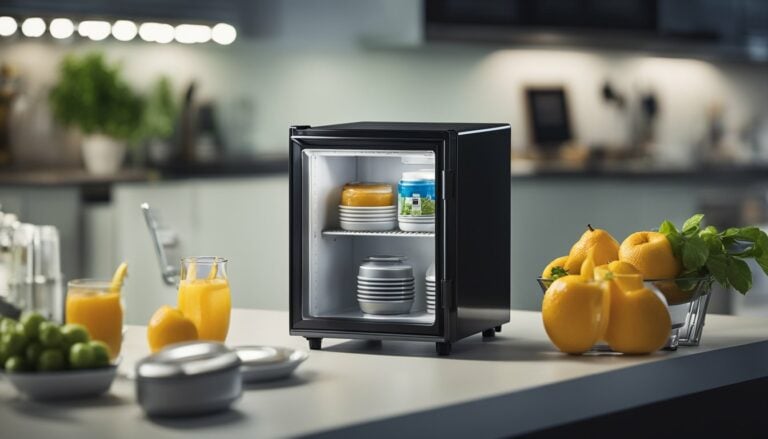
When considering how to store your beverages, you might be wondering about the differences between a…

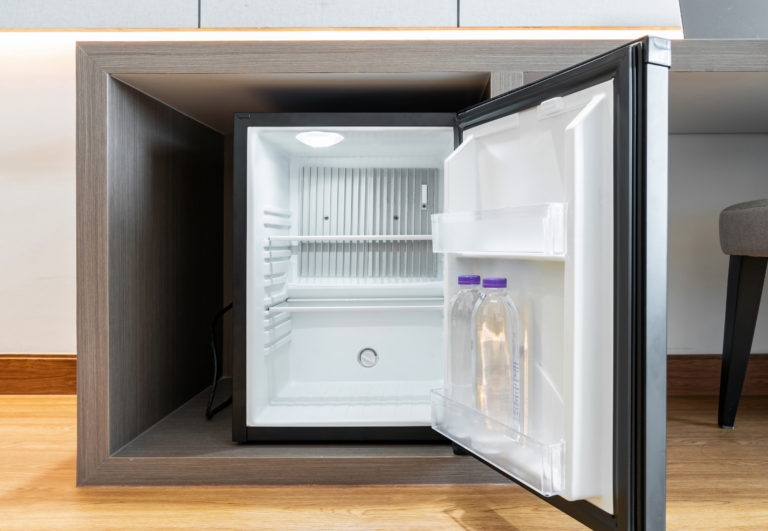
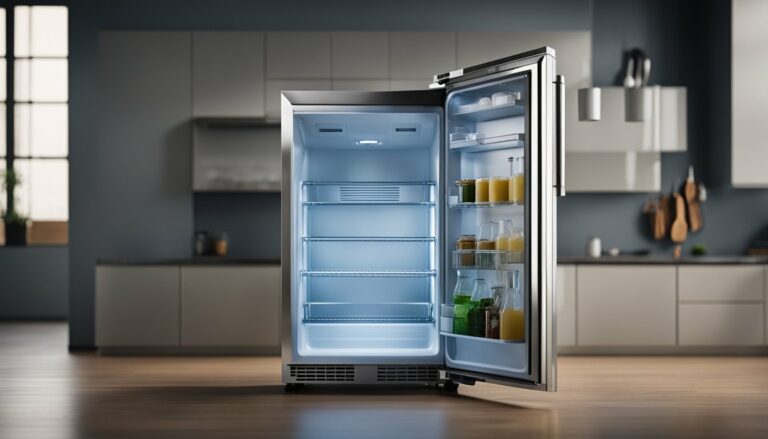
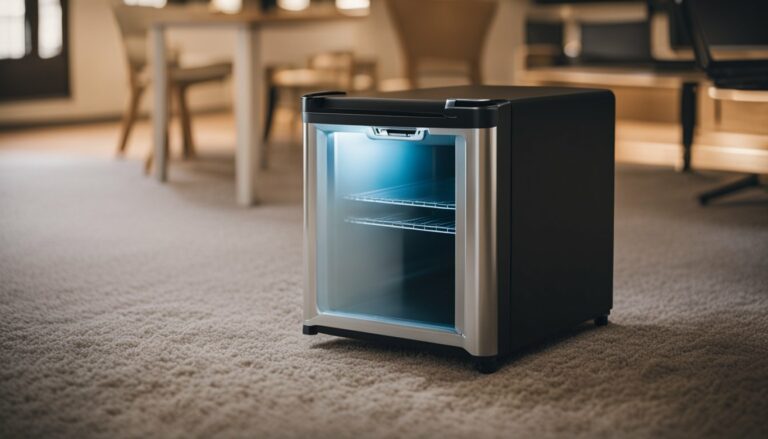
When considering the addition of a mini fridge to your space, you might wonder if it…
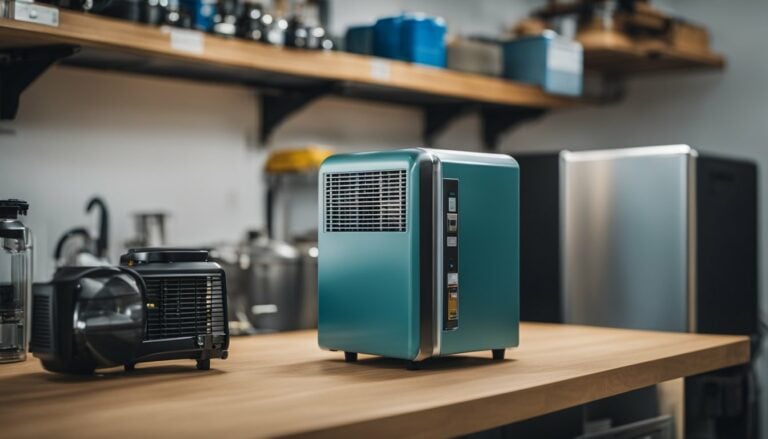
When setting up your mini fridge, it’s essential to consider the power requirements and the outlet…

When considering the purchase of a mini fridge, you might wonder about its expected lifespan. Generally,…

Discovering mold in your mini fridge can be alarming and unsightly, but it’s a common issue…

When considering a move to a nursing home, maintaining a sense of comfort and independence is…

When moving or storing your mini fridge, keeping it upright is crucial for its longevity and…
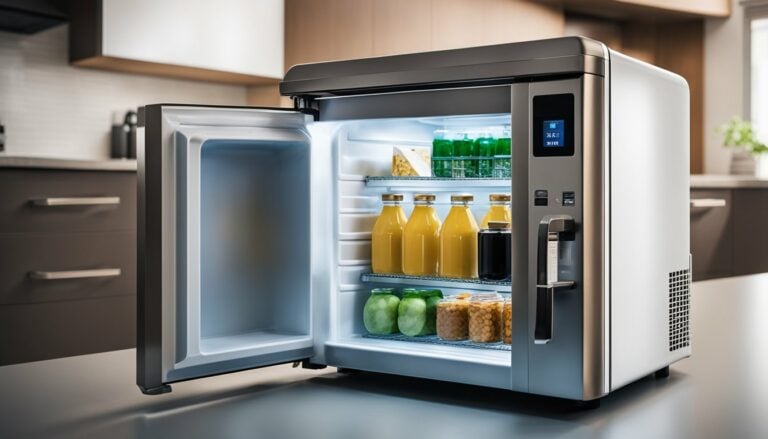
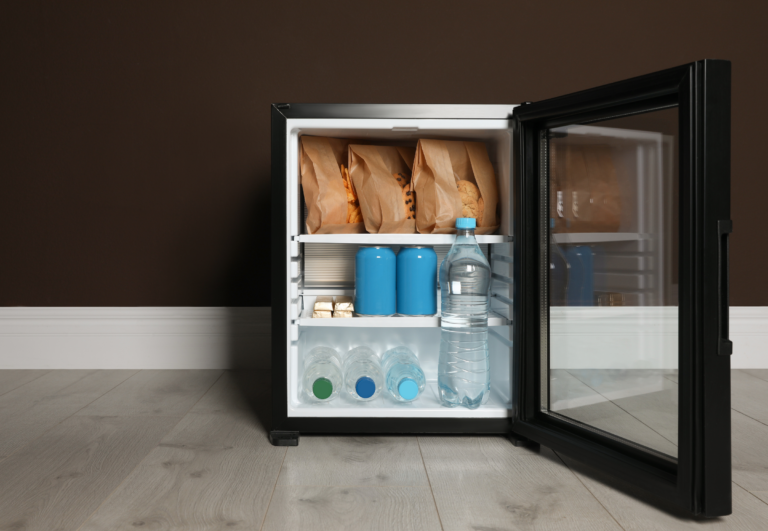
Mini fridges are a convenient addition to dorm rooms, offices, and even bedrooms, providing a personal…

When considering the practicality of a mini fridge, especially for spaces like dorm rooms, it’s key…
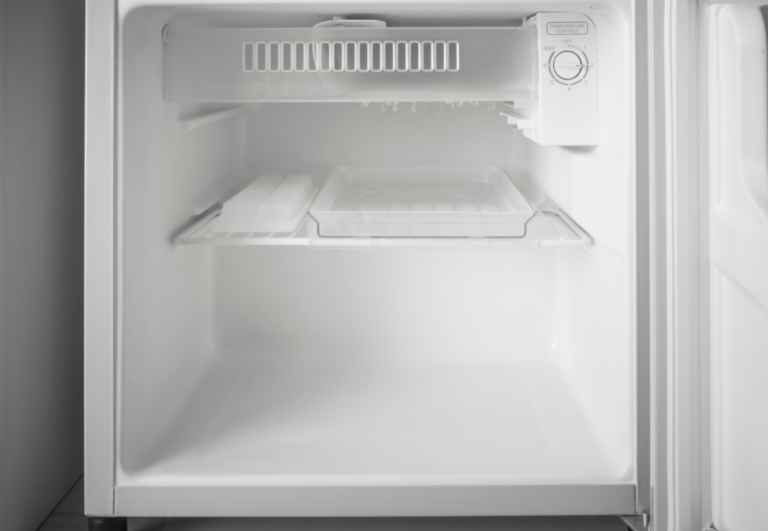
When shopping for a compact refrigeration solution, you might wonder whether mini fridges come equipped with…

Setting the correct temperature on your mini fridge can be a bit confusing, especially if you’re…

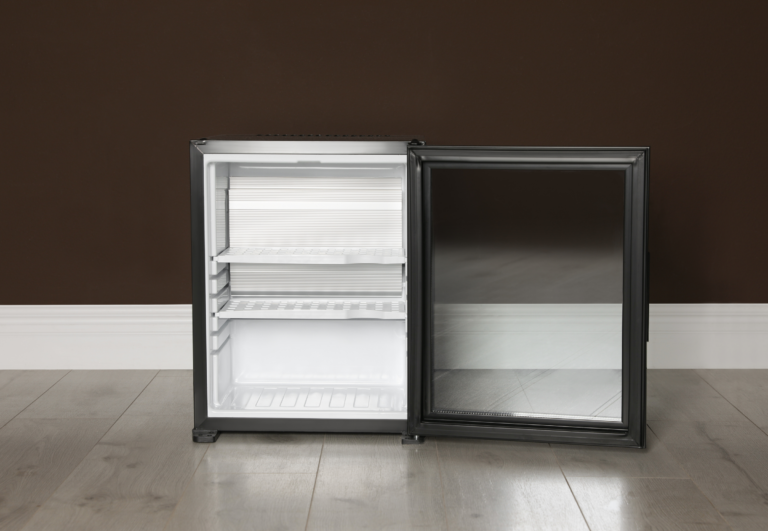
When considering a compact cooling solution for your space, you might find yourself weighing the options…
Like any refrigerator, your mini fridge uses a coolant, also known as refrigerant, to keep your…

Determining whether your mini fridge is functioning correctly is crucial for keeping your food and beverages…

If you’ve noticed a warm setting on your mini fridge, it’s natural to wonder why it’s…
When your mini fridge starts acting up, deciding whether it’s worth fixing can feel like a…

Dealing with a mini fridge infestation can be unsettling, yet it’s a problem that can be…

If you’re considering adding a mini fridge to your space for convenience, you might be wondering…

When your mini fridge starts making clicking noises, it can be alarming and puzzling. These sounds…
Keeping your mini fridge outdoors exposes it to various elements, with rain being one of the…

Maintaining the efficiency of your mini fridge includes knowing when to defrost it. Typically, it’s advisable…
When considering a mini fridge for your space, it’s important to understand how it will impact…
When your mini fridge isn’t staying cold, it can be a real cause for concern, especially…

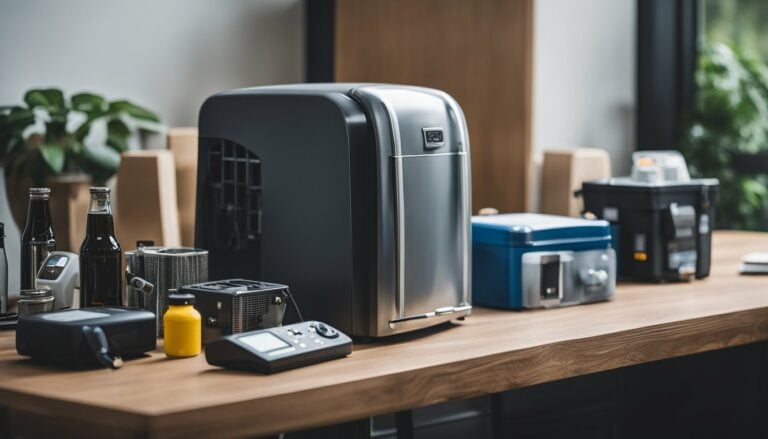
When you tuck a mini fridge into your office, dorm room, or garage, you’re opting for…
Storing your mini fridge correctly when it’s not in use is crucial to maintaining its longevity…

When considering where to place your mini fridge, safety and performance are key. It’s common to…
When your mini fridge isn’t functioning as expected, it can be a real inconvenience, disrupting your…

If you’ve been considering adding a mini fridge to your space, you might be curious about…

Mini fridges have become a popular appliance for keeping snacks and beverages cool in spaces where…

When considering the addition of a mini fridge to your bedroom, safety is a primary concern….

When considering the appliances in your home, safety precautions are paramount, and for many urban dwellers…
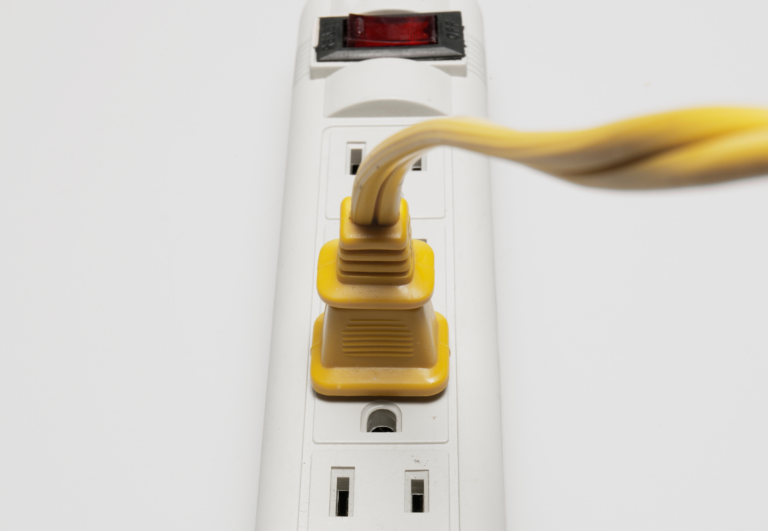
When you invest in a mini fridge, protecting it from electrical hazards is crucial for its…
When setting up your living space, especially in areas with limited electrical outlets like a dorm room, office, kitchen,…
Setting the temperature on your mini fridge is a straightforward task that ensures your beverages and…
Placing a mini fridge in your home adds a level of convenience, but you might be pondering whether it’s…
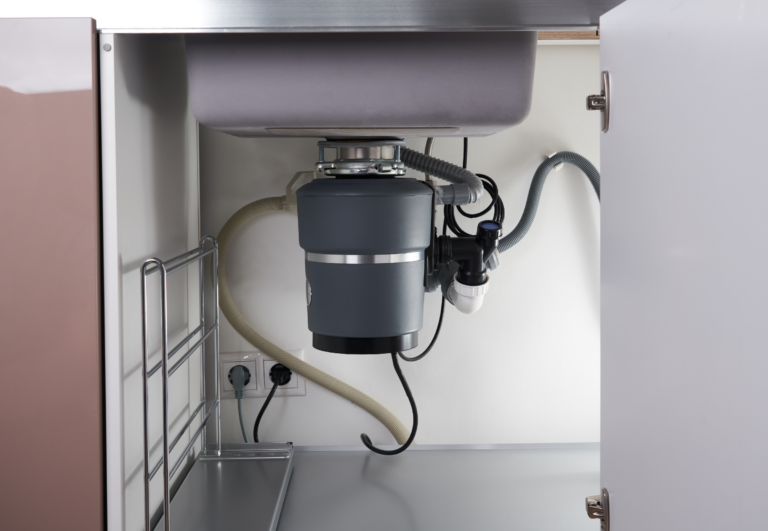
When your garbage disposal starts leaking from the bottom, it can create a messy and potentially…

The holiday season is synonymous with hearty meals and delectable baked goods. From traditional dishes passed…
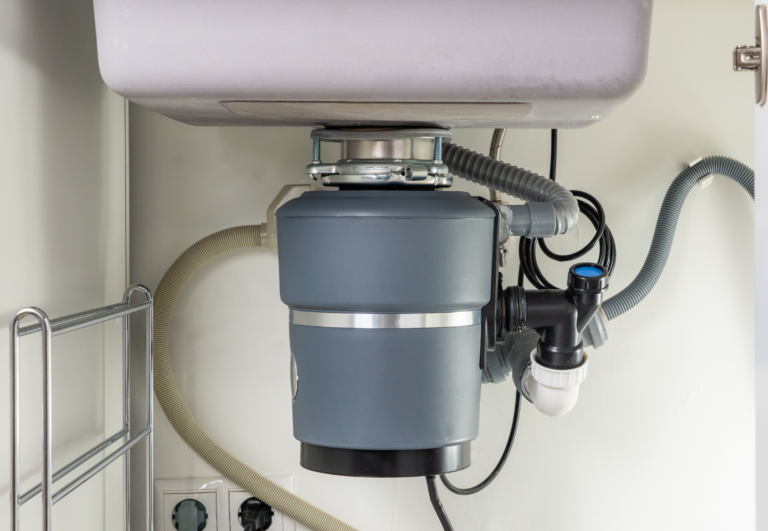
There are several steps to follow when fixing a garbage disposal jam. The first step is…
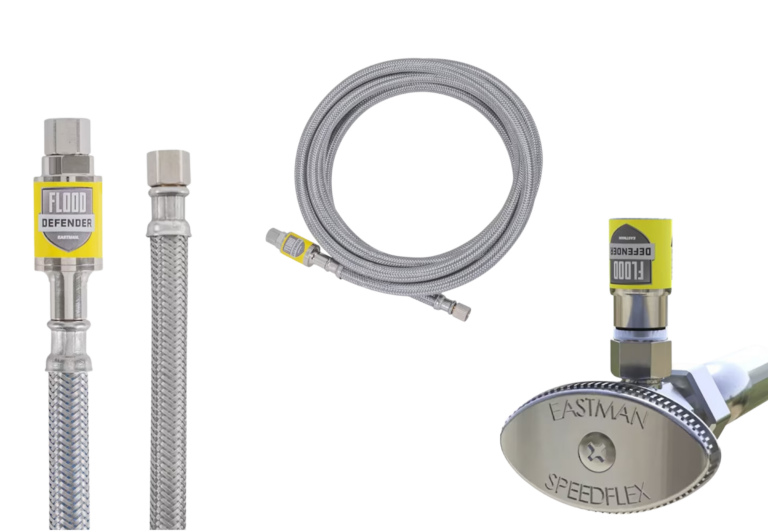
When faced with a leaking fridge water line, knowing its causes can guide you in fixing…

A fridge water dispenser provides a convenient way to access cold, filtered water without having to…
Samsung refrigerator water filters play a pivotal role in ensuring that you have access to clean,…
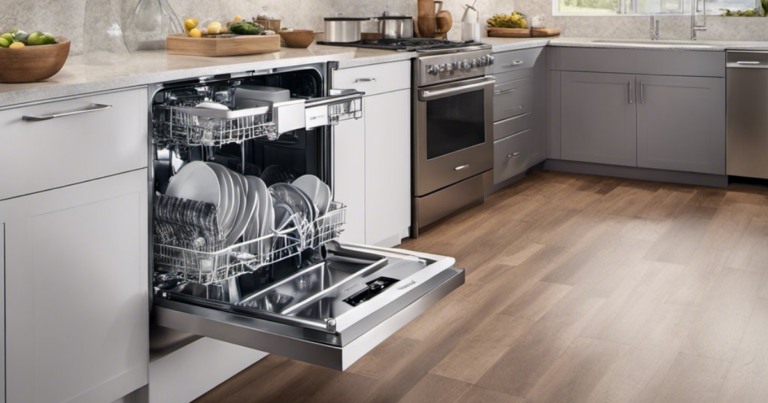
Ever felt that pang of guilt seeing dirty dishes pile up but simply didn’t have the…

Dive into the ultimate guide to elevate your lunch game! 🌟 From the ritzy VIP sections…

As you load your dishwasher, you might think it’s a one-size-fits-all appliance, but that’s far from…
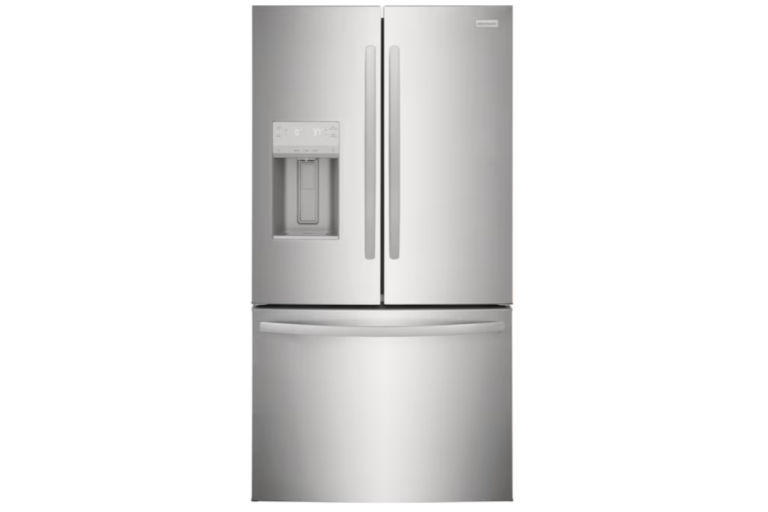
Are you dealing with a leaking Frigidaire refrigerator and wondering why this is happening? In this…
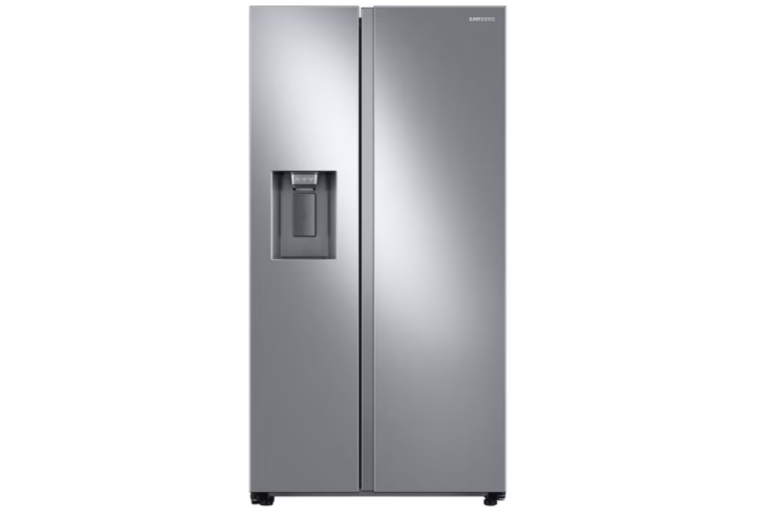
Many Samsung refrigerator owners have encountered an unsettling problem – their appliance is making strange noises….
Is your Frigidaire fridge making unusual noises (humming, beeping, whirring, clicking, hissing, rattling, droning, throbbing, gurgling,…
Are you facing issues with your Frigidaire refrigerator’s water dispenser, noticing that it’s become slow or…