Common Problems with Bathroom Fans: Quick Fixes and Maintenance Tips
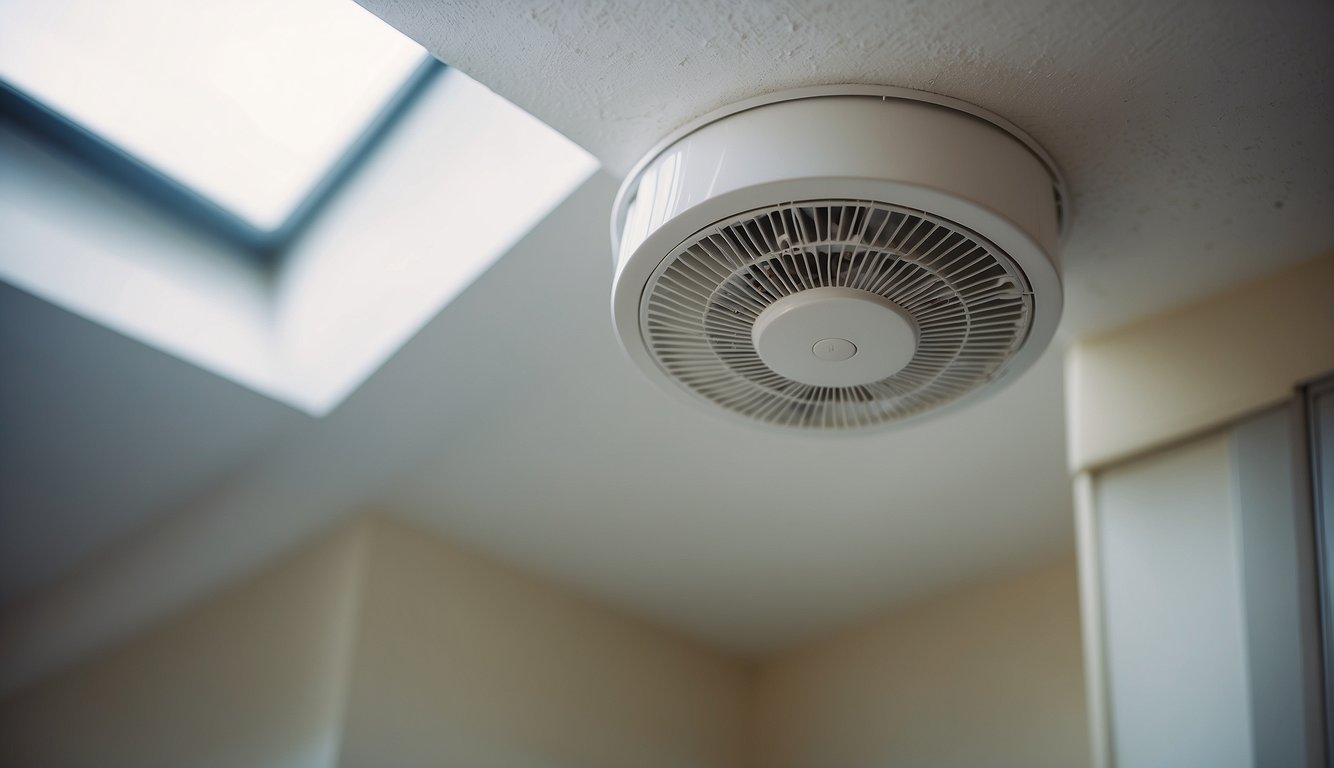
Bathroom fans are a crucial fixture in modern homes, tasked with the important role of providing adequate ventilation and preventing moisture buildup.
In my experience as a home improvement expert, I’ve encountered a range of issues that can impede the performance of these fans. Common problems include motors that cease to work, airflow interruptions due to clogged or dirty fans, and exterior dampers that get stuck and prevent proper exhaust.
The key to ensuring a bathroom fan operates effectively lies in regular maintenance and addressing problems as they arise. I’ve found that simply keeping the fan clean and free of debris can prevent many issues. However, when problems do arise, solutions might range from lubricating the fan motor to upgrading to a more suitable model, depending on the severity and nature of the issue at hand.
Maintaining proper bathroom ventilation is essential not just for the comfort of home occupants but also for the longevity of the building’s structure. An underperforming bathroom exhaust fan can lead to moisture damage and mold growth. By staying vigilant with maintenance and addressing issues promptly, these common problems can typically be managed, ensuring that bathroom ventilation remains effective and reliable.
Identifying Common Problems
From my professional expertise, I know that diagnosing bathroom fan issues effectively can prevent damage and ensure proper ventilation. The key lies in recognizing motor, airflow, electrical, structural, and moisture-related issues.
Motor Issues
The motor is the heart of any bathroom fan. When it fails, you might notice increased noise, decreased suction, or a complete lack of movement in the fan blades. Common motor problems include friction in the motor shaft or a burnt-out motor which necessitates a replacement. Regular cleaning and maintenance can prolong motor life.
Air Flow Challenges
Problems with airflow can lead to a buildup of humid air and decrease the efficiency of your exhaust fan. Obstructions such as debris or a stuck damper in ductwork can impede air circulation. Ensuring that the fan cover and blades are clean from dust can also improve airflow.
Electrical Concerns
Electrical power issues often manifest as fans that fail to turn on or intermittent operation. Check the wall switch, outlet, and circuit breaker to pinpoint the issue. A voltage tester can help determine if there’s power reaching the fan. Proper electrical connections and avoidance of improper wiring are crucial for safe and reliable operation.
Structural and Installation Errors
Proper installation is pivotal to prevent structural issues. If your bath fan is improperly mounted, not anchored to ceiling joists correctly, or parts like screws are loose, it can lead to excessive vibration and damage. I’ve found that double-checking the installation and making sure the location of the fan aligns with the home’s structural elements is essential.
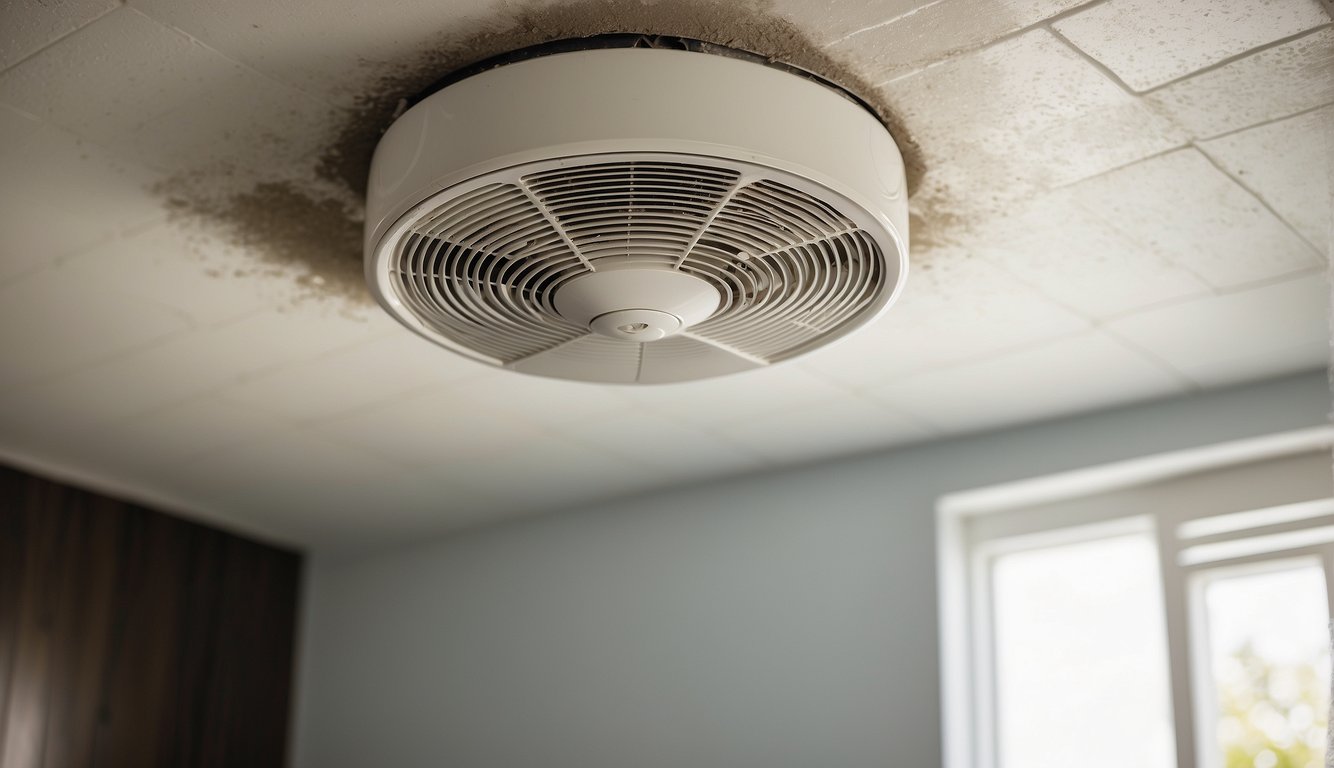
Moisture and Mold Development
Excess moisture can cause condensation and mold growth, a telltale sign of inadequate ventilation. It’s important to address any dripping or leaking as soon as possible. Humidity sensors can help combat moisture issues by activating the fan when humid air is present, keeping mold and mildew at bay.
Maintenance and Cleaning Guidelines
Maintaining your bathroom fan is essential to ensure its longevity and optimal performance. I’ve found that regular cleaning and the occasional part replacement can significantly improve energy efficiency and prevent the need for expensive repairs.
Regular Cleaning Procedures
When I clean my own bathroom fan, I first make sure to turn off the power supply. This is crucial for safety. The cleaning process typically involves:
- Removing the cover: Gently pull it down and release the clips or unscrew if necessary.
- Cleaning the fan blades and grilles: Dust can accumulate on the blades and grilles reducing efficiency. I use a vacuum with a brush attachment to remove the loose dust followed by wiping the surfaces with a damp cloth mixed with mild detergent.
- Applying lubricant: Sparingly apply lubricant to any moving parts if the manufacturer recommends it for maintenance.
Remember, only perform tasks you’re comfortable with. If unsure, it’s best to refer to the fan’s manual or consult a professional.
Replacing Parts and Repair
Over time, parts like the motor or fan blades may wear out and require replacement. Here’s a simplified process I often follow:
- Identify the problem: If the fan isn’t working as expected, check for common issues such as blockages, dust build-up, or worn-out parts.
- Purchase the correct parts: Ensure they are compatible with your model to maintain warranty and efficiency.
- Replace defective parts: This might involve screws and electrical connections, so if you’re not knowledgeable about electrical repairs, an electrician should be called.
Most fan issues are solvable with a part replacement, but always disconnect power before attempting any repair.
Professional Assessment and Services
If you encounter complex issues or the fan requires major repairs, a professional assessment and service might be necessary. Here’s how to approach it:
- Consult the warranty: Before reaching out for professional services, check if the issue is covered.
- Troubleshooting: Minor problems such as vibrations or unusual noise might need an expert’s eye for accurate troubleshooting.
- Professional installation: For optimal performance and safety, have new fans or significant parts professionally installed.
Seeking a professional’s help is not only a matter of ensuring the work is done correctly but also a safety concern. Also, they can provide valuable insights into energy-efficient options and upgrades.
Upgrading and Optimization
When it comes to bathroom exhaust fans, upgrading and optimization are essential for maintaining air quality and efficiency in your bathroom. By addressing these areas, you can ensure proper ventilation and a comfortable bathroom environment.
Improving Air Quality and Efficiency
In my professional experience, improving bathroom air quality begins with ensuring adequate airflow. Your exhaust fan’s CFM rating—cubic feet per minute—measures the volume of air it moves. It’s necessary to select a fan with a CFM rating appropriate for your bathroom’s size. For best results, consult the building code, which often suggests 1 CFM per square foot of bathroom area.
Ventilation system optimization could ultimately involve upgrading the fan ductwork to reduce bends that impede airflow, or extending the duct to a soffit or exterior wall to prevent backdrafts. Additionally, ensuring that the ductwork is insulated, especially if it runs through an attic, can improve energy efficiency by preventing heat loss.
- Key Tip: Replace older duct material with smooth, rigid materials to facilitate better airflow.
Here’s a quick guide on CFM requirements based on bathroom size:
| Bathroom size (square feet) | Minimum CFM required |
|---|---|
| Up to 50 sq ft | 50 CFM |
| 51 to 100 sq ft | 1 CFM per sq ft |
For a quieter operation, choose a bathroom fan with a lower sone rating. A sone is a unit of loudness, and bathroom fans typically range from 0.5 (very quiet) to 4 (audible). Look for a sone rating that suits your comfort level.
Innovative Features and Accessories
I’ve found that integrating innovative features into your bathroom fan system can greatly enhance its utility and user experience. Features such as timer switches and humidity sensors help maintain optimal conditions without manual intervention. For instance, a timer allows the fan to continue running for a set period after the bathroom is no longer in use, which helps to clear all moisture.
On the other hand, humidity sensors will activate the fan only when the moisture level in the air reaches a certain threshold, thus conserving energy. These smart controls can be retrofitted into most existing bathroom vent fan systems.
- Quick Fact: Fans with these features often adhere to higher energy efficiency standards, aligning with a more eco-friendly approach.
Lastly, opt for fans with additional functionalities such as built-in heaters or lights, which provide extra comfort and convenience. Remember that any electrical work should comply with local codes and regulations, and consider seeking professional assistance when dealing with complex wiring or ductwork modifications.
Installation Best Practices
When installing a bathroom vent fan, compliance with building code is paramount for both safety and functionality. I ensure that ductwork leads directly to an exterior wall or soffit to properly expel moisture and odors. Proper installation begins with selecting an adequate exit location and vent type.
Ventilation Path:
- Exterior Wall: Generally simpler, but may require more insulation in cold climates.
- Soffit: Avoids backdrafts but must be installed with care to prevent moisture re-entry.
My experience has taught me that insulating the ductwork is critical to prevent condensation, especially if the ducts pass through unconditioned spaces. I use insulated ducts or wrap them with insulation to maintain temperature and reduce moisture problems.
Choosing Duct Size:
- 4 inches: Typically for smaller or standard bathrooms.
- 6 inches or more: For larger bathrooms or when code specifies.
Remember, a bathroom vent fan should not just satisfy the minimum requirements. It’s worth choosing a fan with a bit more power than necessary to ensure effective ventilation. Regularly replacing or cleaning the fan keeps it in prime condition, which is something I always advise.
Installation Checklist:
| Step | Description |
|---|---|
| Exit Location | Choose a spot that allows for the shortest, most direct duct path to the outside. |
| Vent Type | Determine if the vent will exit through the wall or soffit. |
| Duct Size | Select a diameter that meets or exceeds local code requirements. |
| Insulation Necessity | Insulate ductwork to prevent condensation and heat loss. |
| Connect Ducts | Securely attach ducts to the exhaust port and exterior hood. |
By following these guidelines, I’ve consistently achieved efficient and code-compliant installations across numerous bathroom renovations.
Let Us Know How We’re Doing!
Did this expertly prepared resource answer your question?
Do you have another question about home maintenance, home improvement projects, home appliance repair, or something else?
Get more information, send in questions and keep the discussion going by contacting the I’ll Just Fix It Myself company customer service team at at 1-800-928-1490 or Email us at [email protected]